
Creating handmade greeting cards is a rewarding way to add a personal touch to gifts, celebrations, and milestones. Using card paper as your primary medium allows you to build sturdy, professional-looking structures that hold their shape and support various decorative elements. While the process is highly creative, achieving a clean, polished finish requires a basic understanding of paper mechanics, precise cutting, and proper folding techniques.
For beginners, the key to success lies in mastering the foundational steps before moving on to complex designs. By selecting the right paper weight, using the correct tools, and following a systematic assembly process, you can avoid common crafting frustrations like torn edges, uneven folds, and warped paper. This guide provides a step-by-step approach to crafting your first handmade card from scratch.
Essential Tools and Materials for Card Making
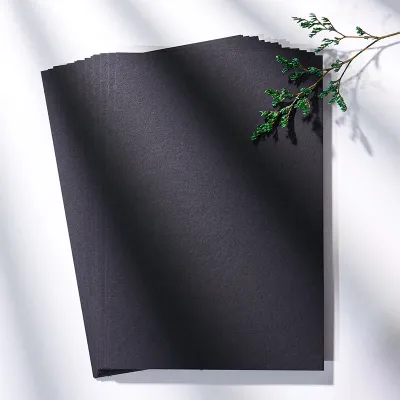
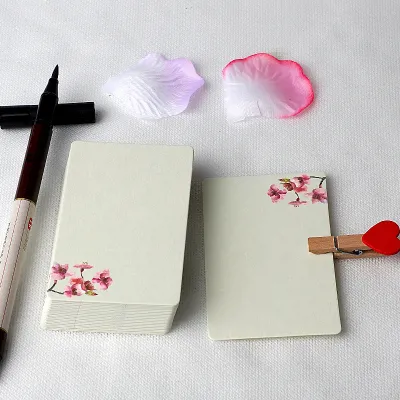
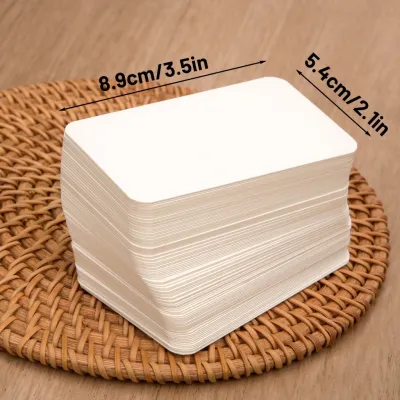
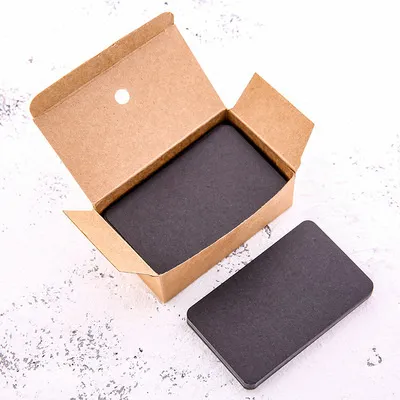
Before starting your project, gathering the correct materials will make the crafting process smoother and more enjoyable. The foundation of any greeting card is the card paper itself, often referred to as cardstock.
Products mentioned in this guide
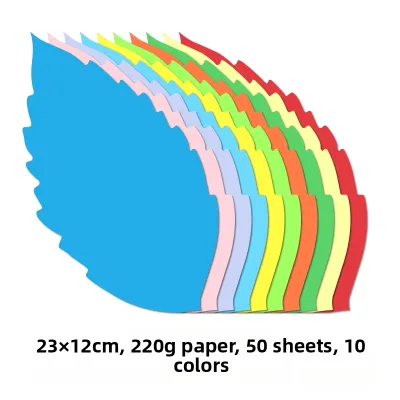
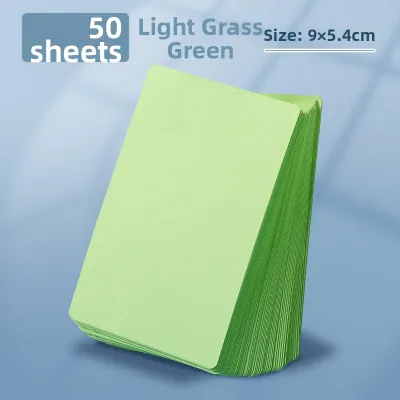
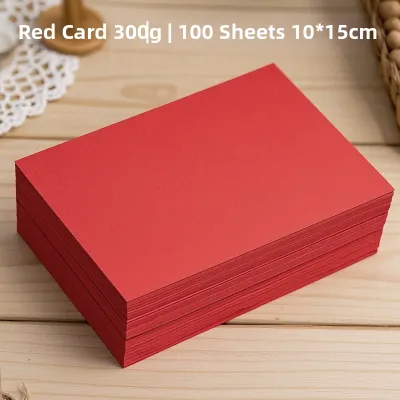
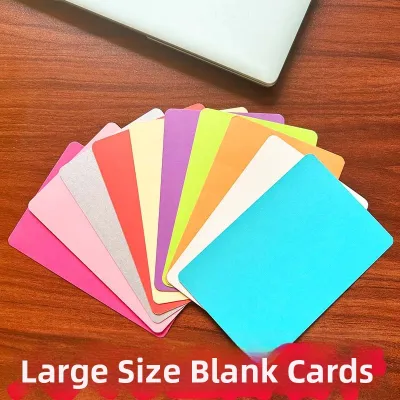
Prices are valid at publication and may change. Please refer to the product page for the latest price.
When selecting card paper, pay close attention to the weight, which is typically measured in grams per square meter (gsm). For the main card base, look for paper with a weight between 220 gsm and 300 gsm. This range provides enough structural integrity to stand upright without bending under its own weight. For decorative layers, inserts, or delicate cut-outs, a lighter weight of 120 gsm to 180 gsm is easier to manipulate and will not add excessive bulk to your card.
Texture and finish also play a significant role in how your card looks and functions. Smooth card paper is ideal for clean stamping, detailed drawing, and sharp printing, while textured paper adds tactile interest but may require more pressure when stamping. Always check the manufacturer’s label for compatibility with your chosen medium, whether you are using water-based inks, markers, or calligraphy pens.
Another critical factor is grain direction, which refers to the alignment of the paper fibers during manufacturing. Paper folds much more cleanly and with less resistance when folded parallel to the grain. You can identify the grain direction by gently bending the paper in both directions; the direction that offers less resistance is parallel to the grain.
To achieve precise results, you will need a few basic cutting and measuring tools. A self-healing cutting mat protects your work surface and keeps your paper from slipping. A heavy metal ruler with a non-slip backing is essential for guiding your cuts and measurements, as plastic rulers can easily be nicked by blades. For cutting, a sharp utility knife or a dedicated paper trimmer ensures straight, clean edges.
For folding, a scoring tool and a bone folder are indispensable. A bone folder is a dull-edged hand tool used to crease and fold paper smoothly without leaving shiny marks or tearing the fibers.
Finally, choosing the right adhesive is crucial for preventing paper warping. Double-sided tape and dry adhesive runners are highly recommended for beginners because they provide an instant bond without introducing moisture to the paper. If you prefer liquid glue for intricate details, select a high-tack, low-water-content craft glue, and apply it sparingly to avoid wrinkling the card paper.
Step-by-Step Guide to Cutting and Folding Card Paper
Once your tools are ready, you can begin preparing your card base. Precision at this stage ensures that your final card sits square and fits perfectly into its envelope.

Start by measuring your card paper. A standard card size for beginners is A6, which measures 105mm by 148mm when folded. To create this, you will need to cut a piece of card paper to A5 dimensions, which is 210mm by 148mm. Use a sharp pencil to make tiny, light marks near the edges of your paper, and align your metal ruler with these marks.
Before cutting, ensure your cutting mat is clean and flat. Hold the metal ruler down firmly with your non-dominant hand, spreading your fingers to distribute pressure evenly. Hold your utility knife at a low angle and pull it along the edge of the ruler. Use light, consistent pressure, making two or three passes rather than trying to cut through thick card paper in a single stroke. This technique prevents the blade from slipping or tearing the paper fibers.
After cutting your paper to size, you must score it before folding. Attempting to fold thick card paper without scoring almost always results in unsightly, cracked edges. Align your ruler along the center line where the fold will be (for an A5 sheet, this is at the 105mm mark).
Press the tip of your scoring tool or the edge of your bone folder firmly along the ruler to compress the paper fibers, creating a clear groove. Be careful not to press so hard that you cut through the paper.
To fold the card, bend the paper away from the scored groove. The raised ridge or “bump” created by the scoring tool should end up on the inside of the fold. This orientation stretches the outer fibers smoothly and compresses the inner fibers, resulting in a crisp, professional crease. Use the flat side of your bone folder to press down along the folded edge to lock the crease in place.
Simple Decorating Techniques for Beginners
With your card base prepared, you can now focus on decorating the front panel. Using simple, structured techniques allows you to create visually appealing designs without needing advanced artistic skills.
One of the easiest ways to add depth to your card is through paper layering. Cut a piece of contrasting card paper slightly smaller than the front of your card base—for example, reducing the dimensions by 5mm on all sides. This creates a neat, uniform border around your decorative panel. You can stack multiple layers of varying colors or textures to build a rich, dimensional look.
If you plan to use stamps, stencils, or hand-lettering, always plan your layout on a scrap piece of paper first. Because different card papers react differently to inks, perform a quick test on an offcut of your specific card paper. Observe the drying speed, check for ink bleeding or feathering, and verify if the ink resists smudging once dry. This step ensures you do not ruin your main card base with incompatible materials.
When applying stamps or stencils, secure your card paper to your work surface with low-tack painter’s tape to prevent shifting. Apply ink evenly to your stamp, press down firmly without rocking the stamp, and lift it straight up to achieve a clean impression.
For adding embellishments like flat-backed gems, ribbons, or small paper cut-outs, placement is key. Arrange your embellishments on the card front before applying any adhesive to ensure the composition feels balanced. Use a toothpick to apply tiny dots of liquid glue to the back of small items, or use small squares of foam tape to lift elements off the page, creating a subtle three-dimensional shadow effect.
Assembling and Finishing Your Handmade Card
Assembling your decorated panels onto the card base requires care to maintain a clean, professional appearance. Visible glue marks or misaligned layers can quickly detract from your hard work.
If you are using double-sided tape to attach your decorated panels, apply the tape close to the outer edges of the panel’s backside, as well as a small strip in the center. This prevents the corners from lifting over time. If you are using liquid glue, apply a very thin line around the perimeter, keeping it a few millimeters away from the edge so it does not squeeze out when pressed.
To align the panel perfectly, hold it gently by the edges over your card base without letting the adhesive make contact. Once you are satisfied that the borders are even on all sides, lower the panel onto the card base and press down firmly from the center outward.
After assembly, inspect the edges of your card. If any layers are slightly misaligned or stick out past the fold, place your metal ruler along the edge and use your utility knife to trim away the excess. This minor adjustment makes a significant difference in how neat the final card looks.
Finally, allow your card to dry and set properly. If you used any liquid adhesives, the moisture can cause the paper to curl as it dries. To prevent this, place your finished card between two sheets of clean scrap paper to protect the decorations, and place a heavy, flat object like a large book on top. Leave it to press for at least an hour, ensuring your card remains perfectly flat and structurally sound.
Troubleshooting Common Card Paper Issues
Even with careful preparation, you may occasionally run into minor issues during the card-making process. Understanding how to address these problems will help you save your projects and improve your technique.
If you notice that your folds are cracking or looking ragged, the issue is likely related to paper grain or scoring depth. Ensure you are scoring deep enough to compress the fibers, and try to align your main fold parallel to the paper’s grain. If you must fold against the grain, make a slightly wider score line or use a slightly lighter weight of card paper for your base.
Paper warping is almost always caused by excess moisture, which can be exacerbated by high environmental humidity. If your card panels are curling, switch from liquid glue to a dry adhesive like double-sided tape or a tape runner. If you must use liquid glue, apply it with a dry sponge or brush to ensure an ultra-thin, even layer, and always press the card under a heavy book while it dries.
If your cuts are uneven or the paper edges look fuzzy, your blade is likely dull. Card paper dulls blades surprisingly quickly. Change your utility knife blade or rotate your paper trimmer blade regularly to maintain clean, effortless cuts. Additionally, ensure you are holding your ruler down with enough pressure to prevent it from shifting mid-cut.
Community discussion
Share your experience or ask a question. Comments are reviewed before publication.