
Creating your own gift tags at home is a simple, creative way to add a personal touch to any present while reducing waste. By using everyday household items and basic craft supplies, you can design custom tags that perfectly match your wrapping paper, express your personal style, and show the recipient that you put extra thought into their gift. Whether you are preparing for a birthday party, a holiday gathering, or a simple thank-you gesture, crafting your own tags allows you to customize the size, shape, and message without needing to buy expensive pre-made sets.
To get started, you do not need professional crafting skills or specialized equipment. Most of the necessary items are likely already sitting in your drawers, closets, or recycling bin. By combining basic cutting tools, scrap paper, and a few decorative elements, you can establish a versatile crafting setup right at your dining table. This guide will walk you through the process of selecting materials, cutting precise shapes, applying simple design techniques, and avoiding common mistakes so that your handmade tags look polished and secure.
Gather Your Materials: What You Already Have at Home
Before you begin crafting, take a look around your home to gather your base materials. The most important element of any gift tag is the base paper, which needs enough stiffness to hold its shape when attached to a package. Excellent options include leftover cardstock, old greeting cards, heavy drawing paper, or clean kraft paper bags. You can also upcycle packaging materials, such as the clean cardboard from cereal boxes, shoe boxes, or product packaging, which can be covered with decorative paper or painted to create a sturdy backing.
Products mentioned in this guide
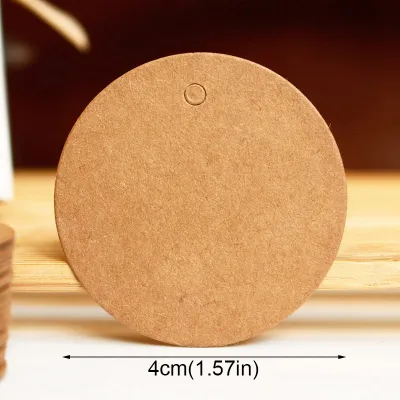
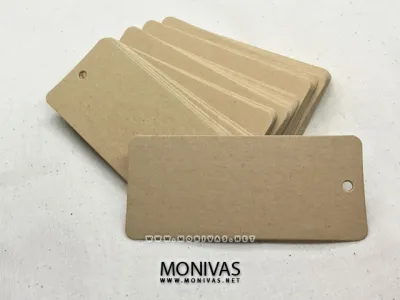
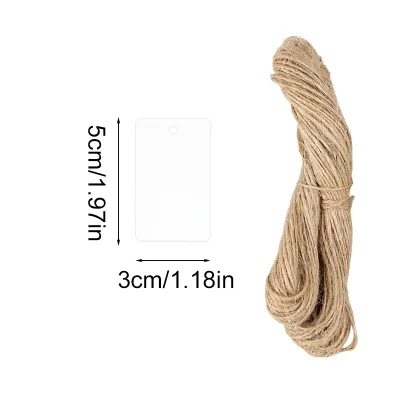
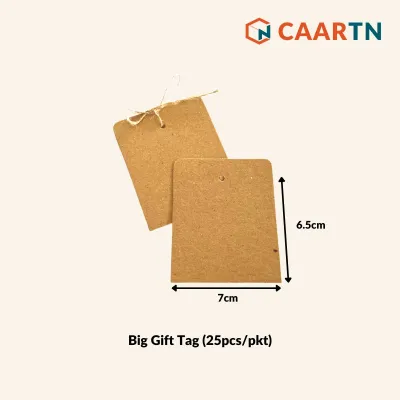
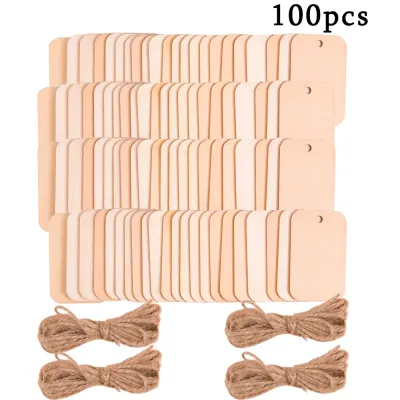


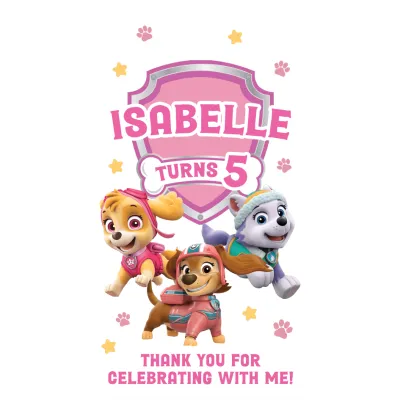
Prices are valid at publication and may change. Please refer to the product page for the latest price.
Next, collect your cutting and shaping tools. A standard pair of sharp household scissors is essential for cutting straight lines and basic shapes. If you want more intricate designs or perfectly straight edges, a craft knife paired with a metal ruler and a self-healing cutting mat will provide excellent precision. To attach the tag to your gift, you will also need a way to create a clean hole; a standard single-hole puncher is ideal, but if you do not have one, a sharp needle, an awl, or even the tip of a small pair of scissors can work when handled carefully on a protected surface.
Finally, gather your decorating and writing supplies to personalize each tag. Look for markers, colored pencils, gel pens, or calligraphy pens that write smoothly on your chosen paper type. If you have rubber stamps, ink pads, stickers, or leftover wrapping paper scraps, these can be used to create quick, repeatable patterns. For the attachment loop, search your drawers for leftover twine, embroidery floss, sewing thread, yarn, or thin ribbons saved from previous gifts. Having these items organized before you start will make the crafting process smooth and enjoyable.
Step-by-Step Instructions for Cutting and Assembling
The first step in assembling your physical tag is measuring and cutting the base material. A standard rectangular gift tag typically measures about 5 centimeters wide by 9 centimeters long, but you can adjust these dimensions to fit your specific package. Use a pencil and a ruler to lightly draw your guidelines on the back of your paper or cardboard. If you want a classic luggage-tag shape, mark two small, symmetrical diagonal cuts at the top corners of your rectangle, then carefully trim along those lines with your scissors or craft knife.

Once your base shape is cut, you need to create a clean hole for the hanging string. Measure the horizontal center of your tag near the top edge, leaving at least 1 to 1.5 centimeters of space between the hole and the very top of the paper. This margin is crucial because placing the hole too close to the edge makes the tag prone to tearing. Press your hole puncher firmly over the mark to create a clean opening. If your base paper is thin or prone to fraying, you can reinforce the hole by gluing a small paper reinforcement ring or a tiny square of contrasting cardstock over the area before punching.
After preparing the hole, prepare your attachment string or ribbon. Cut a piece of twine or ribbon approximately 20 to 25 centimeters in length, which provides enough slack to tie around a gift box ribbon or a gift bag handle. Fold the string in half to form a loop at one end. Thread this folded loop through the front of the hole in your tag, pulling it through just enough to create a small opening. Then, take the two loose ends of the string, pass them over the top edge of the tag, and pull them through the loop. Pull gently to tighten the knot against the paper, securing the string without warping the tag.
If you are using a thicker ribbon that does not loop easily, you can thread a single strand through the hole and tie a simple overhand knot near the ends. For a more decorative look, try threading the ribbon through the hole and tying a neat bow directly against the face of the tag. Whichever method you choose, ensure the knot is firm but not so tight that it pinches or tears the paper fibers. Once the string is attached, your blank tag is structurally complete and ready for your creative designs.
Simple Design and Personalization Techniques
Decorating your gift tags does not require advanced artistic skills; simple, repetitive patterns often look the most elegant. If you have rubber stamps, you can quickly apply festive motifs like stars, trees, or hearts using a standard ink pad. For a hand-painted look without the mess, try using stencils or even household items as stamps, such as the eraser end of a pencil dipped in acrylic paint to create perfect polka dots. Stickers and small cutouts from old wrapping paper or magazines can also be glued down to create instant, colorful collages.
Hand-lettering is another highly effective way to personalize your tags. Before writing directly on your cut tag, practice your layout and lettering on a scrap piece of paper to ensure the recipient’s name fits comfortably. You can use a simple print or cursive style, adding weight to the downstrokes of each letter to mimic the look of professional calligraphy. If you are worried about your handwriting, try using a ruler to lightly draw a pencil guideline, write your message in ink, and then gently erase the pencil line once the ink is completely dry.
To add texture and dimension to your tags, consider layering different materials. You can glue a slightly smaller piece of colored paper or patterned wrapping paper onto a sturdy kraft paper backing, leaving a neat border around the edges. If you have dried flowers, small pressed leaves, or sprigs of rosemary, you can secure them to the front of the tag using a small drop of clear craft glue or a strip of decorative paper tape. For a classic, vintage touch, a small dollop of sealing wax pressed with a metal stamp can secure a piece of ribbon or a dried leaf directly to the surface of the tag.
Adapting Your Tags for Different Gifts and Occasions
When designing your gift tags, consider the size and weight of the gift to ensure the tag is proportionate and functional. For large, heavy packages wrapped in thick kraft paper, a larger, sturdier tag made from thick cardboard or layered cardstock will stand out and look balanced. Conversely, for small jewelry boxes, delicate party favors, or miniature jars of homemade treats, a tiny, delicate tag tied with thin embroidery thread or baker’s twine is much more appropriate and will not overwhelm the item.
The color scheme and decorative motifs should also reflect the specific occasion. For birthdays, bright colors, playful patterns, and cheerful stickers work beautifully. For winter holidays, classic combinations of deep green, rich red, and metallic gold or silver on a kraft paper background create a warm, traditional feel. For weddings, baby showers, or elegant thank-you gifts, neutral tones, pastel shades, and minimalist hand-lettering offer a sophisticated look that complements high-quality wrapping paper.
Additionally, make sure your attachment method is safe for the gift itself. If you are attaching a tag to a delicate item, such as a silk scarf, a soft book, or a fragile handmade craft, avoid rough twine or sharp wire twist ties that could snag the material. Instead, opt for soft satin ribbon or smooth cotton thread. If the gift does not have a natural place to tie a string, you can skip the hanging loop entirely and use a small piece of double-sided tape or a decorative sticker to adhere the tag flat against the wrapping paper.
Common Crafting Mistakes and How to Avoid Them
One of the most common issues when making DIY gift tags is ink smudging, which can quickly ruin a beautifully written name or message. This usually happens when you write on glossy paper, coated cardstock, or metallic surfaces using slow-drying gel pens or heavy ink markers. To prevent this, always test your pen on a scrap piece of the same paper first to check the drying time. If you are using a slow-drying ink, allow the tag to sit undisturbed for several minutes before handling it, or switch to a quick-drying fine-liner or a standard ballpoint pen.
Another frequent mistake is creating tags that are too flimsy to survive transit or handling. If your base paper is too thin, the tag will easily bend, crease, or tear when tied to a gift bag. You can easily solve this by gluing two or three layers of thin paper together using a glue stick, pressing them flat under a heavy book while they dry to prevent warping. This simple lamination technique creates a sturdy, rigid composite material that feels substantial and holds its shape perfectly.
Finally, pay close attention to the placement of your punched hole. If the hole is positioned too close to the top or side edges of the tag, the tension from the string can easily rip through the paper fibers when the package is moved. Always leave a safe margin of at least 1 centimeter from all edges. If you notice the paper starting to weaken around the hole, reinforce it immediately with a small piece of clear tape on the back or a decorative paper washer on the front to distribute the tension evenly.
Frequently Asked Questions (FAQ)
Can I use regular printer paper instead of cardstock?
Standard printer paper is generally too thin and flexible to make a durable standalone gift tag, as it creases easily and can tear under the tension of a hanging string. However, you can still use it if you reinforce the material. Try gluing several sheets of printer paper together with a dry glue stick, or paste your printed designs onto a sturdier backing like clean cardboard from a cereal box or an old shipping carton. This adds the necessary stiffness while allowing you to use standard paper for your designs.
How do I prevent the string from slipping out of the hole?
To ensure your hanging string stays securely attached to the tag, use a reliable knotting technique like the lark’s head knot, where the folded loop of the string is threaded through the hole and the loose ends are pulled back through that loop. If you are using slippery materials like satin ribbon or nylon cord, tie a tight double knot close to the base of the hole. For extra security, you can slide a small wooden bead onto the string and tie a knot directly beneath it, or apply a tiny dab of clear craft glue to the knot to lock the fibers in place.
Community discussion
Share your experience or ask a question. Comments are reviewed before publication.