
Crafting personalized gift card tags at home is an excellent way to transform a simple, convenient present into a deeply thoughtful, tactile gesture. While gift cards are incredibly practical, they can sometimes feel impersonal when handed over in a standard store envelope. By spending a few minutes designing and assembling a custom tag using basic household supplies, you add a warm, handmade touch that shows genuine effort and care.
Making these tags does not require expensive specialized equipment or advanced crafting skills. With sturdy paper, standard cutting tools, and a little creativity, you can produce beautiful, professional-looking tags that fit any occasion. This process also offers a wonderful opportunity to upcycle materials you already have around the house, making it both an eco-friendly and budget-friendly project.
Materials and Tools You Will Need for DIY Gift Card Tags
Before beginning your project, gather your base materials, cutting tools, and decorative elements to set up an efficient workspace. The foundation of any sturdy tag is the paper weight, as thin printer paper will easily tear, curl, or warp under the weight of ink and adhesives.
Products mentioned in this guide
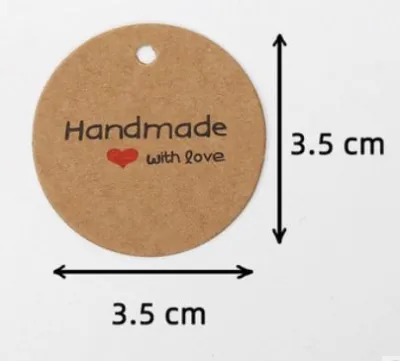
![[SG][FREE🚚] 50Pcs Gift Tags Thank you Tag Mini Card Note Goodie Bag Wedding Favour Door Gift Birthday Party Mothers Day](https://img.lazcdn.com/g/p/18f578491e5768c8f3797ab55a281c40.jpg_400x400q80.jpg_.webp)
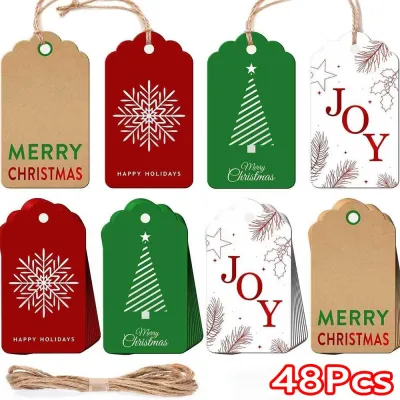
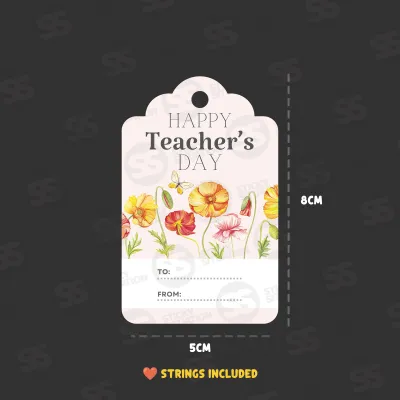
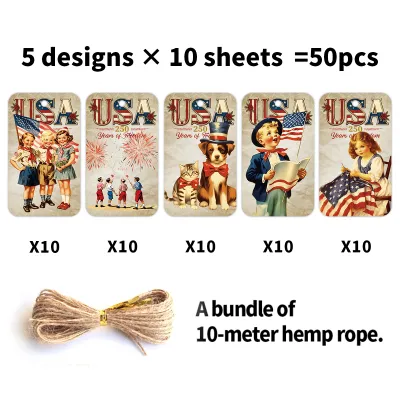
![[SG-FREE SHIP] 48 Pcs Graduation Gift Tags Mini Hanging Card School Student Primary Secondary Schools University Polytechnic](https://img.lazcdn.com/g/ff/kf/S65c41c1127af4459a99ad4b6f30614bcy.jpg_400x400q80.jpg_.webp)
Prices are valid at publication and may change. Please refer to the product page for the latest price.
For the base, look for heavy cardstock with a weight between 200 gsm and 300 gsm to ensure structural integrity. If you do not have cardstock, thick watercolor paper offers a beautiful, textured finish that handles wet ink and paint exceptionally well. Upcycling is another fantastic option; look for clean, uncreased sections of old greeting cards, cardboard cereal boxes, or sturdy kraft paper shopping bags. These materials provide a durable backing that stands up to handling without bending.
Next, select your cutting instruments based on the level of detail you want to achieve. Standard household scissors work perfectly for straight lines and basic shapes, but a precision craft knife paired with a self-healing cutting mat allows for intricate cutouts and perfectly straight borders. If you plan to make a large batch of tags, a sliding paper trimmer can save significant time and ensure uniform dimensions across all your pieces.
To bind your materials together and attach the finished tags, compile your adhesives and fasteners. A high-quality, acid-free glue stick is ideal for flat paper layers, while double-sided tape provides a clean, mess-free hold for heavier cardstocks. You will also need a standard single-hole punch to create the attachment point, along with some string, colorful ribbon, or rustic baker’s twine to tie the tag to your gift.
For decoration, look through your existing stationery collection for markers, colored pencils, rubber stamps, or rolls of patterned washi tape. If you need to top up your supplies, these basic items are readily available at local bookstores, neighborhood stationery shops, or craft retailers across Singapore for just a few dollars.
Designing and Cutting the Base Shapes
The dimensions of your gift card tags should strike a balance between visual appeal and practical utility. A tag that is too small will be difficult to write on, while an excessively large tag can overwhelm the gift packaging or the gift card itself.

A standard, highly versatile size for a gift card tag is 2 by 3 inches (approximately 5 by 7.5 centimeters), which mirrors the proportions of a standard credit card. If you plan to write a longer message or layer multiple decorative elements, opt for a slightly larger size of 3 by 4 inches (approximately 7.5 by 10 centimeters). This size provides ample surface area for creative designs while remaining compact enough to hang neatly from a gift bag handle or a wrapped box.
Classic rectangular tags with angled top corners are the easiest to cut and offer a timeless, professional aesthetic. If you prefer a softer look, you can use a corner rounder punch or carefully trim the sharp corners with scissors. For more playful presentations, consider cutting your bases into simple geometric shapes like circles, or thematic silhouettes such as hearts, stars, or festive pine trees.
To ensure clean, straight edges, always measure and mark your cutting lines on the back of your paper using a metal ruler and a light pencil. Align your ruler with the pencil marks, press down firmly to prevent slipping, and run your craft knife smoothly along the edge in a single, continuous motion. If you are using scissors, make long, steady cuts rather than short, choppy snips to avoid jagged edges along the perimeter.
When upcycling old packaging or holiday cards, inspect the material carefully before cutting. Avoid areas with deep creases, tears, or peeling laminate, as these structural flaws will weaken your finished tag. Focus on flat, clean sections, and position your template to highlight attractive patterns or solid colors from the original design.
Decorating and Personalizing Your Tags
Once your base shapes are cut, you can begin personalizing them using simple layering and hand-lettering techniques. The key to a professional finish is maintaining clean lines and allowing each medium to dry completely to prevent smudging.
Layering different papers is an easy way to add depth and visual interest without adding excessive bulk. Cut a slightly smaller piece of patterned origami paper, scrap wrapping paper, or contrasting cardstock, and glue it to the center of your base to create an elegant border. Alternatively, apply strips of colorful washi tape horizontally or diagonally across the tag to build vibrant, modern geometric patterns.
When writing names or short messages, select your writing instruments carefully based on the paper’s texture and absorption. Fine-liner pens and gel pens work beautifully on smooth cardstock, while brush pens are excellent for creating elegant calligraphy on textured watercolor paper. Always test your pens on a scrap piece of the same paper first to check for ink bleeding, feathering, or slow drying speeds. If you do not have commercial rubber stamps, you can easily carve simple geometric shapes into household pencil erasers or cut clean patterns into kitchen sponges to create custom, rustic ink stamps.
To introduce tactile texture, consider gluing flat, lightweight embellishments onto your designs. Pressed flowers, small fabric scraps, or tiny bows made from baker’s twine add a charming, three-dimensional element. Use a tiny dot of liquid craft glue or a glue dot to secure these items, keeping them flat so the tag can still slip easily into an envelope or lay flat against a gift box.
After applying any wet adhesives, ink, or paint, place your decorated tags on a clean, flat surface to dry completely. Rushing this step can lead to smudged lettering, warped paper, or tags sticking to one another when stacked. For the best results, let the decorated bases sit undisturbed for at least thirty minutes before moving on to the assembly stage.
Assembling and Attaching Tags to Gift Cards
With your decorated bases completely dry, you can proceed to punch the attachment holes and secure the tags to your gift cards or packaging. Proper placement and secure knotting ensure your tag remains intact throughout transit and handling.
To punch the hole, position your single-hole punch at the top center of the tag, leaving a margin of at least 1/4 inch (about 6 millimeters) from the top edge. If you punch the hole too close to the edge, the paper can easily tear under the weight of the string or during handling. For added durability, especially when using thinner upcycled papers, you can apply a small paper reinforcement sticker around the hole on both sides.
Cut a length of ribbon, twine, or string measuring approximately 8 to 10 inches (20 to 25 centimeters). Fold the string in half, thread the looped end through the punched hole from front to back, and pull the loose ends through the loop to create a secure lark’s head knot. This knot lays flat against the paper and distributes tension evenly, preventing the hole from tearing.
Depending on how you plan to present the gift card, you can choose from several secure attachment methods:
- Direct tying: If your gift card comes in a paper sleeve, envelope, or has a pre-punched hole, thread your tag's twine directly through it and tie a neat bow.
- Package attachment: Loop the long ends of the tag's string around the ribbon of a wrapped gift box, or tie it securely to the handle of a gift bag.
- Direct mounting: Use a small piece of double-sided tape or a removable glue dot to mount the actual gift card directly onto the back of your decorated tag, turning the tag itself into the presentation holder.
Before finalizing your presentation, perform a quick quality check to ensure everything is perfect. Lift the package or card to verify that the tag hangs flat, the decorative side faces forward, and the text is oriented right-side up. Gently tug on the knots to confirm they are tight and will not slip loose when the recipient opens the gift.
Creative Variations for Different Occasions
Adapting your DIY tag designs for various celebrations is simple when you focus on color palettes, motifs, and styling cues tailored to the event. This approach allows you to create highly cohesive presentations without purchasing specialized, single-use crafting kits.
For birthdays, embrace a vibrant and energetic aesthetic. Use bright, saturated cardstock colors like turquoise, magenta, or sunny yellow, and scatter hand-drawn confetti dots or tiny stars across the background. Write the recipient’s name in bold, playful bubble letters or modern block fonts to match the celebratory mood.
When crafting for traditional holidays and festivals in Singapore, draw inspiration from cultural motifs and seasonal color schemes. For Lunar New Year, pair rich red cardstock with elegant gold ink lettering, or add a simple hand-painted blossom branch. For Hari Raya, incorporate emerald green tones and woven paper patterns reminiscent of ketupat. For Deepavali, use vibrant purple and orange shades decorated with intricate, hand-drawn mandala or diya lamp silhouettes. During the year-end festive season, you can tie a tiny sprig of fresh rosemary, a dried citrus slice, or a small cinnamon stick to the tag using rustic twine for a fragrant, organic touch.
For formal expressions of gratitude or teacher appreciation, keep your design minimalist and sophisticated. Opt for neutral paper tones like cream, soft gray, or natural kraft paper, paired with clean, delicate calligraphy. A single, elegant botanical branch drawn in black ink, finished with a simple tie of natural baker’s twine, conveys a sense of thoughtful refinement.
If you need to prepare multiple gifts at once, utilize an assembly-line approach to save time and maintain consistency. Start by measuring and cutting all your base shapes in one go, followed by punching all the holes. Next, apply your base decorations or stamps to the entire batch before moving on to individual handwriting and final assembly. This systematic method keeps your workspace organized and ensures a high-quality finish across every single tag.
Frequently Asked Questions (FAQ)
What can I use if I don't have a hole punch?
If you do not have a standard hole punch at home, you can easily create a clean, functional hole using common household items. Place your tag face-up on a soft, protective surface like a thick piece of scrap cardboard or an old eraser. Carefully press a thick sewing needle, the sharp point of a drawing compass, or a small clean nail through the designated spot on your tag. To prevent tearing or creasing the paper, gently twist the tool back and forth as you push it through rather than forcing it straight down. Once the initial hole is made, you can gently rotate a sharpened pencil tip through the opening to widen it to your desired size.
How do I prevent thin paper tags from curling or bending?
Thin paper tags often curl or warp, particularly when you apply wet mediums like liquid glue, markers, or watercolor paints. To prevent this, always bond thin paper to a sturdier backing, such as a piece of scrap cardstock or clean cardboard packaging, using a dry adhesive like a glue stick or double-sided tape before cutting out your final shapes. If your finished tags have already begun to curl, you can gently run the flat edge of a plastic ruler or a bone folder along the back of the paper to relax the fibers. Alternatively, sandwich the dry, completed tags between two sheets of clean baking paper and place them under a heavy stack of books for a few hours to flatten them completely.
Can I make standard paper gift card tags waterproof?
Standard cardstock and paper are naturally porous and will absorb moisture, which can cause ink to bleed and the paper to break down. While you cannot make standard paper completely waterproof, you can apply a highly effective physical barrier to protect your design from light splashes or humidity. The simplest home method is to cover both sides of your finished tag with wide, clear packing tape, smoothing out any air bubbles with a plastic card before trimming the edges flush. For a cleaner, more professional finish, you can seal the tag using self-adhesive laminating sheets or opt to print your designs directly onto pre-treated synthetic paper. Avoid using unverified household waterproofing sprays, as these can chemically react with your inks, causing them to run, discolor, or leave greasy stains on your cardstock.
Community discussion
Share your experience or ask a question. Comments are reviewed before publication.