
Making your own DIY drawstring gift bags is a highly practical, sustainable, and creative alternative to traditional single-use wrapping paper. By selecting the right fabrics or heavy-duty papers and pairing them with complementary cords, you can craft reusable gift packaging tailored to any occasion. The basic process involves measuring your gift, cutting the material, forming a top casing, and threading a drawstring through the channel. This approach not only reduces waste but also provides the recipient with a charming, reusable keepsake bag.
Quick Guide to DIY Drawstring Gift Bags
Creating a custom drawstring gift bag is a straightforward crafting project that requires only a few basic tools and materials. The entire process can be broken down into four primary stages: measuring your gift, cutting the material to size, constructing the side seams and drawstring casing, and threading the cord. Unlike traditional wrapping paper, which is often discarded immediately after a single use, these handmade bags can be reused indefinitely, making them an eco-friendly choice for conscious gift-givers.
To begin, you will need a few essential tools from your crafting kit. Gather a pair of sharp fabric shears or paper scissors, a reliable metal ruler or measuring tape, and your choice of assembly tools. Depending on your preferred method, you can use a standard sewing machine, a hand-sewing needle and thread, or strong craft adhesives such as fabric glue or heat-activated hemming tape. Having these items ready ensures a smooth workflow from start to finish.
Products mentioned in this guide
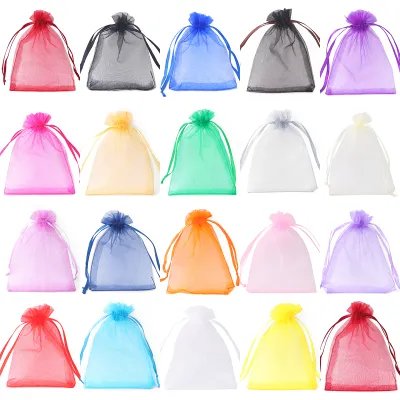
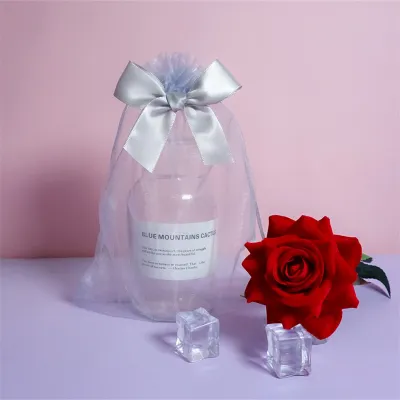
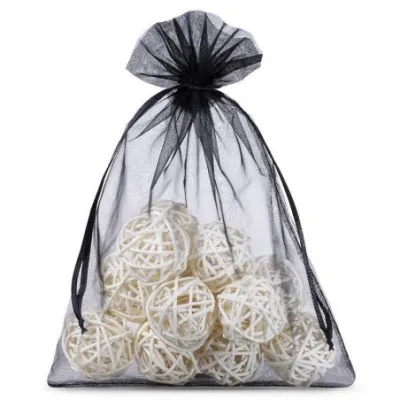
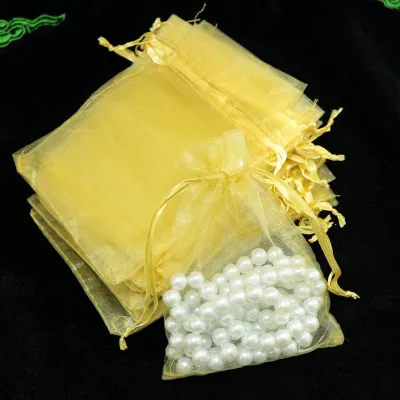
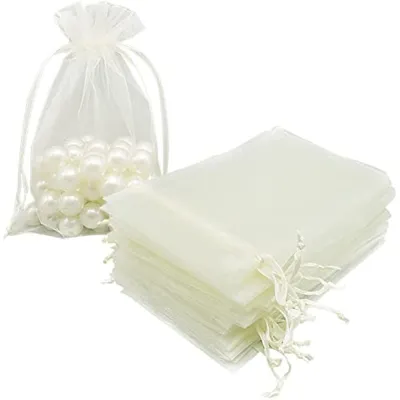
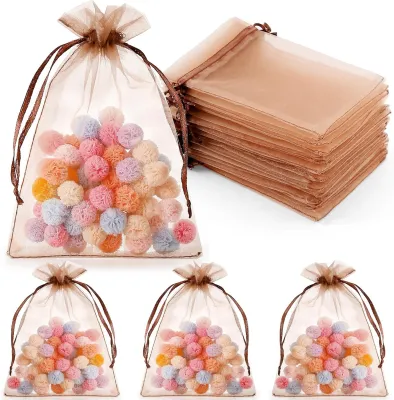
![mixshop Translucent Reusable Drawstring Bag Drawstring Pouch Travel Gift Storage Bag [7 Sizes]](https://img.lazcdn.com/g/p/88aac63a68a44464a4b65a7733ba959a.jpg_400x400q80.jpg_.webp)
Prices are valid at publication and may change. Please refer to the product page for the latest price.
Selecting Fabrics, Papers, and Cords for Different Occasions
The choice of material sets the tone for your gift and determines the bag’s overall durability. For everyday gifting, lightweight cotton fabrics are highly versatile, easy to sew, and available in countless patterns. If you prefer a rustic or textured aesthetic, burlap and linen offer excellent structure and a natural look. For delicate or high-end gifts, sheer organza, silk, or velvet provide an immediate sense of luxury and elegance. You can also use heavy-duty decorative papers, provided they are thick enough to withstand folding and creasing without tearing.

Pairing the right drawstring cord with your chosen base material is essential for both functionality and style. Smooth satin ribbons glide effortlessly through silk or organza casings, adding a refined touch to formal gifts. For cotton or burlap bags, rustic jute twine, cotton baker’s twine, or durable grosgrain ribbons work exceptionally well. Always verify that the cord’s thickness matches the size of the casing; a cord that is too thick will bunch up and resist pulling, while one that is too thin may slip back into the channel.
Before finalizing your materials, check their compatibility with the weight of the intended gift. Heavy items require sturdy fabrics like canvas or thick cotton, paired with reinforced stitching to prevent the bottom from sagging or tearing. Lightweight materials like organza are best reserved for small, delicate items such as jewelry or cosmetics. If you are using paper, ensure the casing area is reinforced with a second layer of paper or adhesive tape to prevent the drawstring from ripping through the paper when pulled tight.
Step-by-Step Instructions for a Basic Drawstring Bag
To construct a standard drawstring gift bag, start by measuring your gift to determine the required dimensions of your material. You will need to cut a rectangular piece of fabric or paper that is twice the desired width of the finished bag plus seam allowances, and the desired height plus extra space for the top casing. A standard allowance is to add 2.5 cm to the width for side seams and 6 cm to 8 cm to the height to accommodate the top fold and drawstring channel. Use your ruler and fabric shears to cut the material cleanly.
Once your material is cut, fold it in half with the decorative side (the “right” side) facing inward. If you are sewing, stitch along the bottom and side edges, stopping approximately 5 cm to 7 cm from the top edge to leave room for the casing opening. If you are using craft adhesives, apply a thin, even bead of fabric glue along the edges, leaving the same top section open, and press firmly until dry. When working with adhesives or sharp cutting tools, ensure your workspace is well-ventilated and keep sharp blades out of the reach of children.
Next, create the casing at the top of the bag. Fold the unstitched top edge down toward the inside of the bag by about 1 cm, press it flat, and then fold it down again by another 2.5 cm to hide the raw edge. Secure this fold by sewing a straight line close to the lower folded edge, or by applying a line of fabric glue or heat-activated hemming tape. This creates a hollow tube or channel around the top of the bag with openings on the sides where the drawstring will enter and exit.
To thread the drawstring, cut two equal lengths of your chosen cord, each about double the width of the bag plus an extra 10 cm. Attach a safety pin or a bodkin to the end of the first cord. Insert it into one of the side openings of the casing, slide it all the way through the channel until it exits from the same side, and tie the two ends together in a secure knot. Repeat this process with the second cord, starting from the opposite side opening, sliding it through, and tying the ends. Pulling both knotted ends simultaneously will smoothly cinch the bag closed.
Customizing Your Bag for Specific Celebrations
One of the greatest advantages of making your own drawstring bags is the ability to customize the size, texture, and embellishments to match the specific theme of your event. You can easily scale the dimensions up for larger items like books or clothing, or down for tiny treasures. Personalizing the exterior of the bag transforms the packaging into an active part of the gift itself, showing the recipient the extra care put into their present.
Weddings and Formal Events
For weddings, anniversaries, or formal galas, focus on sophisticated materials and minimalist designs. Opt for delicate fabrics such as silk, satin, or sheer organza in soft, neutral tones like ivory, champagne, or pastel blush. Pair these elegant bases with high-quality, double-faced satin ribbons that slide smoothly through the casing.
To add a personalized touch without cluttering the design, consider incorporating subtle embellishments. You can sew a delicate lace trim along the bottom edge of the bag or use fabric-safe ink to stamp a minimalist monogram of the couple’s initials onto the front. If using stamps, perform a quick test on a scrap piece of the same fabric first to check for ink bleeding and drying speed, ensuring the design remains sharp and clean.
Birthdays and Casual Parties
Casual celebrations allow for vibrant colors, playful patterns, and highly tactile materials. Brightly colored cotton fabrics, whimsical polka-dot prints, or sturdy patterned wrapping papers make excellent bases for birthday gift bags. Pair these with durable, ribbed grosgrain ribbons in contrasting colors to create a cheerful visual contrast.
You can easily elevate these casual bags with fun, interactive elements. Thread colorful wooden beads or fluffy pom-poms onto the ends of the drawstring cords before knotting them. For a truly unique touch, use fabric markers or calligraphy pens to write the recipient’s name directly onto the bag, or let children draw their own custom illustrations on the fabric before assembly.
Festive and Seasonal Holidays
Seasonal holidays offer a wonderful opportunity to play with rich textures and natural elements. For year-end festive celebrations, consider using rustic burlap paired with vibrant red cotton twine, or deep forest green velvet paired with metallic gold cord. These classic combinations immediately evoke a warm, holiday feel.
To make your seasonal bags stand out, attach small natural decorations directly to the drawstring knots. You can tie a dried orange slice, a small cinnamon stick, or a fresh sprig of pine or rosemary to the cord. These additions not only look beautiful but also add a subtle, pleasant fragrance to the gift presentation.
Troubleshooting Common Sewing and Drawstring Issues
If your drawstring gets stuck or begins to fray inside the casing, the channel may be too narrow or the cord ends may not be properly sealed. To resolve this, ensure your casing is at least twice as wide as the cord you are using. For synthetic cords like polyester satin ribbon, gently singe the cut ends with a lighter to melt the fibers and prevent fraying; for natural fibers like cotton or jute, tie a tight knot at the very tip or apply a small dab of clear craft glue to seal the fibers.
Weak seams that tear under the weight of heavier gifts can be reinforced easily. If you are sewing, use a tight backstitch at the beginning and end of your seams, particularly around the casing openings where the most tension occurs. If you are using fabric glue, allow the adhesive to cure fully for at least 24 hours before placing any items inside the bag, and check the manufacturer’s label to verify the adhesive’s weight limits and suitability for your specific fabric type.
If you find that your finished bag is too small for the intended gift, it is usually because the thickness of the gift was not fully accounted for during the initial measurements. To avoid wasting your premium materials, always construct a quick prototype using scrap paper or inexpensive muslin fabric first. Slide your gift into the prototype to verify the fit, adjusting the width and height measurements as needed before cutting into your final decorative fabric.
Frequently Asked Questions (FAQ)
Can I make a drawstring bag without sewing?
Yes, you can easily create a fully functional drawstring bag without any sewing by using alternative fabric adhesives. High-quality fabric glue, heavy-duty double-sided fabric tape, or heat-activated fusible hemming tape (applied with a household iron) are excellent substitutes for traditional stitching. When using these no-sew methods, keep in mind that adhesive seams are generally less flexible and have lower weight limits than sewn seams. They are highly suitable for lightweight gifts like jewelry, gift cards, or small candies, but heavier items should be placed in sewn bags to ensure the seams do not split.
How do I calculate the right amount of fabric or paper for my gift?
To calculate the correct dimensions for your material, you must account for the height, width, and depth (thickness) of your gift, as well as seam allowances and the drawstring casing. Use this simple formula to determine your cutting size:
- Cutting Width: (Gift Width + Gift Depth) x 2 + 4 cm (for side seam allowances).
- Cutting Height: Gift Height + Gift Depth + 8 cm (to accommodate the bottom fold and the top drawstring casing).
Before cutting into your final decorative fabric or premium wrapping paper, it is highly recommended to test these measurements. Cut a piece of scrap paper or inexpensive muslin to your calculated dimensions, fold it into shape, and place your gift inside to verify that it fits comfortably with room to spare.
Community discussion
Share your experience or ask a question. Comments are reviewed before publication.