
Creating custom magnetic letters using an A4 magnetic sheet is a highly rewarding DIY project that allows you to tailor educational tools to your child’s specific learning needs. By choosing the correct sheet thickness, utilizing precise cutting techniques, and finishing the edges safely, you can produce durable, child-friendly letters that adhere beautifully to whiteboards or refrigerators. This guide walks you through the entire process from material selection to final safety checks.
Gathering the Right Tools and Materials
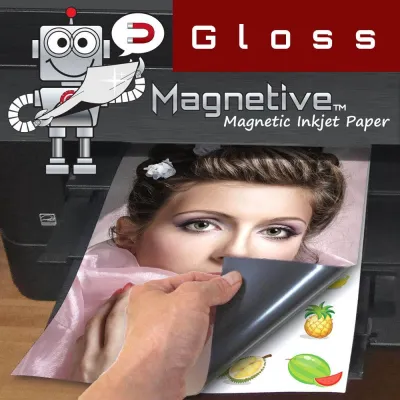
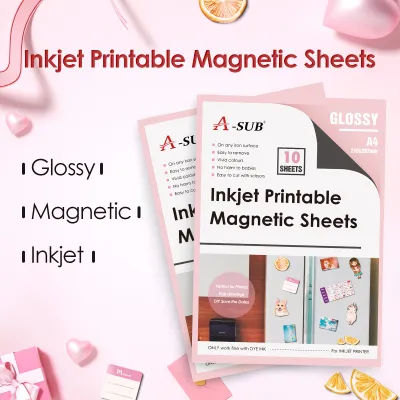
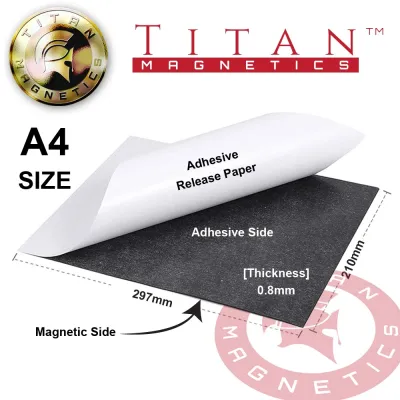
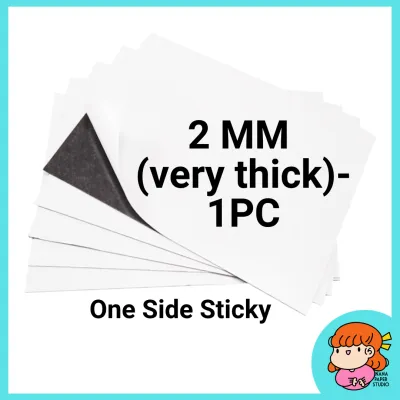
Before starting your project, you must select the correct type of A4 magnetic sheet. These sheets generally come in three varieties: plain, adhesive-backed, or printable. Plain sheets require you to glue your own designs on top, adhesive-backed sheets allow you to peel and stick paper templates directly, and printable sheets can go straight through a compatible home printer. Always check the manufacturer’s specifications for thickness; sheets between 0.4 mm and 0.6 mm offer the ideal balance of magnetic strength and ease of cutting.
The choice of cutting tools depends heavily on the thickness of your magnetic material. For sheets under 0.5 mm, heavy-duty craft scissors or a standard utility knife will work perfectly. If you are working with thicker sheets, or if you want perfectly uniform shapes, an electronic cutting machine can be used, provided you verify its compatibility with magnetic materials in the user manual. Avoid using standard office scissors, as they can dull quickly and leave jagged, uneven edges on the magnetic vinyl.
Products mentioned in this guide
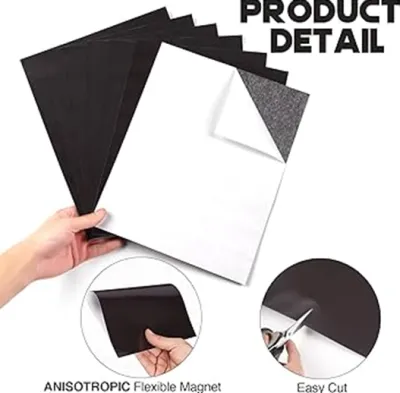
Prices are valid at publication and may change. Please refer to the product page for the latest price.
Preparing a safe and stable workspace is crucial for achieving clean cuts and preventing accidents. Always use a self-healing cutting mat to protect your tabletop and keep the magnetic sheet from slipping while you cut. A heavy metal ruler with a non-slip backing is essential for guiding straight cuts safely. Ensure your workspace is well-lit and free of clutter, and keep a small container nearby to safely discard dull blade segments or material scraps.
Designing and Laying Out the Alphabet
When designing your custom letters, prioritize readability and developmental appropriateness for early learners. Choose clean, sans-serif fonts with distinct letterforms, ensuring that letters like ‘a’ and ‘g’ match the style your child is currently learning in school. The letters should be large enough for small hands to grasp easily—ideally between 4 cm and 6 cm in height. This size range also minimizes the risk of accidental swallowing, making the finished toys much safer for younger children.

The method you use to transfer your designs onto the A4 magnetic sheet depends on the sheet type you selected. If you are using printable magnetic sheets, lay out your alphabet using graphic design software and print directly onto the matte or glossy side. For adhesive-backed sheets, print your letter templates onto standard printer paper or cardstock, cut them into rough blocks, peel off the protective backing, and press the paper firmly onto the adhesive surface. If you are working with plain sheets, you can trace your designs onto the vinyl side using stencils and a fine-tip permanent marker.
To get the most value out of each A4 magnetic sheet, plan your layout carefully to minimize waste. Nest smaller letters, such as ‘i’, ‘l’, or ‘t’, inside the open curves or negative spaces of larger letters like ‘C’, ‘O’, or ‘W’. Group similar shapes together so you can make long, continuous straight cuts across the sheet before focusing on individual details. This strategic arrangement not only saves material but also reduces the overall cutting time.
Cutting and Shaping the Magnetic Sheets
Cutting magnetic sheets requires patience and a controlled hand to avoid tearing the material. When using a utility knife for straight lines, do not attempt to cut through the entire thickness of the sheet in a single pass. Instead, hold your metal ruler firmly against the cutting line and make three or four light, steady scoring passes. This technique prevents the blade from slipping and ensures a perfectly straight, clean edge.
For curved letters like ‘C’, ‘O’, and ‘S’, sharp craft shears or a specialized swivel craft knife are the best tools. When using scissors, hold the blades steady and rotate the magnetic sheet itself to guide the curve; this motion results in much smoother edges than trying to turn the scissors. To handle the tricky inner loops of letters like ‘A’, ‘B’, or ‘P’, use a sharp craft knife to make small, intersecting cuts inside the negative space, then gently pop out the center piece. Alternatively, a standard leather hole punch can quickly stamp out clean circular centers.
Pay close attention to how the material behaves as you cut. If you notice the edges of the magnetic sheet beginning to fray, or if the blade starts to drag and tear the backing instead of slicing cleanly, stop immediately. This resistance indicates that your blade has become dull. Change your utility knife blade or snap off the dull segment right away, as a sharp blade is essential for both clean cuts and personal safety.
Finishing Edges and Performing Safety Checks
Freshly cut magnetic letters often have sharp corners or tiny plastic burrs that can scratch sensitive skin. To make them safe for children, use a piece of fine-grit sandpaper, such as 320 or 400 grit, to gently round off any sharp points on letters like ‘K’, ‘M’, ‘V’, and ‘W’. Lightly run the sandpaper along all the cut edges to smooth out any rough spots, ensuring the letters feel comfortable and safe to hold.
Once the edges are smooth, perform a thorough safety inspection on each individual letter. Check that the printed paper or vinyl top layer is fully adhered to the magnetic backing, with no peeling or lifting at the corners. In humid climates like Singapore, adhesive bonds can weaken over time, so it is vital to verify that the layers are completely fused. Discard any letters with loose backing or small, detachable parts that could pose a choking hazard to young children.
Before handing the finished letters over to your child, clean them to remove any lingering debris. Cutting and sanding magnetic sheets produces fine magnetic dust, which can cling to the surfaces and stain hands or whiteboards. Wipe each letter thoroughly with a slightly damp microfiber cloth to remove dust, ink residue, or adhesive remnants. Avoid soaking the letters in water, as moisture can seep between the layers and cause the adhesive to fail or the paper to warp.
Storing and Caring for the Finished Letters
Proper storage is key to maintaining the shape and magnetic strength of your custom letters. Store them flat in a shallow plastic organizer box with adjustable compartments, keeping the letters sorted alphabetically for easy access. Avoid tossing them loosely into a deep toy bin, as bending or twisting the letters can damage the magnetic structure and cause the layers to delaminate over time.
To keep the letters sliding smoothly and adhering well, maintain both the magnets and the play surfaces. Regularly wipe down your whiteboard, easel, or refrigerator door with a mild cleaner to remove dust, finger oils, and marker residue. If the magnetic letters themselves accumulate dirt, wipe them down with a damp cloth and dry them immediately with a soft towel. Never use harsh chemical solvents or abrasive cleaners, as these can dissolve the printed designs or degrade the magnetic binder.
Regularly inspect the letters during playtime for any signs of wear and tear. Look out for peeling edges, cracked magnetic backing, or a noticeable loss of magnetic grip. If a letter becomes damaged or starts to separate, remove it from the play set immediately to prevent any safety hazards. You can easily create a replacement letter using your leftover A4 magnetic sheet scraps, ensuring your child’s learning activities remain safe and uninterrupted.
Frequently Asked Questions (FAQ)
Can I use regular printer ink on printable A4 magnetic sheets?
Yes, but you must verify the compatibility of your specific printable A4 magnetic sheet first. Check the manufacturer’s packaging to see if the sheets are designed for inkjet or laser printers, as using the wrong printer type can damage your equipment or result in smeared ink. Once printed, let the sheet sit undisturbed on a flat surface for at least 10 to 15 minutes to allow the ink to dry completely before you begin cutting.
What should I do if the magnetic sheet jams in my electronic cutting machine?
If your electronic cutting machine jams, pause the process immediately to prevent motor damage. Check your machine’s manual to confirm the maximum material thickness it can accept, as some standard models cannot feed sheets thicker than 0.6 mm. Ensure your magnetic sheet is pressed firmly onto a strong-grip cutting mat with no air bubbles, and adjust your machine settings to a deeper blade depth with multiple light passes rather than a single deep cut.

Community discussion
Share your experience or ask a question. Comments are reviewed before publication.