
Creating custom loot bags from scratch is a rewarding way to elevate any celebration, whether you are preparing for a child’s birthday party, a festive holiday gathering, or a local community event. Instead of relying on mass-produced plastic bags, crafting your own packaging using wrapping paper and ribbon allows you to tailor the size, color scheme, and structural strength to your exact needs. This hands-on approach adds a highly personalized touch to your gifts and serves as a cost-effective, creative alternative that showcases your attention to detail.
The process of transforming a flat sheet of wrapping paper into a sturdy, three-dimensional gift bag relies on simple folding techniques and strategic reinforcement. By understanding how to select the right paper weight, fold secure base gussets, and attach durable ribbon handles, you can produce professional-looking bags that easily hold treats, stationery items, or small toys. This guide provides a comprehensive, step-by-step walkthrough to help you master the art of handmade loot bag construction.
Materials and Tools You Will Need
Before beginning your crafting project, gathering the correct stationery and wrapping supplies is essential for ensuring both structural integrity and a clean finish. The foundation of your loot bag is the wrapping paper itself. For optimal results, select a medium-weight wrapping paper, typically ranging between 70 GSM and 90 GSM (grams per square meter). Paper that is too thin, such as standard newsprint, will tear easily under the weight of party favors, while excessively thick paper or heavy cardstock can be difficult to fold cleanly and may crack along the creases. Pay attention to the pattern scale as well; small, repeating motifs or geometric designs work best for compact loot bags, ensuring that the design remains recognizable even after folding.
Products mentioned in this guide
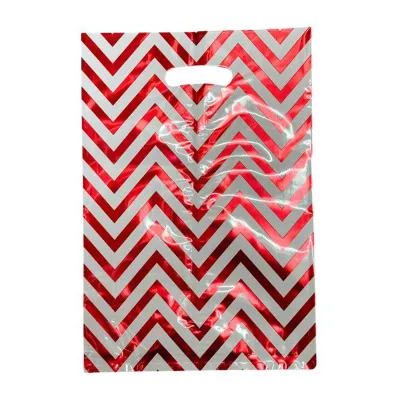
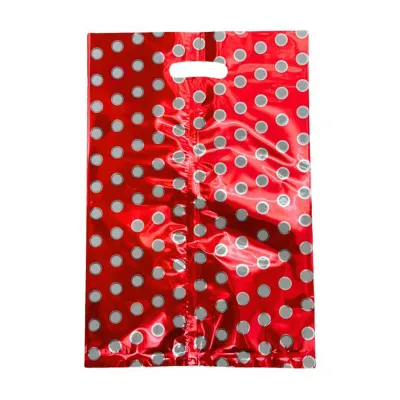
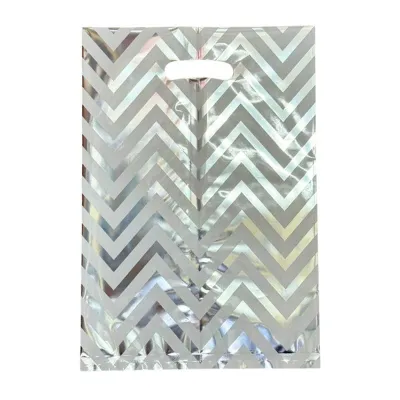
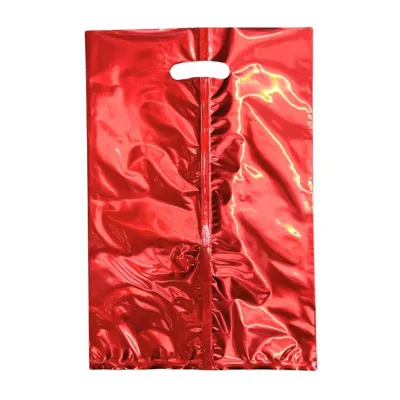
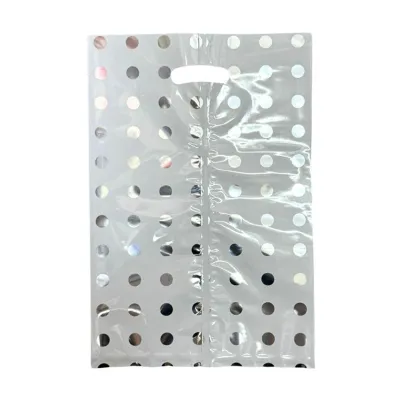
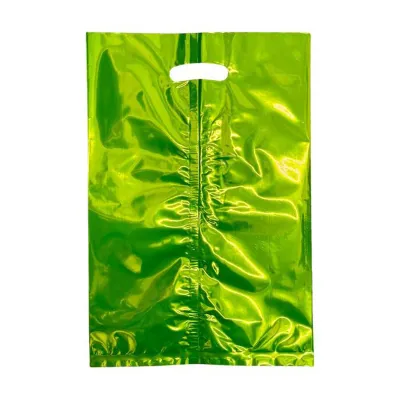
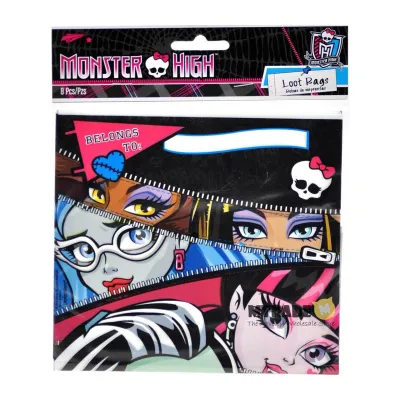
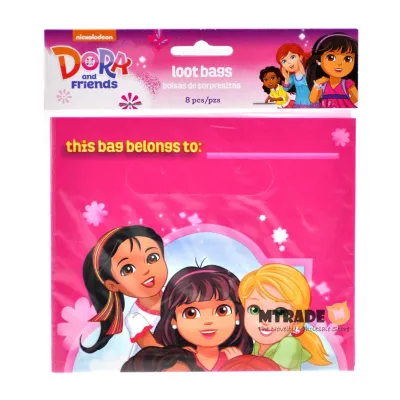
Prices are valid at publication and may change. Please refer to the product page for the latest price.
The ribbon you choose serves both a functional and aesthetic purpose, acting as the carrying handle while complementing your paper design. Satin, grosgrain, and organza are all excellent choices, with widths between 6mm and 15mm being the most practical for small to medium bags. Grosgrain ribbon is particularly favored for its ribbed texture, which provides excellent knot security and structural strength, preventing the handles from slipping or untying when the bag is loaded.
To assemble the bags cleanly, you will need a few essential stationery tools. A pair of sharp scissors or a utility knife is required for precise cuts, while a metal ruler helps you measure dimensions accurately and score crisp, straight folds. For adhesives, high-quality double-sided tape is highly recommended over liquid glues, as it provides an instant, strong bond without warping or wrinkling the paper. If you plan to use liquid craft glue, ensure you have a small brush to apply it in thin, even layers. Finally, keep a standard single-hole punch on hand for creating clean handle openings, and always work on a flat, stable cutting mat to protect your work surface and ensure safety when using sharp blades.
Step-by-Step Guide to Folding and Assembling the Bag
To begin construction, you must first measure and cut your wrapping paper to the correct dimensions. For a standard-sized loot bag that can comfortably hold a selection of candies, small notebooks, and toys, cut a rectangular sheet measuring 30cm in height by 50cm in width. You can easily scale these measurements up or down depending on your specific favors, keeping in mind that the width of the paper determines the circumference of the bag, while the height determines both the final height and the depth of the base.

Once your paper is cut, place it face down on your work surface so the unprinted side is facing up. Fold the top edge of the paper down horizontally by approximately 3cm to 4cm to create a clean, reinforced top collar. This double-thickness fold is a critical step, as it provides the necessary structural strength to support the ribbon handles later on. Use your metal ruler or a bone folder to press along this fold, ensuring the crease is perfectly sharp and straight across the entire width of the paper.
Next, you will form the main body cylinder of the bag. Fold the left and right vertical edges of the paper inward toward the center, allowing them to overlap by about 2cm. Before sealing, verify that the cylinder is straight and even. Apply a strip of double-sided tape along the entire length of the overlapping seam, then press down firmly from one end to the other to create a secure, flat paper tube. Ensure the seam is positioned slightly off-center so that it will sit discreetly on the back or side of the finished bag rather than directly down the middle of the front panel.
With the tube secured, it is time to construct the bottom gusset, which allows the bag to stand upright. Fold the bottom edge of the tube upward by about 8cm; this folded section will define the depth of your bag’s base. Open this newly folded bottom flap and gently press the left and right outer corners inward, flattening them down to form two neat, symmetrical triangles on either side. This will create a diamond-like shape at the bottom of your paper tube.
To seal the base, fold the top and bottom horizontal flaps of this diamond shape toward the center line, ensuring they overlap by about 1.5cm. Apply double-sided tape to the overlapping edges, making sure the tape does not extend past the seams, which could cause the inside of the bag to stick together. Press down firmly to secure the bottom of the bag. To complete the structure, gently push the vertical side panels of the bag inward along their center lines, creating a soft crease that runs from the bottom corners up to the top rim. Press these side creases flat to set the classic rectangular shape of your custom loot bag.
Adding Ribbon Handles and Decorative Finishes
Once the main paper structure is fully assembled, you can proceed to attach the ribbon handles. Using your single-hole punch, create two holes on the front panel and two holes on the back panel, punching directly through the reinforced top collar you folded in the earlier steps. Space the holes evenly, approximately 5cm to 8cm apart, and ensure they are aligned horizontally on both sides of the bag. Keeping the holes at least 1.5cm below the top edge prevents the paper from tearing upward when the bag is carried.
Cut two equal lengths of your chosen ribbon, with each piece measuring roughly 35cm. This length allows for a comfortable handle loop while leaving enough excess ribbon to tie secure knots. Thread one end of the first ribbon piece through the front-left hole from the outside of the bag to the inside. Tie a tight double knot on the inside of the bag, pulling it snug against the paper. Repeat this process with the other end of the ribbon through the front-right hole, and then follow the same steps with the second ribbon piece on the back panel to complete both handles.
If you are using synthetic ribbons such as polyester satin or grosgrain, the cut ends can easily fray over time, detracting from the polished look of your handiwork. To prevent this, carefully seal the ribbon ends. You can do this by holding the cut edge briefly near a small flame for a fraction of a second to melt the fibers slightly, or by applying a tiny dab of clear-drying craft glue to the tips. Always perform any heat-sealing steps with caution, keeping flammable materials and fingers at a safe distance.
To finish your custom loot bags, consider adding personalized embellishments that match the theme of your event. You can thread a custom-designed gift tag onto one of the ribbon handles before tying the final knot, or apply decorative stickers, stamps, or handwritten calligraphy directly to the front panel of the bag. In warm and humid climates, standard paper adhesives can sometimes lose their tackiness over time; therefore, ensure any stickers or labels are pressed down firmly with even pressure to guarantee they remain securely attached throughout your event.
Tips for Durability and Common Mistakes to Avoid
To ensure your handmade loot bags are durable enough to survive transport and handling, a few simple structural reinforcements can make a significant difference. If you plan to fill the bags with heavier items, such as small glass jars, heavy stationery sets, or dense baked goods, the paper base alone may sag or tear. To prevent this, cut a rectangular piece of lightweight cardboard or thick cardstock to match the exact dimensions of your bag’s bottom. Slide this cardboard insert flat into the bottom of the bag; it will distribute the weight of the contents evenly across the entire base, dramatically increasing the bag’s carrying capacity.
Another common mistake is using excessive liquid glue during assembly. While liquid craft glue provides a strong bond, its high water content can easily saturate wrapping paper, leading to unsightly wrinkling, warping, or even tearing along the seams. For a professional, wrinkle-free finish, double-sided tape is always the preferred choice. If you must use liquid glue, apply it sparingly with a fine-tip applicator or a small brush, and allow it to dry completely under a flat weight before handling or folding the paper.
Additionally, pay close attention to the paper grain and pattern alignment during the initial cutting phase. Wrapping paper often has a natural curl from being rolled; folding with the curl rather than against it can make the assembly process much smoother. Always double-check that your printed pattern is oriented upright from the bottom fold to the top hem before making any cuts, ensuring that your finished loot bags do not feature upside-down designs or awkward pattern cutoffs.
Frequently Asked Questions (FAQ)
Can I use thin tissue paper instead of standard wrapping paper?
Tissue paper is generally too delicate and porous to serve as the primary material for a functional loot bag, as it lacks the tensile strength to hold even lightweight items without tearing. If you wish to use a specific tissue paper pattern for its aesthetic appeal, you must reinforce it first. You can achieve this by laminating the tissue paper to a sheet of standard copy paper or lightweight cardstock using a dry adhesive run, or by using the tissue paper strictly as a decorative liner inside a sturdier wrapping paper bag.
How do I prevent the ribbon handles from ripping through the paper?
To prevent ribbon handles from tearing through the paper under weight, you must reinforce the areas around the punched holes. Before punching, apply a strip of clear packing tape or heavy-duty double-sided tape to the inside of the top fold where the holes will be located. Alternatively, you can place adhesive hole reinforcement rings—similar to those used for loose-leaf binder paper—on both the inside and outside of the punched holes to distribute the pulling force more evenly across the paper fibers.
What is the best adhesive for securing wrapping paper seams?
High-quality double-sided tape is the most effective adhesive for securing wrapping paper seams because it provides an instant, strong bond without introducing moisture to the paper. This prevents the paper from warping, wrinkling, or stretching during assembly. While glue sticks can be used for light paper, they may dry out and lose their grip over time, especially in humid environments. Liquid glues should generally be avoided for seams due to their tendency to cause paper wrinkling and slow drying times.

Community discussion
Share your experience or ask a question. Comments are reviewed before publication.