
Creating a handmade card is a deeply personal and rewarding way to show someone you care on their special day. It does not require expensive store-bought kits, professional design skills, or specialized crafting equipment. By utilizing basic household supplies like thick paper, standard household adhesives, and everyday writing tools, you can craft a unique keepsake. The secret to making memorable birthday cards lies in understanding your materials, planning your layout before gluing, and adding thoughtful, personalized touches that resonate with the recipient’s personality. With a few simple techniques, you can transform ordinary paper into a beautiful, lasting gift.
What You Need: Gathering Simple Materials for Your DIY Card
To begin crafting without buying expensive specialty kits, look around your home for everyday items that can be repurposed creatively. Building a small inventory of basic supplies will give you a solid foundation for any card design.
- Base Materials: The foundation of your card must be sturdy enough to stand upright and support decorative elements. Standard cardstock paper (ideally between 200 and 300 GSM) is the absolute best choice. If you plan to use wet mediums like watercolors or heavy ink, opt for thick watercolor paper. For an eco-friendly, upcycled approach, you can cut clean cardboard from dry-food packaging, such as cereal boxes, and wrap it in plain paper to create a solid base.
- Adhesives: Different adhesives serve specific purposes, and using the right one prevents paper damage. Glue sticks are excellent for light paper-to-paper bonding because they contain very little water, minimizing the risk of paper warping. Double-sided tape offers a clean, instant hold with zero drying time, making it perfect for securing photos or heavy cardstock layers. Liquid craft glue is strong but should be used sparingly; it is best reserved for small, intricate embellishments where a tiny dot is sufficient.
- Cutting and Measuring Tools: Clean, straight edges are essential for a polished, professional look. A pair of sharp scissors handles basic shapes, while a utility craft knife paired with a metal ruler allows for perfectly straight edges and intricate window cutouts. When using a craft knife, always work on a self-healing cutting mat or a thick piece of scrap cardboard to protect your table surface, and keep your fingers well away from the blade path.
- Decoration Elements: Look for items already available in your home. Felt-tip markers, colored pencils, and gel pens are perfect for lettering and illustrations. Old magazines, catalogs, or wrapping paper scraps can be cut up for colorful collages. Pressed dried flowers, ribbon scraps, or rolls of decorative washi tape add texture and color without adding unnecessary bulk.
Using what you already have encourages creative problem-solving and keeps the project highly affordable. Simple crafting means utilizing household items creatively rather than purchasing single-use supplies.
Products mentioned in this guide
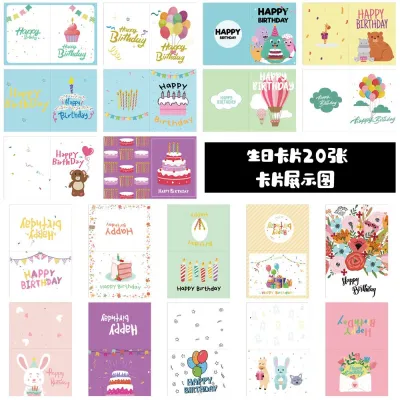
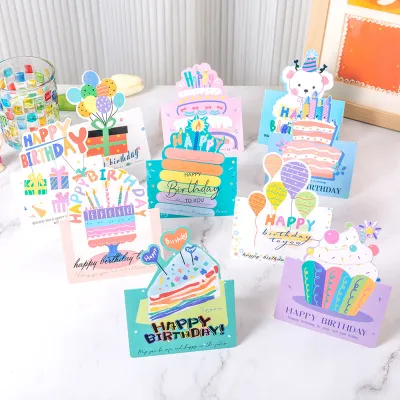
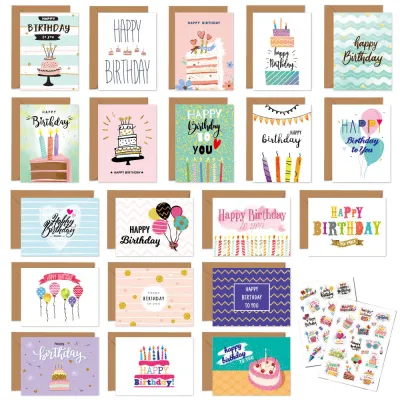
![[SG seller] 6 pcs Set Birthday Bronzing Greeting Message Card](https://img.lazcdn.com/g/p/6334419c32f7181c1646e702412c62f4.png_400x400q80.png_.webp)
![[GC 07] Greeting Card | Gift Card | Happy Birthday Card | 生日快乐](https://img.lazcdn.com/g/p/bce2841a367b23dfd22d293b162ff59b.jpg_400x400q80.jpg_.webp)
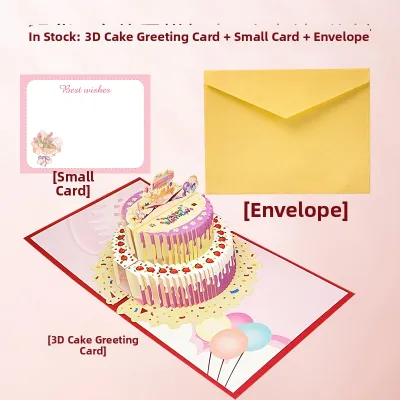

Prices are valid at publication and may change. Please refer to the product page for the latest price.
Step-by-Step Guide to Crafting Your Personalized Birthday Card
Crafting a memorable card is a systematic process that rewards patience. Before reaching for the glue, take time to visualize, measure, and test your layout. This logical progression ensures your materials fit together seamlessly and prevents frustrating mistakes. Give yourself about 30 to 45 minutes of uninterrupted time, clear a flat workspace, and enjoy the creative process of bringing your ideas to life.

Step 1: Preparing the Card Base and Layout
The foundation of any great card is a clean, sturdy base. To begin, decide on your card’s final dimensions. A standard folded card size is often around 10.5 cm by 14.8 cm (A6 standard), which easily fits into standard envelopes. Measure your paper to double these dimensions—21 cm by 14.8 cm—and mark the cutting lines lightly with a pencil. Use a metal ruler and a craft knife for the straightest edge.
To fold thick cardstock without creating ugly, jagged creases, you must score it first. Place your ruler precisely along the center line where the card will fold. Take a blunt-edged tool, such as the curved end of a paperclip, an empty ballpoint pen, or a bone folder, and drag it firmly along the ruler’s edge to compress the paper fibers. This indentation creates a guide path for a perfect fold.
When folding, bend the paper away from the scored indentation (the groove should be on the outside of the fold). This technique stretches the outer fibers smoothly and prevents the paper from cracking or splitting. Press the fold flat using the side of a marker or a flat tool to achieve a crisp, professional edge.
Step 2: Designing the Cover with Personal Touches
The cover is the visual hook of your card, and planning its composition beforehand is crucial. Lay out your decorative elements—such as paper cutouts, drawings, or photos—directly onto the closed card base without applying any adhesive. This “dry-fit” stage allows you to experiment with different arrangements, overlap elements, and adjust the balance of colors until you are completely satisfied with the visual flow.
To elevate the design, introduce depth through clever layering. Instead of gluing everything flat, use small pieces of double-sided foam tape to lift key elements off the background. This creates subtle shadows that make your central image or main greeting stand out. If you do not have foam tape, you can create a similar effect by gluing small, stacked scraps of thick cardboard behind your focal piece before mounting it.
For perfect alignment of your text or central graphics, use a soft pencil and a ruler to draw faint, horizontal guidelines on the cover. Write or place your design elements along these lines. Once your ink is completely dry or your elements are permanently glued down, you can gently erase these pencil marks with a clean vinyl eraser, leaving no trace of the planning stage.
Step 3: Writing a Meaningful Message Inside
The heart of a personalized card is the message written inside. Because writing directly onto the card base carries the risk of a spelling mistake or ink smudge, always draft your message on a separate piece of scrap paper first. This allows you to refine your wording, check your spelling, and estimate how much physical space your message will require.
Once your message is finalized, prepare the inside of the card. Use a ruler and a light pencil to draw subtle, straight guidelines to keep your handwriting neat and level. This is especially helpful if you are using unlined cardstock. Ensure you leave generous margins of at least 1.5 cm around the perimeter of the inside panel. Keeping the text centered with ample negative space around it makes the message much easier to read and visually appealing.
When writing, select a pen that complements your paper. Gel pens and fine-line markers offer vibrant colors but require a few minutes to dry completely. Avoid closing the card or touching the text immediately after writing. Once you are absolutely certain the ink is dry, gently erase your pencil guidelines. If your card base is very dark, you can write your message on a lighter piece of paper, cut it out with decorative borders, and glue it inside as a neat insert panel.
Creative Customization Ideas for Different Recipients
Tailoring your card’s design to the recipient’s personality makes the gift feel incredibly thoughtful. Match the design complexity to your own skill level, the recipient’s taste, and the time available before the celebration.
- For Close Friends: Focus on shared history and inside jokes. Create a mini photo collage on the cover using printed memories, polaroid photos, or even old ticket stubs from a concert you attended together. Surround these elements with hand-written quotes or playful doodles. You can use basic calligraphy or faux-calligraphy (thickening the downward strokes of your handwriting) to write their name or a funny catchphrase. This approach transforms the card into a nostalgic keepsake they will want to frame.
- For Parents or Grandparents: Classic, elegant designs often resonate best. Consider incorporating natural elements, such as pressed flowers or leaves collected from a local park. To press them quickly, place them between sheets of parchment paper inside a heavy book for a few days. Secure them to the card cover with a thin layer of clear-drying glue. Pair these natural accents with a hand-drawn illustration or a structured, beautifully formatted list of "reasons I appreciate you." This heartfelt approach highlights the time and care you invested in their gift.
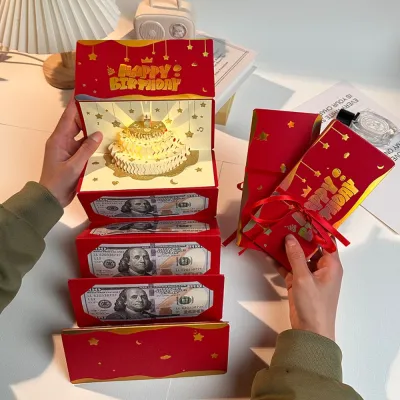
- For Partners: Romantic cards benefit from clean, minimalist designs and interactive elements. Use high-contrast color palettes, such as deep navy blue with gold accents, or classic black and white. You can create a subtle, elegant embossing effect by placing a stencil or a textured object under your paper and gently rubbing it with a smooth, hard tool like the back of a spoon. Alternatively, add a simple pop-up mechanism inside. A basic V-fold or parallel fold requires only a few strategic cuts and folds on an inner paper insert, creating a delightful three-dimensional surprise when they open the card.
Common Mistakes to Avoid When Making Handmade Cards
Even experienced crafters encounter setbacks, but most common mistakes are easily preventable with a little preparation and patience.
- Warping from Wet Glue: Applying too much liquid school glue is the primary cause of paper buckling and wrinkling. As the paper absorbs the water in the glue, it expands unevenly. To prevent this, use solid glue sticks or double-sided tape for large paper surfaces. If you must use liquid glue for tiny details, squeeze a small puddle onto scrap paper and use a toothpick to apply microscopic dots to your design elements.
- Ink Smudging and Bleeding: Not all pens and papers work well together. Some inks will bleed through thin cardstock or feather outward along the paper fibers, ruining your neat lettering. Always perform a quick trial on a scrap piece of your exact cardstock before writing on the actual card. Write a few test words to check the ink's drying speed, bleed resistance, and how easily it can be erased if you write over pencil guidelines.
- Crooked or Cracked Folds: Folding thick cardstock with bare hands without scoring first almost always results in a jagged, uneven fold line and cracked paper fibers. Always take the extra minute to score your fold line with a ruler and a blunt tool. Additionally, wash and dry your hands before folding to avoid transferring natural skin oils or graphite dust onto clean white paper.
- Overcrowding the Design: It can be tempting to use every sticker, ribbon, and marker color in your drawer, but a cluttered card loses its visual impact. Embrace negative space. Leaving empty areas around your central images and text allows the viewer's eyes to rest and focuses their attention on the most important parts of your design: the birthday greeting and your personal message.
Frequently Asked Questions (FAQ)
What is the best paper weight for a DIY birthday card?
Paper thickness and weight are measured in GSM (grams per square meter). For a sturdy card base that stands upright on a shelf without sagging under the weight of decorations, look for cardstock between 200 GSM and 300 GSM. Standard office copy paper is typically around 80 GSM, which is far too flimsy for a card base but works perfectly for drafting your messages, creating inner fold-out inserts, or folding custom envelopes.
How can I fix a mistake on my handmade card without starting over?
Mistakes are simply opportunities for creative redirection. If you smudge some ink or drop a blob of glue on the cover, do not throw the card away. Cover the blemish with a decorative element, such as a paper flower, a strategically placed sticker, or a strip of colorful washi tape. If you make a spelling error in your handwritten text, cut a neat rectangle of contrasting colored paper, write the corrected word or phrase on it, and glue it directly over the mistake as a deliberate, layered design accent.

Community discussion
Share your experience or ask a question. Comments are reviewed before publication.