
Crafting a handmade greeting card for Teachers’ Day is a highly personal and sincere way to show gratitude. In Singapore, where students and parents frequently seek meaningful ways to thank educators, a custom card offers a level of thoughtfulness that store-bought alternatives cannot match. By selecting quality materials, mastering basic cutting and folding techniques, and structuring a heartfelt message, you can create a beautiful keepsake that any teacher will cherish. This guide walks you through the entire process, from choosing the right stationery supplies to final packaging.
Selecting Paper, Adhesives, and Tools
The foundation of any successful handmade card lies in the materials you select. Choosing the right paper weight is crucial; standard printer paper is too flimsy and will warp when exposed to ink or glue. Instead, opt for cardstock, which typically ranges from 200 to 300 grams per square meter (gsm). This weight provides the necessary structural integrity to stand upright on a teacher’s desk. Consider the texture of the paper as well; smooth cardstock is well-suited for clean pen strokes and stamping, while textured paper adds a rustic, tactile quality but may require more care when writing.
Adhesives must be matched carefully to your materials to prevent warping, peeling, or unsightly bleed-through. Liquid craft glue is highly versatile and creates a strong bond, but it must be applied sparingly to avoid wrinkling thin paper layers. For flat paper-to-paper bonding, double-sided tape is the cleanest and most reliable option, offering an instant hold without any moisture. If you are attaching heavier or dimensional embellishments, such as ribbons, buttons, or wooden shapes, glue dots provide a strong, localized bond that sets immediately without mess.
Products mentioned in this guide
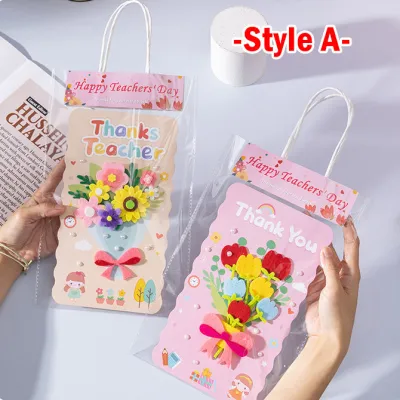
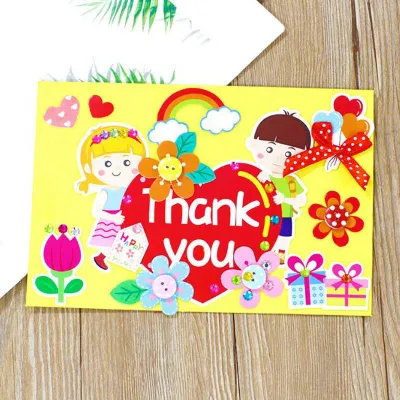
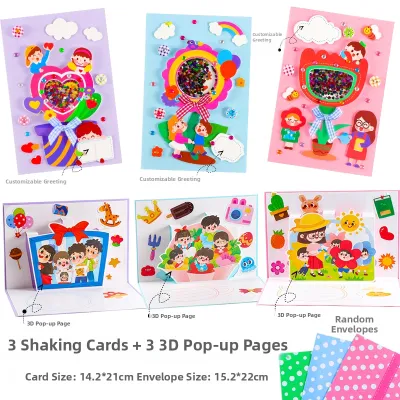
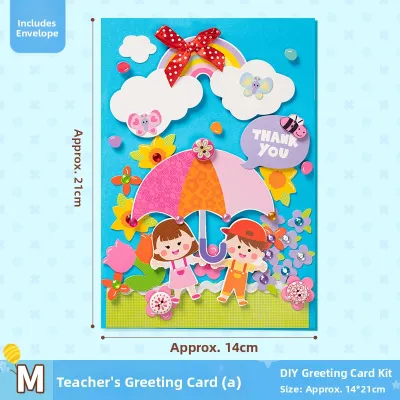
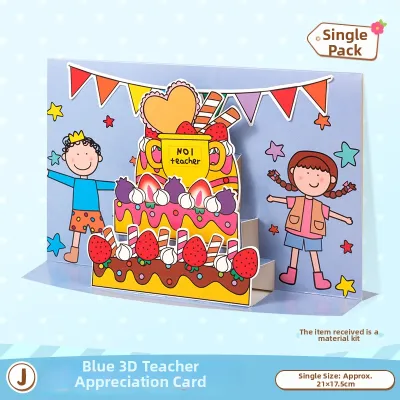
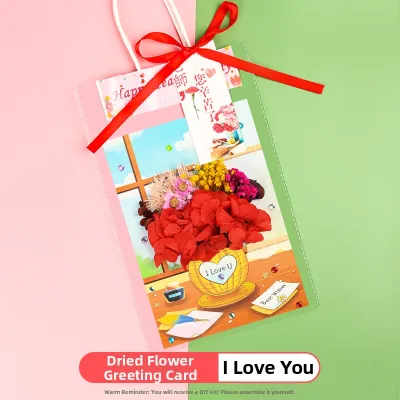
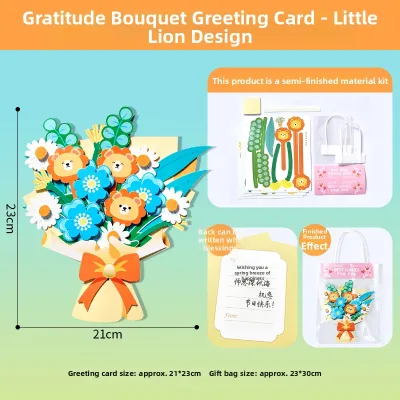
Prices are valid at publication and may change. Please refer to the product page for the latest price.
Having the right tools on hand ensures clean lines and professional results. A self-healing cutting mat protects your workspace, while a metal ruler provides a straight, durable edge that will not be shaved down by a utility knife or craft blade. For folding, a bone folder or a plastic scoring tool is indispensable. This tool allows you to crease the paper cleanly without tearing the delicate fibers of the cardstock.
Before applying any ink to your final card, always perform a quick compatibility test on a scrap piece of the same paper. Different pens and markers react uniquely to various paper surfaces. Test your brush pens, gel pens, or markers to observe if the ink bleeds through to the other side, feathers along the paper fibers, or takes too long to dry. This simple step prevents unexpected smudges and ruined designs on your final project.
Measuring, Cutting, and Folding the Card Base
A clean, symmetrical card base is the hallmark of a well-crafted greeting card. To begin, determine your desired card dimensions. A standard A5 sheet folded in half to create an A6 card is a highly practical choice, as it fits standard envelopes comfortably. Place your cardstock on a cutting mat and use a sharp utility knife guided by a metal ruler to make precise cuts. Applying steady, moderate pressure over two or three light passes yields a much cleaner edge than trying to force the blade through thick cardstock in a single cut.

Attempting to fold thick cardstock without scoring first often results in unsightly, jagged cracks along the spine. To avoid this, align your metal ruler along the center line where the fold will be. Run your scoring tool or bone folder firmly along the ruler to create a neat, indented groove. This groove compresses the paper fibers, guiding them to fold smoothly and evenly without splitting.
Understanding paper grain direction can also significantly improve the quality of your fold. Paper is manufactured with fibers running in a specific direction. Folding parallel to the grain is much easier and results in a smoother crease, whereas folding against the grain can cause resistance and minor cracking. You can identify the grain direction by gently bending the paper in both directions; the direction that offers the least resistance is parallel to the grain.
Once you have scored and folded the card, you may notice that the edges do not align precisely flush. This minor misalignment is common when folding thick paper. To resolve this, press the fold firmly with your bone folder, then place your metal ruler slightly inside the uneven edge and trim the excess paper with a sharp craft knife. This final trim ensures all edges are precisely aligned and professional.
Designing the Cover and Personalizing the Message
Designing the cover of your Teachers’ Day card requires a balance between visual elements and negative space. It is tempting to fill every square inch with decorations, but leaving open, quiet areas allows the eye to focus on the key message or central design. Consider a clean layout, such as a neat hand-lettered “Thank You” centered on the cover, surrounded by a simple border or a few delicate paper cutouts.
To add visual interest and depth, experiment with layering different paper scraps or patterned sheets. You can cut a slightly smaller piece of colored paper and adhere it to the center of your card base to create a vibrant border. Elevating certain elements, such as a small paper flower or a hand-drawn book icon, with thin foam adhesive tape creates a subtle three-dimensional shadow effect that makes the design pop.
The heart of any Teachers’ Day gift is the personal message inside. Take some time to draft your message on a separate piece of paper before writing it in the card. A meaningful message often goes beyond a simple “Happy Teachers’ Day.” Try to recall a specific moment when the teacher helped you understand a difficult topic, offered encouragement, or made the classroom environment welcoming. Expressing how their dedication impacted your learning journey adds a deeply personal touch that teachers truly appreciate.
Once you begin writing and gluing elements onto your card, patience is essential. Liquid glues and gel inks require adequate drying time to prevent accidental smudging. Avoid the temptation to close the card or touch the decorated surfaces immediately. Leave the card open in a clean, dust-free area for at least fifteen to thirty minutes to ensure all ink and adhesive have fully set.
Assembling Decorations and Final Quality Checks
As you assemble the final decorations, match the strength of your adhesive to the weight and texture of each item. Lightweight paper cutouts require only a thin layer of double-sided tape or standard craft glue. However, if you are adding dimensional elements like fabric ribbons, small buttons, or delicate pressed flowers, you will need a stronger adhesive. Glue dots or a specialized heavy-duty craft adhesive will ensure these elements remain securely attached and do not fall off during transit.
While three-dimensional decorations add charm, it is important to ensure the card can still close relatively flat. Bulky elements placed too close to the spine can force the card open, putting strain on the fold and potentially warping the paper over time. Keep thicker embellishments toward the center or outer edges of the cover, and verify that the card can rest comfortably inside its envelope without excessive bulging.
Before declaring your project complete, conduct a thorough quality check. Inspect the surface of the card under good lighting for any stray glue marks, visible pencil guidelines, or minor ink smudges. Gently erase any pencil marks using a soft, clean eraser, taking care not to rub too hard on textured paper. If you spot any tiny glue strings from craft glue, you can carefully remove them with a pair of fine tweezers.
To ensure your card looks its best when presented, store it flat under a light, clean weight, such as a hardback book, while the final adhesives cure. This helps the paper fibers settle and prevents any minor warping that can occur as liquid glues dry. Place a clean sheet of scrap paper between the book and your card to protect the cover design from any friction or transfer.
Packaging and Presenting Your DIY Gift
The presentation of your handmade card is just as important as the card itself. Select an envelope that matches the dimensions of your card, leaving a few millimeters of clearance on all sides so it slides in easily. If your card features delicate or raised elements, a clear protective sleeve made of cellophane can showcase your hard work while protecting the surface from dust and fingerprints.
For an extra touch of elegance, consider wrapping a simple belly band around the outside of the card or envelope. A belly band is a thin strip of coordinating patterned paper secured at the back, which holds the card closed beautifully. Alternatively, wrapping a piece of natural twine around the card and tying it in a neat bow adds a charming, rustic finish.
If the card needs to be carried in a school bag or sent through the mail, take extra precautions to prevent it from being crushed. Place the card inside a rigid folder or sandwich it between two clean pieces of stiff cardboard before packing it. This simple step ensures that your thoughtful, handmade creation arrives in pristine condition, ready to bring a smile to your teacher’s face.
Frequently Asked Questions (FAQ)
How can I fix a smudge or visible glue mark on the cardstock?
If you notice a minor ink smudge or a stray glue mark, do not panic. For light adhesive residue, a soft, dry eraser or a specialized adhesive eraser can gently lift the glue without damaging the paper. If the smudge is permanent, you can creatively cover the mistake by layering an additional decorative element over it, such as a small paper leaf, a die-cut shape, or a neat sticker. Avoid using harsh liquid cleaners or rubbing the paper too aggressively, as this will tear the delicate paper fibers and worsen the damage.
What is the best way to mail a handmade card with bulky decorations?
Mailing a card with three-dimensional elements requires extra protection to ensure it survives transit. Instead of a standard paper envelope, place the card inside a rigid cardboard mailer or a padded bubble envelope to absorb impacts. Wrap the card in a sheet of clean tissue paper or place it in a protective sleeve to prevent friction from scratching the cover. Be sure to check local postal guidelines for thickness and weight limits, as bulky cards may require additional postage compared to standard flat letters.

Community discussion
Share your experience or ask a question. Comments are reviewed before publication.