
Creating a handmade greeting card from card paper is an engaging way to share a personal message. The process relies on selecting the right paper weight, executing clean folds, and applying balanced decorative layers. By mastering basic techniques like scoring and layering, you can produce cards that look polished and stand up securely on display.
Gathering the Right Card Paper and Crafting Tools
Selecting the right card paper weight is the foundation of a successful card project. For a sturdy card base that stands upright without sagging, look for card paper between 220 GSM (grams per square meter) and 300 GSM. Anything lighter than 200 GSM may bend under the weight of decorations, while paper heavier than 300 GSM can be difficult to fold cleanly without specialized equipment. For decorative layers, lighter cardstock (160 GSM to 200 GSM) works well because it does not add excessive bulk to your design.
To achieve clean, professional edges, assemble a set of basic cutting and measuring tools. A sharp utility knife or craft knife paired with a metal ruler provides the straightest lines. Always use a self-healing cutting mat to protect your work surface and keep your blade from dulling prematurely. When using a craft knife, keep your fingers behind the metal ruler’s edge and apply moderate, even pressure, making multiple light passes rather than trying to force the blade through thick card paper in a single stroke.
Products mentioned in this guide
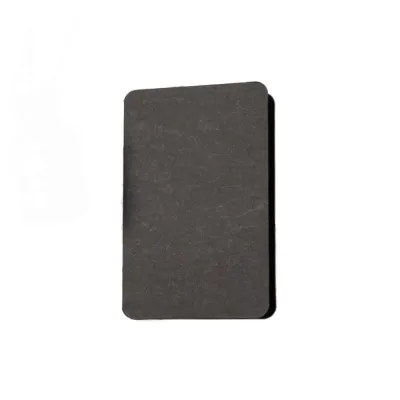
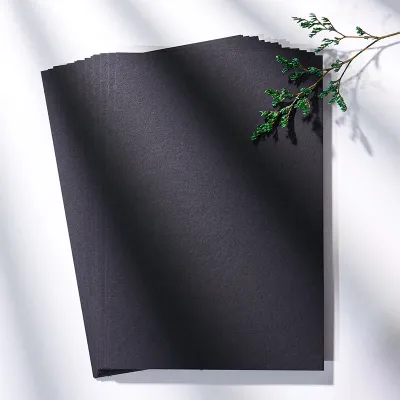
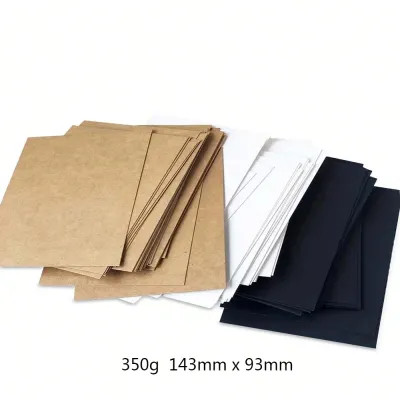
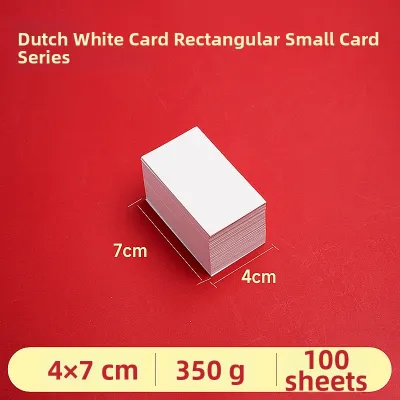
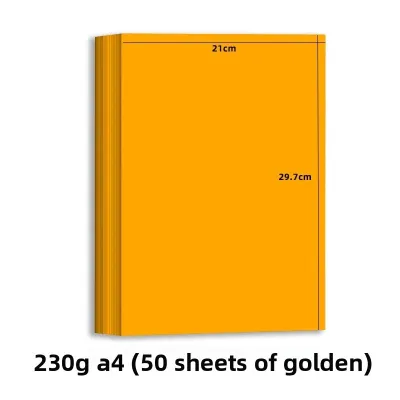
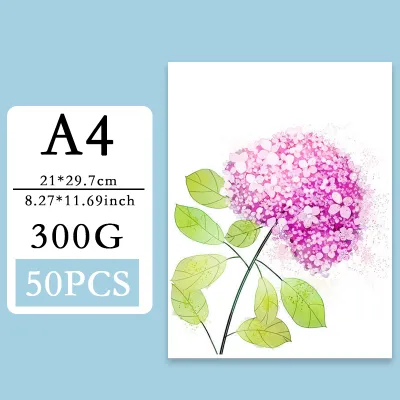
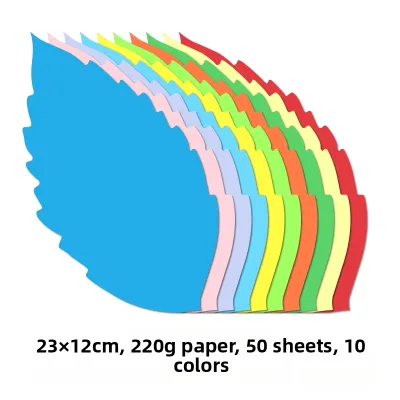
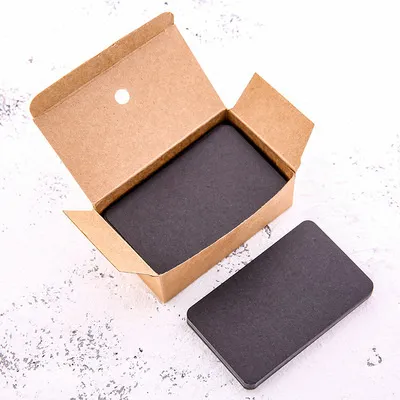
Prices are valid at publication and may change. Please refer to the product page for the latest price.
Your choice of adhesive directly impacts the longevity and neatness of your card. Double-sided tape is highly recommended for flat layers because it provides an instant bond and does not introduce moisture, which is particularly beneficial in humid climates where liquid glues dry slowly and can cause paper fibers to swell and warp. Glue sticks are convenient for lightweight paper elements but may lose their grip over time. For heavy embellishments like buttons or thick cardstock die-cuts, a high-tack liquid craft glue or glue dots will provide the necessary holding power. When using liquid glue, apply it sparingly near the center of the piece and spread it thinly toward the edges to prevent squeeze-out.
Measuring, Scoring, and Folding the Card Base
A classic card size is A6, which measures 105mm by 148mm when folded. To make this, start with an A5 sheet of card paper (148mm by 210mm). Alternatively, a square card measuring 150mm by 150mm is popular but may require custom envelopes, so verify your envelope dimensions before cutting your paper. Accurate measurements are essential, so use a sharp pencil to make tiny guide marks near the edges of your paper rather than drawing long lines that you will have to erase later.

Thick card paper consists of dense cellulose fibers. If you attempt to fold it directly, these fibers will stretch and tear on the outside of the fold, resulting in an unsightly, jagged crease. Scoring compresses the fibers along a precise line, creating a clean hinge. Place your card paper on your cutting mat, align your metal ruler with the center mark, and run a bone folder or the blunt back of a butter knife along the line. Apply firm, even pressure to create a clear indentation without tearing through the paper surface.
Once scored, fold the paper away from the indentation (the valley of the score line becomes the outside of the fold). Align the outer corners of the card precisely before pressing down on the fold. Use the flat side of your bone folder or a clean, smooth plastic edge to press along the crease, moving from the center outward to ensure a sharp, professional edge that lies flat.
Designing and Layering the Front Cover
To make your card visually engaging, avoid gluing everything flat. Creating layers adds depth and shadow. You can achieve this by using double-sided foam tape to elevate key elements, such as a central sentiment or a decorative frame. If foam tape is unavailable, you can glue small offcuts of thick card paper behind your decorative pieces to lift them slightly off the background.
Gather your decorative elements, which might include die-cut shapes, stamped designs, or hand-drawn illustrations. Before applying any adhesive, arrange these pieces on your card front to test the layout. This dry run allows you to adjust the composition without damaging the paper.
Apply basic design principles like the rule of thirds to create a balanced composition. Instead of placing your main element dead center, try positioning it slightly to the left or right, or in the upper third of the card. Leave adequate negative space (empty areas) so the design does not feel cluttered. A clear focal point, such as a bold sentiment, should draw the eye immediately.
Assembling the Interior and Adding Finishing Touches
If your card base is made of dark paper (like navy blue, forest green, or black) or has a highly textured surface, writing a message directly on the inside can be difficult. To solve this, cut an inner panel from a lighter, smoother paper (such as 100 GSM to 120 GSM white or cream paper). Make this panel 5mm to 10mm smaller than the card’s interior dimensions on all sides. This creates a neat border and provides an excellent surface for writing.
Before gluing the inner panel inside the card, write your message on it. This prevents any ink from bleeding through to the back of the card and allows you to start over easily if you make a writing mistake. Test your pens on a scrap piece of the same paper first; highly absorbent papers can cause ink to feather, while coated papers may require several minutes to dry to prevent smudging.
Add final touches like ribbons, sequins, or flat-backed gems. Secure these using small glue dots or a tiny dab of strong liquid adhesive. Keep these embellishments relatively flat to ensure the card can still fit into a standard envelope and be mailed without requiring extra postage or causing the envelope to tear.
Allow all adhesives to dry completely. In humid environments, this can take up to an hour for liquid glues. Once dry, check that the card closes flat. If it springs open slightly, gently run your bone folder along the spine crease once more to reinforce the fold.
Fixing Common Mistakes When Working with Card Paper
If you have overapplied liquid glue and the card paper has buckled, place the card between two sheets of clean baking paper and press it under a heavy stack of books overnight. To prevent this in the future, switch to double-sided tape or apply liquid glue in thin, spaced-out dots rather than a solid wet layer.
If you forgot to score your paper and the fold has cracked, you do not need to discard the card. You can conceal the cracked spine by gluing a coordinating strip of colored card paper, washi tape, or a piece of ribbon vertically over the fold line.
If you place a layered element down crookedly with double-sided tape, do not rip it off immediately, as this will tear the paper fibers. Instead, if you are working on a heat-resistant surface, you can use a craft heat tool on a low setting to gently warm the adhesive from the back, softening it enough to slide or peel the layer away safely. For liquid glue, acting quickly within the first few seconds allows you to slide the paper into alignment before the bond cures.
Frequently Asked Questions (FAQ)
What is the best weight of card paper for making greeting cards?
For a sturdy card base that can support layers and embellishments without sagging, a weight between 220 GSM and 300 GSM is highly recommended. If you plan to add heavy decorations like wooden shapes, metal charms, or multiple thick layers, opt for 300 GSM or higher. For decorative layers, inserts, and delicate die-cuts, lighter paper between 120 GSM and 180 GSM is more suitable, as it keeps the overall card from becoming too thick to fold or mail. Thicker card bases require deeper scoring with a bone folder to prevent the dense fibers from cracking when folded.
How can I prevent dark card paper from showing through lighter layers?
When placing light-colored decorative paper or thin vellum over a dark card base, the dark background can dull the colors or show through. To prevent this, back your light-colored element with a layer of opaque white or neutral cardstock first. This acts as a barrier, preserving the brightness of your top layer. Additionally, ensure your adhesive is applied evenly; patchy glue application can create dark spots or shadows that show through thin paper. Using a high-quality double-sided adhesive sheet across the entire back of the light paper provides a uniform, invisible bond.
Community discussion
Share your experience or ask a question. Comments are reviewed before publication.