
Children’s Day is a joyous occasion filled with school parties, family outings, and gift-giving. While store-bought gift bags are convenient, crafting your own custom gift bag using wrapping paper and ribbons adds a deeply personal touch. It also allows you to customize the dimensions perfectly to fit specific gifts, whether you are packing a set of colorful gel pens, a plush toy, or a collection of healthy snacks. By mastering a few simple folding techniques, you can transform a standard sheet of wrapping paper into a sturdy, professional-looking gift bag that can withstand the excitement of eager young hands.
Making your own gift bags is also a highly cost-effective choice, especially when preparing multiple gifts for school classrooms or community events. Instead of spending S$3 to S$5 on individual pre-made bags, a single roll of high-quality wrapping paper can yield several custom bags. This guide will walk you through the entire process, from selecting the right materials to folding, reinforcing, and decorating your custom Children’s Day gift bag.
Gathering the Right Paper, Ribbons, and Tools
Before beginning your project, gathering the correct materials is essential for ensuring your gift bag is both beautiful and structurally sound. The choice of paper weight and ribbon type directly impacts how much weight the bag can carry and how clean your folds will look.
Products mentioned in this guide
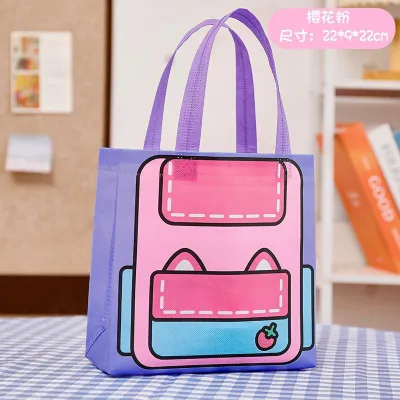
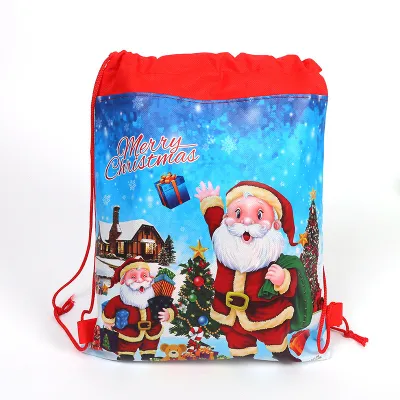
![[SG] BIG SIZE Pokemon Face gift goodie bag High Quality Thick birthday party childrens day present cute paperbag Pikachu Charizard Squirtle](https://img.lazcdn.com/g/ff/kf/Sd327f917f3dd4c969f37c1aed4855a41q.jpg_400x400q80.jpg_.webp)
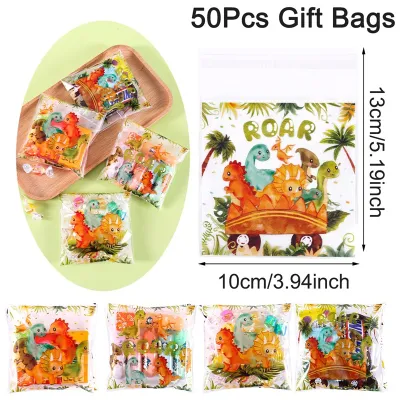
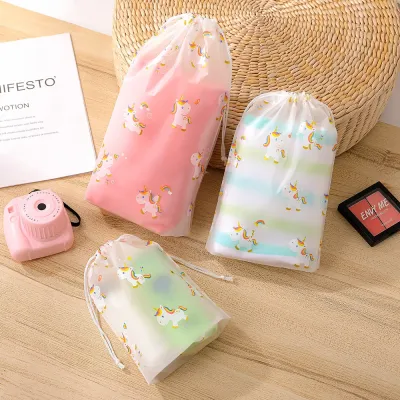
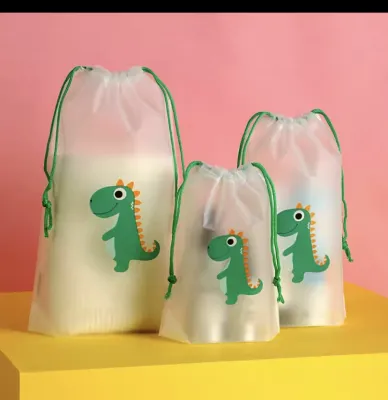
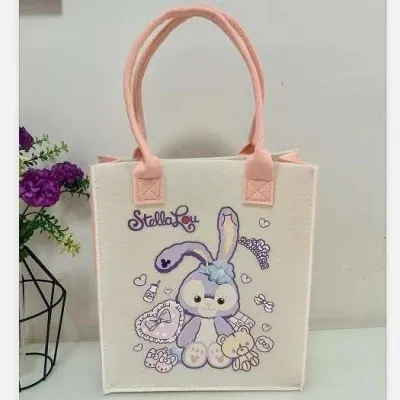
Prices are valid at publication and may change. Please refer to the product page for the latest price.
For the paper, aim for a weight between 80 GSM and 120 GSM. Standard lightweight wrapping paper (around 70-80 GSM) is highly flexible and easy to fold, making it ideal for smaller, lighter gifts like stationery or stickers. However, for heavier items like books or wooden toys, opt for thicker kraft paper or heavyweight wrapping paper (100-120 GSM) to prevent accidental punctures. Avoid extremely thin, cheap paper that tears easily under tension.
Your ribbon selection should balance aesthetics with functionality. Grosgrain ribbon is highly recommended for handles because its ribbed texture provides excellent grip and prevents knots from slipping. Satin ribbon offers a beautiful, glossy finish that looks incredibly festive, but its smooth texture means you must tie double or triple knots to keep them secure. Avoid thin plastic curling ribbons for handles, as they can easily slice through the paper holes when the bag is lifted.
For tools, prepare a sharp pair of scissors or a paper trimmer, a standard hole puncher, a pencil, a long ruler, and some scrap cardboard (such as an old cereal box) to reinforce the bottom of the bag. For adhesives, double-sided tape is the absolute best choice. Unlike liquid school glue, which can warp or wrinkle paper due to moisture—especially in humid climates—double-sided tape provides an instant, flat, and strong bond. Since this project involves sharp scissors, always ensure adult supervision if children are participating in the crafting process.
Step 1: Measuring and Cutting the Wrapping Paper
To ensure your gift bag fits its contents perfectly, you must calculate the paper dimensions before cutting. A bag that is too small will bulge or tear, while one that is too large will look empty and lose its structural integrity.

Use this simple formula to determine the required size of your paper sheet:
- Paper Width: Measure the width and depth of your gift. The formula is: (Desired Bag Width x 2) + (Desired Bag Depth x 2) + 5 cm for the seam overlap.
- Paper Height: Measure the height of your gift. The formula is: Desired Bag Height + Desired Bag Depth + 4 cm for the top fold-over collar.
Once you have calculated these dimensions, lay your wrapping paper face down on a clean, flat work surface. Use a pencil and a long ruler to mark the cutting lines on the reverse side of the paper.
Before making any cuts, check the orientation of the pattern on the front of the paper. If the paper features directional designs, such as upright cartoon characters or vertical stripes, make sure your height measurement aligns with the top and bottom of the pattern so the design does not end up sideways or upside down on the finished bag. Cut along your marked lines using long, smooth scissor strokes to ensure perfectly straight edges.
Step 2: Folding and Assembling the Bag Structure
With your paper cut to size and lying face down, you are ready to fold. Precise creases are the secret to a professional-looking gift bag, so press down firmly along every fold line using your fingernail or the edge of a ruler.
First, fold the top edge of the paper down toward you (onto the reverse side) by about 3 to 4 cm. This fold creates a reinforced rim at the top of the bag, which is crucial for supporting the ribbon handles later. Apply a strip of double-sided tape under this flap and press it down securely.
Next, fold the left and right sides of the paper toward the center so they overlap by about 2 cm. Apply a strip of double-sided tape along the entire length of the overlapping edge. Press the seam down firmly to create a flat paper cylinder, ensuring the seam is perfectly straight to keep the bag aligned.
To give your bag depth, gently flatten the cylinder so the vertical seam sits near the center of the back panel. Fold both the left and right outer edges inward by about half of your desired bag depth. Open these side folds slightly and push the center crease inward to create an “M” shape or accordion fold on each side.
Fold the bottom edge of the cylinder upward. The height of this fold should match your desired bag depth. Open this folded bottom section and press the left and right outer corners inward to form neat triangular flaps on both sides. You will now have a top flap and a bottom flap remaining. Fold these two flaps toward the center, overlapping them by about 1.5 cm. Apply double-sided tape generously to the overlapping flaps and press them down to seal the bottom of the bag.
To ensure the bag can hold gifts without sagging, cut a piece of stiff cardboard to match the exact dimensions of your bag’s bottom. Slide this cardboard piece inside the bag so it sits flat against the bottom. This simple step dramatically increases the bag’s weight capacity.
Step 3: Securing Ribbon Handles and Closures
Ribbon handles add a touch of elegance and make the gift bag easy for children to carry. To ensure they do not tear through the paper, follow a careful reinforcement and knotting process.
On the front panel of the bag, use a ruler to mark two points on the reinforced top collar, spaced evenly from the side edges (for example, 4 cm from each side). Repeat this exact measurement on the back panel. Use a single-hole puncher to punch holes through the double-layered paper at these four marked points.
For added security, especially if the bag will hold heavier items like books or small toys, apply a small square of heavy-duty clear tape or a small piece of cardstock over the punched holes on the inside of the bag. Punch through this reinforcement layer again. This prevents the ribbon from pulling through the paper under tension.
Cut two equal lengths of ribbon, approximately 35 cm each. Take one ribbon and thread one end through the front-left hole from the outside to the inside of the bag. Tie a secure double knot on the inside. Thread the other end of the same ribbon through the front-right hole and tie another double knot. Repeat this process with the second ribbon on the back panel.
Gently tug on the handles from the outside to ensure the knots are large enough and secure enough that they cannot slip back through the punched holes. If you are using slippery satin ribbon, you may want to pass the ribbon end through the knot a third time to prevent it from unraveling.
Step 4: Adding Festive Children's Day Decorations
Children’s Day is all about vibrant colors, fun, and playfulness. Once the structural work is complete, you can customize the exterior of the bag to match the festive theme.
Use colorful stickers, paper cutouts of animals, stars, or balloons, or even small hand-drawn illustrations to decorate the front panel. If you are preparing multiple bags for a school classroom, you can use different colored stickers to help identify which bag belongs to which child.
Cut a small tag out of colored cardstock, write a warm Children’s Day message, and punch a hole in the corner. You can thread this tag onto one of the ribbon handles before tying the final knot inside the bag.
While it is tempting to go all out with decorations, avoid adding heavy items like large plastic toys or thick wooden ornaments to the exterior of the bag, as this can cause the paper to sag or tear. Stick to lightweight paper crafts, thin ribbons, and flat stickers to keep the bag looking neat and upright.
Fixing Common Folding and Structural Mistakes
Even with careful planning, minor mistakes can happen during the folding process. Fortunately, most paper-crafting errors are easy to correct.
If you notice that your side gussets or bottom flaps are uneven, do not try to force a new fold over the old one immediately. Gently flatten the paper, smooth out the incorrect crease with the flat side of your thumb, and carefully re-measure before making the correct fold. Using a bone folder or the smooth plastic handle of your scissors can help you create crisp, clean lines.
If the bottom of your bag feels flimsy or starts to pull apart under the weight of the gift, do not panic. Simply apply an extra strip of wide packaging tape across the bottom seam on the outside, or add a second layer of cardboard inside the bag to distribute the weight more effectively.
If double-sided tape accidentally peeks out from a seam or if you made a mistake with single-sided tape on the exterior, you can easily conceal it. Cover the spot with a strategically placed sticker, a decorative paper cutout, or a small ribbon bow to make the mistake look like an intentional design choice.
Frequently Asked Questions (FAQ)
Can I use regular craft paper instead of patterned wrapping paper?
Yes, craft paper is an excellent alternative. It is generally thicker and more tear-resistant than standard wrapping paper, making it highly durable for heavier gifts. However, because craft paper is stiffer, you must press your creases very firmly to ensure the bag holds its shape. To make plain brown or white craft paper festive for Children’s Day, you can decorate it with colorful stamps, hand-drawn doodles, or bright stickers.
How do I prevent the ribbon handles from tearing the paper?
To prevent ribbon handles from tearing the paper, always fold over the top collar of the bag to create a double-layered rim. Additionally, stick a piece of heavy-duty tape or glue a small strip of cardstock inside the fold before punching your holes. Choosing a wider ribbon, such as a 1.5 cm grosgrain ribbon, also helps distribute the weight of the gift more evenly than thin string or twine.
Community discussion
Share your experience or ask a question. Comments are reviewed before publication.