
Achieving a clear, smooth finish on laminated documents requires correct machine preparation, precise material alignment, and controlled heat application. Wrinkles, bubbles, and cloudy patches are preventable when you match the pouch thickness to your machine’s settings and feed the document with the sealed edge first. By establishing a systematic routine and understanding how heat and pressure interact with different paper types, you can consistently produce professional, durable results for home, school, or office projects.
Preparing Your Documents and Laminator
Before turning on your laminator, verify that your laminating pouches are compatible with your specific machine. Pouch thickness is measured in microns, typically ranging from 75 microns for flexible, everyday documents to 125 microns or more for rigid, heavy-duty items. Check the laminator’s specification label or user manual to confirm its maximum supported thickness. Attempting to run a pouch that is too thick for a low-power machine results in incomplete adhesive melting, which leaves cloudy patches and weak edges that easily peel apart.
Once you confirm compatibility, plug in the laminator and select the appropriate temperature setting for your pouch thickness. Most modern laminators feature an indicator light that changes color or turns on when the heating elements reach the correct operating temperature. Do not rush this process; feeding a document before the machine is fully heated causes uneven sealing and localized bubbling. If switching from a high-heat setting to a lower one, allow ten minutes for the rollers to cool down before inserting your next document.
Products mentioned in this guide
![[SG] A4 Laminating Machine Professional Laminator 320mm for Paper Pictures Documents Photo](https://img.lazcdn.com/g/p/f39f3725850ced7b02145d6fd93fb98e.jpg_400x400q80.jpg_.webp)
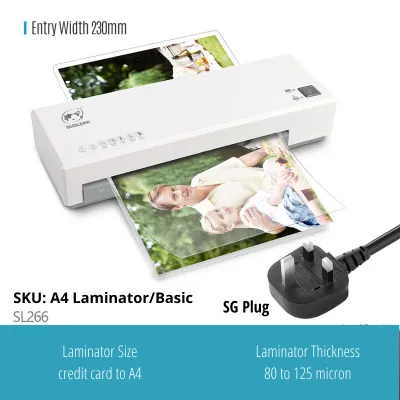

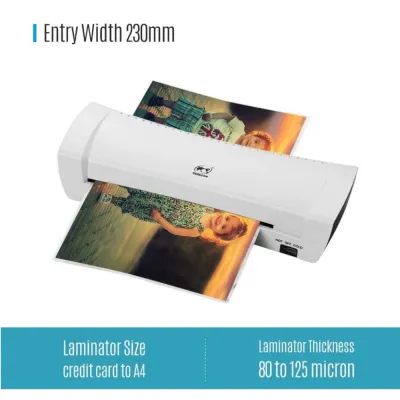
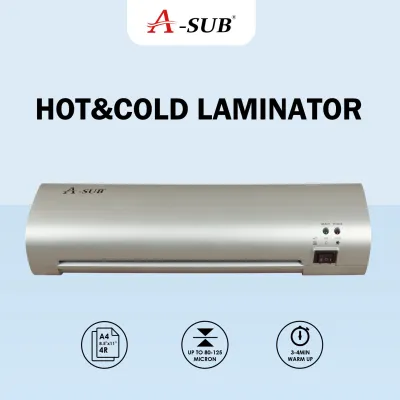
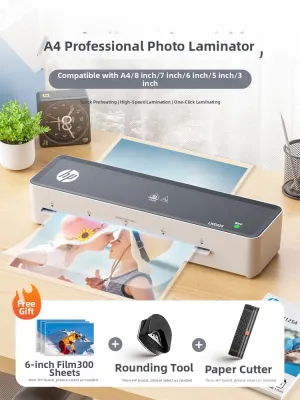
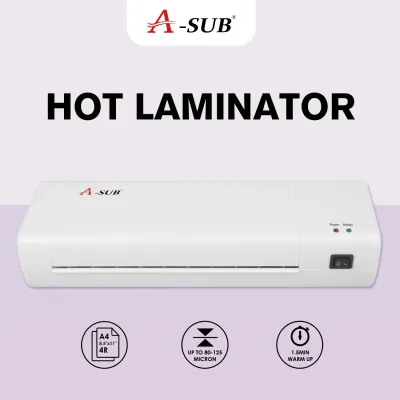
Prices are valid at publication and may change. Please refer to the product page for the latest price.
Preparing the document itself is equally important for preventing feeding issues. Wipe the paper surface with a dry, lint-free microfiber cloth to remove loose dust, fingerprints, or oils that can interfere with adhesive bonding. If you are laminating multiple small items within a single pouch, arrange them with at least five millimeters of space between each item to allow the plastic to seal around the edges. Ensure the paper is completely dry, as any trapped moisture will vaporize under high heat, creating permanent bubbles and warping the paper fibers.
Step-by-Step Laminating Process
The physical technique used to feed the pouch into the laminator determines the smoothness of the final seal. Always insert the sealed end of the laminating pouch into the machine first. The sealed edge acts as a stabilizing anchor, guiding the two loose sheets of plastic evenly through the rollers. If you insert the open end first, air becomes trapped inside the pouch, leading to severe wrinkling, shifting of the document, or a catastrophic wrap-around jam inside the rollers.

Align the pouch straight against the feed guide on the entry tray. Gently guide the sealed edge into the entry slot until the motorized rollers grab the pouch. Once the rollers engage, release your grip. Do not push, pull, or guide the pouch, as this disrupts roller speed and causes stretching, warping, or diagonal wrinkles. Keep both the entry and exit paths clear of obstacles so the pouch can travel in a flat, horizontal line without bending.
As the laminated document exits the rear of the machine, the plastic is still hot and the adhesive is semi-liquid. Avoid grabbing it immediately or letting it hang over the edge of the table, which can cause permanent bends or waves. Let the document slide onto a flat, clean, heat-resistant surface. Allow it to cool completely for at least one to two minutes before handling, cutting, or flexing. This cooling period ensures the adhesive cures into a rigid, protective layer.
Troubleshooting Common Laminating Mistakes
If your finished document has a milky or cloudy appearance, the heat was insufficient to melt the adhesive completely. You can often resolve this by running the document through the laminator a second time, or by increasing the temperature setting if your machine allows. Conversely, if you see tiny bubbles, warping, or a wavy texture, the temperature is too high for the pouch thickness, causing the adhesive to boil. Lower the heat setting or use a thicker pouch to balance the thermal transfer.
Diagonal wrinkles usually indicate that the pouch was fed into the machine at an angle, or that the paper shifted inside the pouch before entering. To prevent this, ensure the document is flat and centered. If the paper is lightweight or prone to curling, use a carrier sheet to keep it rigid during the feeding process. Never attempt to smooth out wrinkles by pulling the pouch from the exit side while the machine is running, as this can damage both the document and the internal rollers.
If a pouch wraps around the rollers or gets stuck, act immediately. Turn off the power and unplug the laminator to prevent overheating. Most modern laminators feature a jam release lever or button, often labeled as an ABS or release mechanism. Press or hold this lever to disengage the rollers, then gently and slowly pull the pouch backward out of the entry slot. Never use scissors, knives, or metal tools to pry a jam loose, as these will scratch the delicate silicone rollers and permanently ruin the machine’s ability to laminate smoothly.
Advanced Tips for Professional Results
A protective carrier sheet is useful when laminating thin paper, delicate materials, or small cutouts. It distributes heat evenly and prevents excess adhesive from squeezing out and sticking to the rollers. If your laminator did not come with a carrier sheet, you can use a clean sheet of parchment paper folded in half as a temporary alternative.
When switching between different pouch thicknesses, always allow the machine time to adjust. If you move from a heavy-duty pouch to a standard pouch, lower the temperature and wait a few minutes for the heating elements to cool down. Running a thin pouch at a high-heat setting will melt the plastic too quickly, leading to severe warping and potential roller damage.
To create custom-shaped items like flashcards, bookmarks, or signs, always laminate the entire sheet first and cut the shapes out afterward. When cutting, leave a clear plastic border of at least two to three millimeters around the edge of the paper. Cutting directly along the edge of the paper breaks the airtight seal, allowing moisture and dirt to seep in over time and cause the laminate layers to peel apart.
Maintaining Your Laminator for Long-Term Use
Over time, tiny amounts of adhesive squeeze out of the edges of laminating pouches and accumulate on the rollers. This sticky residue attracts dust and causes future pouches to wrap around the rollers. To clean them, run a dedicated laminator cleaning sheet or a clean, folded piece of uncoated cardboard through the machine while it is still warm. The warm rollers will transfer the adhesive residue onto the cleaning sheet. Repeat this process several times until the sheet emerges completely clean.
Wipe the outer casing with a dry, soft microfiber cloth. Never use liquid cleaners, aerosol sprays, or harsh solvents, as these can seep into ventilation slots and damage internal components. Ensure the machine is cool before cleaning the exterior.
When the laminator is not in use, turn it off, unplug it, and allow it to cool down completely. Store the device horizontally in a dry, dust-free cabinet or drawer. Avoid wrapping the power cord tightly around the machine while it is still warm, as this can damage the cord insulation. Keeping the machine covered or boxed when stored long-term prevents airborne dust from settling on the rollers, ensuring smooth operation for your next project.
Frequently Asked Questions (FAQ)
Can I laminate a document that already has wrinkles?
Lamination will not flatten or repair existing wrinkles; instead, it seals those creases permanently under rigid plastic, often making them more visible. To achieve a smooth finish, try flattening the document beforehand by placing it under a stack of heavy books for 24 hours, or gently ironing it on a very low, dry heat setting under a protective cloth before placing it in the laminating pouch.
What should I do if my laminator jams?
Immediately turn off the power and unplug the machine from the wall outlet to stop the rollers and prevent the adhesive from melting further. If your laminator has a jam release lever or reverse switch, engage it to release roller pressure, then carefully pull the pouch out from the entry side. Do not force the pouch or use sharp metal objects to pry it out, as this can permanently gouge the rollers.
Is it safe to laminate thermal paper or photographs?
Standard thermal laminators use high heat that will ruin heat-sensitive materials. Thermal paper, such as store receipts or certain event tickets, will turn completely black when exposed to laminator heat. For photographs, high heat can degrade the emulsion layer or cause bubbling; check your laminator manual for a dedicated low-heat photo setting, or use cold laminating pouches designed for pressure-sensitive sealing without heat.
Community discussion
Share your experience or ask a question. Comments are reviewed before publication.