
Working with metallic yarn is an excellent way to bring a striking, reflective shimmer to your handmade garments, accessories, and home decor. However, many crafters find these specialty threads frustrating to work with due to their tendency to split, catch, tangle, and snap mid-row. Because metallic yarn behaves differently than traditional wool, cotton, or acrylic, successful crafting requires a shift in both your technique and your tool selection.
To knit or crochet with metallic yarn without splitting or breaking, you must use ultra-smooth tools that minimize friction, maintain a relaxed and consistent hand tension, and adapt your stitching style to scoop rather than pierce the fiber. By understanding the unique physical structure of these shimmering threads, you can easily prevent the metallic foil from separating from its core and complete your projects with professional, long-lasting results.
Understanding Metallic Yarn Characteristics and Challenges
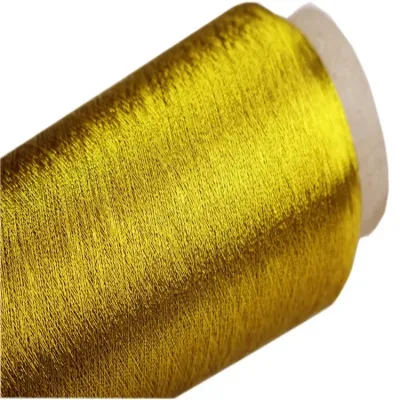
To handle metallic yarn effectively, it helps to understand how it is constructed. Unlike standard natural or synthetic fibers that are spun from short or long staples into a cohesive thread, metallic yarn is typically a composite material. It generally consists of a thin, flat ribbon of metallized polyester film—often referred to as Lurex or metallic foil—that is wrapped around or plied alongside a core thread made of nylon, polyester, or acrylic. This dual-structure design means the yarn does not behave as a single, unified strand.
Products mentioned in this guide
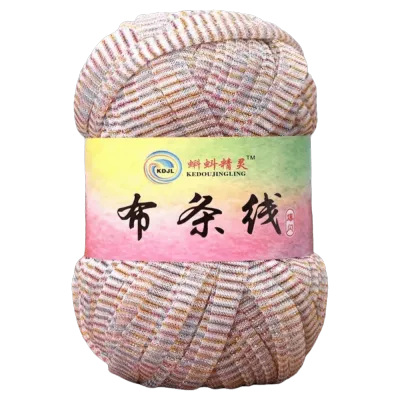
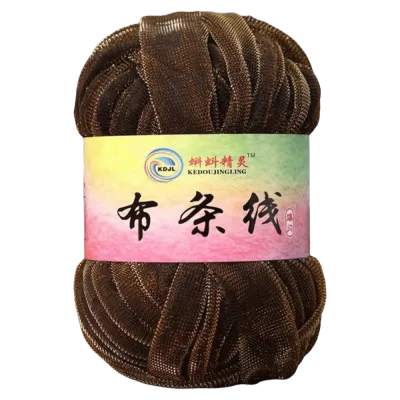
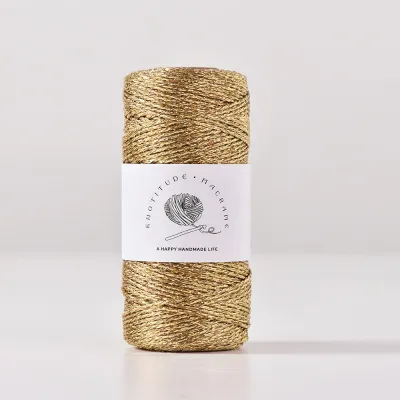
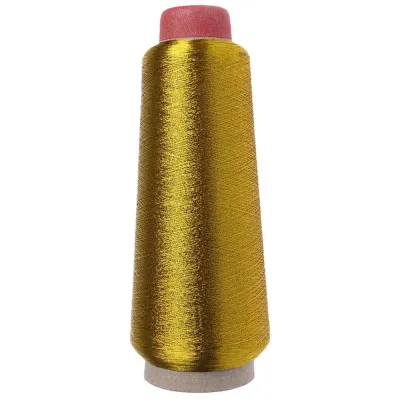
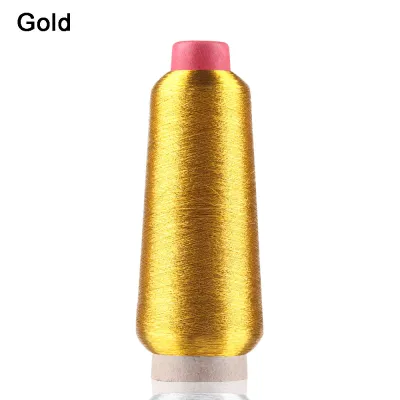
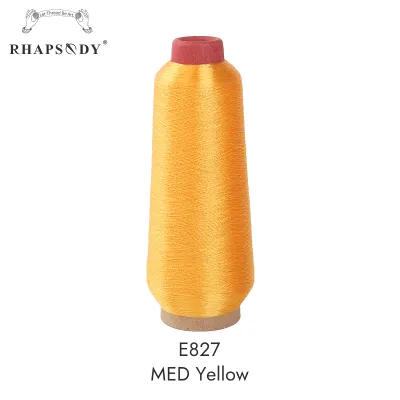
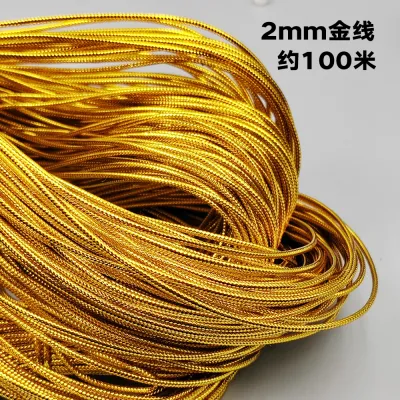
Prices are valid at publication and may change. Please refer to the product page for the latest price.
The primary vulnerability of this construction is the friction differential between the core thread and the metallic wrapping. The inner core often possesses a small amount of elasticity, whereas the outer metallic foil has virtually none. When the yarn is subjected to tension or friction, the outer foil can slide along the core like an accordion, bunching up in some areas while leaving the core thread completely exposed in others. Once this wrapping slips or unravels, the structural integrity of the strand is compromised, making it highly susceptible to snapping.
Before starting any project, you can perform a quick visual and tactile check to assess the quality and twist stability of your yarn. Pull a thirty-centimeter section of the yarn from the skein and run it gently between your thumb and forefinger. If you feel bumps, loose loops of foil, or if the metallic wrap slides easily along the core with minimal pressure, the yarn has low twist stability. This indicates that you must use extra caution during handling and select tools that offer the lowest possible resistance.
Choosing the Right Tools for Metallic Yarn
The tools you choose will directly determine how much friction is applied to the yarn as you work. When selecting knitting needles or crochet hooks, avoid high-grip materials such as bamboo, raw wood, or matte-finished plastics. These materials create significant drag against the synthetic foil, which pulls at the metallic wrapping and causes it to bunch up. Instead, opt for highly polished metal tools, such as nickel-plated brass, polished aluminum, or smooth stainless steel, which allow the yarn to glide effortlessly.

The shape of the tool tip is another critical factor in preventing splitting. Sharp, pointed lace knitting needles or highly tapered crochet hooks are excellent for complex stitch patterns, but they easily pierce the delicate metallic wrapping. For metallic yarn, choose needles and hooks with slightly rounded or blunt tips. A blunter tip naturally coaxes the entire strand of yarn over the tool rather than dividing the plies or catching the metallic film.
Finally, adjust your tool sizing strategy to accommodate the stiffness of metallic fibers. Metallic yarns lack the natural bounce and compressibility of wool, meaning they occupy more physical space within a stitch. Always check the yarn label for the manufacturer’s recommended needle or hook size, and then consider going up by one or two sizes (for example, switching from a 4.0 mm to a 4.5 mm or 5.0 mm tool). This adjustment creates slightly larger, looser loops, which reduces the mechanical stress on the yarn and makes it much easier to insert your tools without catching the fibers.
Preparation and Handling Techniques to Prevent Tangling
Metallic yarn has a high degree of “memory,” meaning it tends to retain the coiled shape of the skein or ball. This springiness makes it highly prone to twisting, looping, and knotting if it is not managed carefully from the start. To maintain control over the feed, always pull the yarn from the outside of the ball or cake rather than attempting a center-pull. Center-pull feeds often introduce an extra twist to the yarn as it emerges, which quickly leads to severe tangling and causes the metallic wrap to separate from its core.
Using a heavy ceramic or wooden yarn bowl is an excellent way to regulate the feed. The bowl keeps the yarn cake stable and prevents it from rolling across the floor, which can introduce unwanted tension and collect dust or pet hair that increases friction. If you need to wind a hank of metallic yarn into a ball, do so slowly by hand or with a manual ball winder set to a very gentle pace. Avoid pulling the yarn tightly during the winding process, as stretching the core thread will cause the metallic foil to bunch up and warp.
Environmental factors can also influence how metallic fibers behave. In dry indoor environments, static electricity can build up quickly on synthetic and metallic threads, causing them to cling to your hands, tools, and themselves. Conversely, in warm, humid climates like Singapore, moisture and sweat on your hands can increase the friction coefficient of the metallic coating, making it feel sticky or resistant. Working in a temperature-controlled room, keeping your hands clean and dry, and occasionally wiping your tools with a clean, dry microfiber cloth will help maintain a smooth, static-free workspace.
Step-by-Step Stitching Guide to Avoid Splitting and Breakage
Executing your stitches with modified hand movements and careful tension control is the most effective way to protect the structure of metallic yarn.
Adjusting Hand Tension
Maintain a loose, relaxed grip on both your tools and the working yarn. Avoid wrapping the yarn multiple times around your tensioning fingers, as this creates excessive drag. Instead, let the yarn drape loosely over your index finger, using your other fingers lightly to guide its path. If you notice deep indentations on your skin or if your hands begin to ache, your tension is too tight.
Stitch Insertion Techniques
When inserting your needle or hook into a stitch, use a deliberate “scooping” motion rather than pushing the tip straight through the center of the loop. Slide the tool along the underside of the stitch, ensuring that you catch all plies of the yarn. In crochet, keep the throat of the hook facing slightly downward as you pull the yarn through the loop; this prevents the hook from catching on individual metallic strands.
Pacing and Hand Fatigue
Work slowly and rhythmically. Rushing your stitches increases the likelihood of sudden, jerky movements that can snap the delicate core thread. Take regular resting intervals to relax your hands. Physical fatigue often leads to an unconscious tightening of your grip, which immediately translates to uneven tension and potential yarn damage.
Stop Conditions
Establish clear stop conditions during your work. If you observe the metallic wrap beginning to fray, bunch up, or expose the inner core, stop stitching immediately. Do not attempt to work through a damaged section, as the structural integrity of the yarn is compromised, and the stitch will eventually fail or look unsightly in the finished piece.
Finishing, Blocking, and Caring for Metallic Projects
Once your stitching is complete, securing the ends and caring for the finished piece requires specialized techniques to preserve the yarn’s appearance and structural integrity. Because metallic yarn is slick and relatively stiff, woven-in ends have a tendency to slip out of place and poke through to the right side of the fabric. To prevent this, weave your tails in using a duplicate stitch pattern over at least five to eight centimeters, changing directions at least twice to lock the yarn in place. For extra security, you can use a standard sewing needle and matching sewing thread to discreetly stitch the yarn tail to the back of the fabric.
When it comes to blocking your finished project, extreme caution is required. Never use direct heat, steam, or an iron on metallic yarn. The metallic coating is typically made of polyester or plastic-based films that will melt, warp, or lose their luster instantly under heat. Instead, opt for wet blocking in cold or lukewarm water. Gently submerge the piece, press out the excess water using a clean towel, and lay it flat to dry away from direct sunlight.
For ongoing care, hand washing is highly recommended. Avoid harsh detergents or fabric softeners, which can degrade the metallic finish over time. Store the finished item flat rather than hanging it, as the weight of the garment can stretch the stitches and cause the stiff metallic threads to distort.
Troubleshooting Common Metallic Yarn Frustrations
Even with careful preparation, issues can arise during the crafting process. Knowing how to diagnose and resolve these problems quickly will save you from having to restart your project.
If you must undo stitches (often called “tinking” in knitting or “frogging” in crochet), do so with extreme patience. Pulling the yarn quickly or forcefully will cause the metallic wrap to catch on adjacent stitches, shredding the fiber. Use a smooth tapestry needle to gently lift and loosen each stitch before pulling the working yarn through.
If you experience severe static cling or find the yarn splitting mid-row, try conditioning your hands with a non-greasy, fast-absorbing lotion, allowing it to dry completely before resuming work. This reduces the friction between your skin and the yarn.
When you encounter a severely damaged or frayed section of yarn, do not try to knit or crochet it into the fabric. Instead, cut the damaged section out entirely. Join a new strand of yarn at the beginning of a row or round rather than in the middle of your work, as joins are much easier to hide and secure at the edges of a project.
Frequently Asked Questions (FAQ)
Can I combine metallic yarn with regular yarn in the same project?
Yes, holding a strand of metallic yarn together with a companion yarn like merino wool, alpaca, or acrylic is an excellent way to add sparkle while improving the overall drape and elasticity of the fabric. However, you must account for the differences in stretch. Standard fibers have natural bounce and recovery, whereas metallic yarn does not. To prevent the metallic strand from puckering or looping loosely on the surface, maintain a consistent tension that treats both strands as a single, unified thread. Swatching is essential to find the right needle or hook size for the combined thickness.
Why does my metallic yarn keep losing its shine after a few rows?
Loss of shine is usually caused by mechanical friction or chemical exposure during the crafting process. As the yarn rubs repeatedly against rough skin, fingernails, or high-friction tools, the microscopic metallic coating can wear off or become scratched. To preserve the luster, ensure your hands are smooth and free of rough calluses, and avoid using heavy hand creams or acidic lotions immediately before stitching, as these chemical residues can dull or tarnish the metallic finish.

Community discussion
Share your experience or ask a question. Comments are reviewed before publication.