
Installing a strip magnet on or under your desk is an exceptionally efficient way to clear clutter, keeping essential tools, stationery, and metal accessories organized and within arm’s reach. By transitioning small items from your desktop surface to a dedicated magnetic strip, you instantly reclaim valuable workspace and create a highly functional, minimalist environment. Achieving a secure and reliable setup requires matching the mounting method to your desk’s material, preparing the surface correctly, and arranging your items to maximize the magnetic hold.
Whether you are a remote professional looking to streamline your home office or a creative hobbyist needing quick access to crafting tools, a strip magnet offers a versatile solution. This guide provides a comprehensive, step-by-step approach to selecting, installing, and maintaining a magnetic strip on your desk, ensuring your setup remains safe, stable, and highly organized over time.
Assessing Your Desk and Choosing the Right Mounting Method
Before purchasing or installing a strip magnet, you must evaluate the material, thickness, and structural integrity of your desk. Desks made of solid wood, thick plywood, or heavy timber can easily accommodate screw-mounted magnetic strips, which offer the most secure and permanent hold for heavier tools. Conversely, desks constructed from tempered glass, metal, thin particleboard, or hollow-core materials require non-invasive mounting methods, such as high-strength adhesives, to prevent cracking, shattering, or structural damage.
Products mentioned in this guide
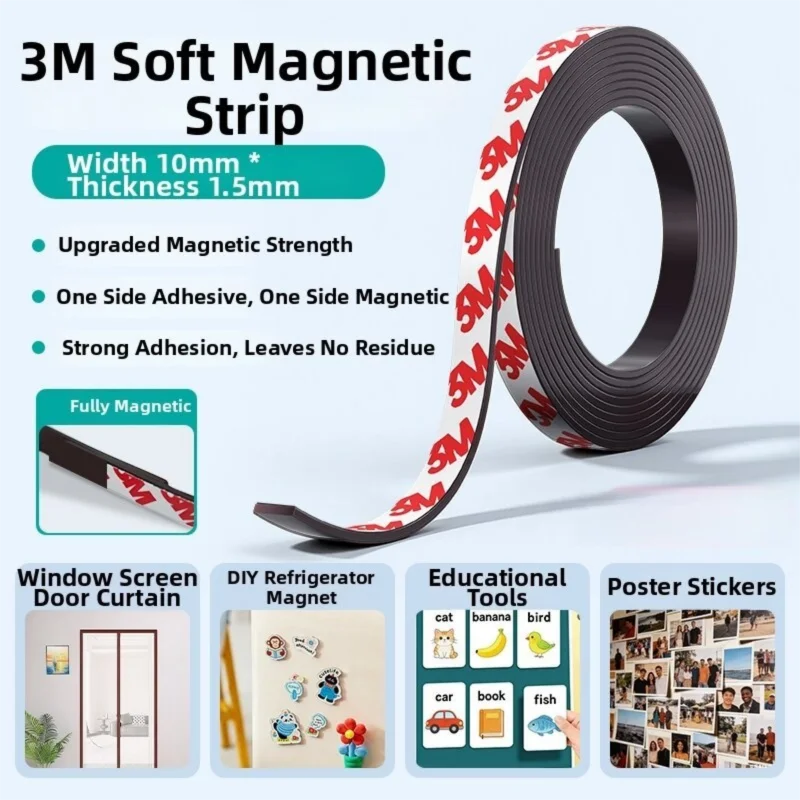
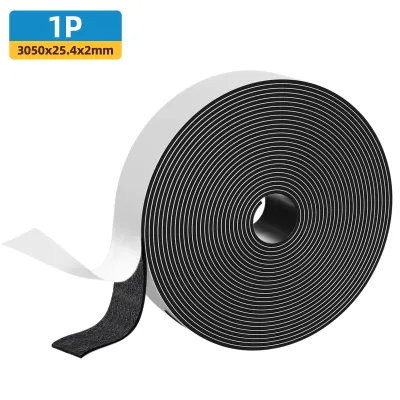
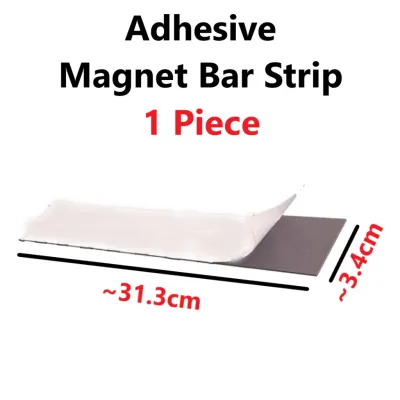
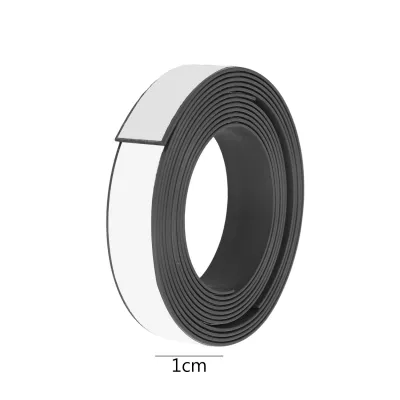
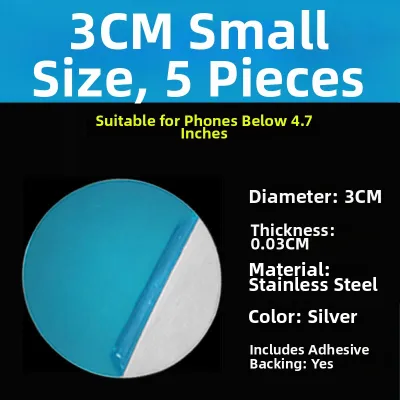
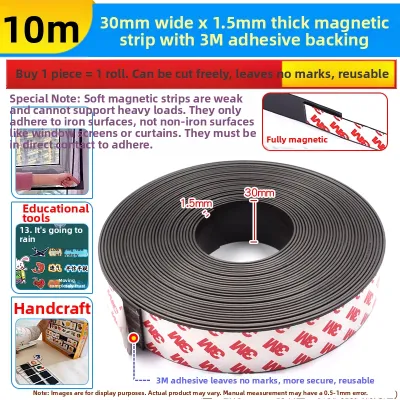
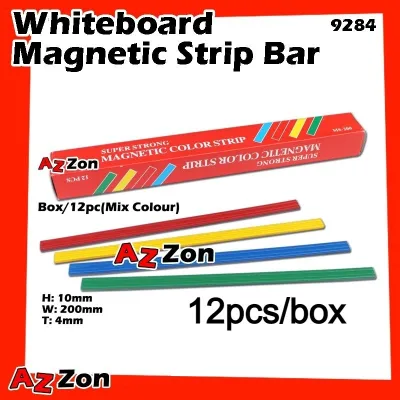
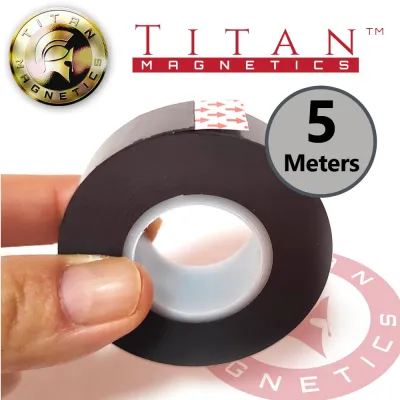
Prices are valid at publication and may change. Please refer to the product page for the latest price.
Always check the manufacturer’s specifications on the strip magnet’s packaging to verify its weight capacity, dimensions, and recommended mounting surfaces. A heavy-duty magnetic tool holder designed for a garage workshop may be too heavy or visually bulky for a delicate home office desk, whereas a lightweight magnetic tape strip might only hold small paperclips or binder clips. Matching the physical scale and weight rating of the strip to your intended storage needs prevents the magnet from falling or damaging your desk.
Environmental factors also play a critical role in how well your mounting method performs over time. In warm, humid climates like Singapore, high ambient humidity can degrade certain adhesive backings, causing them to slip or lose their grip prematurely. If you choose an adhesive mount, look for high-humidity-rated mounting tapes or plan to use mechanical fasteners if your desk material allows.
Additionally, measure the thickness of your desk surface if you plan to mount the strip underneath or along the edges. A desk that is too thin may not accommodate standard screws without the tips puncturing through the top workspace, which can ruin your desk’s finish and create a safety hazard.
Step-by-Step Installation Process
A successful installation relies on careful preparation and precise execution, regardless of whether you use screws or adhesive. Skipping basic preparation steps often leads to a weak bond or an uneven alignment that can make your desk look untidy and compromise the safety of your stored items.

Begin by thoroughly cleaning the target area on your desk where the strip magnet will be placed. Use isopropyl alcohol or a mild, residue-free household cleaner to wipe away dust, oils, fingerprints, and moisture. Allow the surface to dry completely, as even a microscopic layer of oil or moisture can severely weaken adhesive bonds or trap moisture beneath a metal bracket, leading to rust over time.
Next, use a ruler, measuring tape, and a small bubble level to mark the exact placement of the strip magnet. Lightly mark the boundaries with a pencil or low-tack painter’s tape so you have a clear visual guide during the actual mounting process. This prevents the strip from being installed crookedly, which can cause round metal items to slide or roll toward one end.
Once the markings are in place, apply your chosen mounting method carefully. If you are using an adhesive-backed strip, avoid touching the sticky surface with your fingers, as skin oils will reduce its effectiveness. If you are using screws, ensure your tools are ready and the pilot holes are aligned with the mounting brackets of the strip.
Adhesive Mounting for Smooth Surfaces
Adhesive mounting is ideal for glass, metal, laminate, or finished wood desks where you want to avoid drilling permanent holes. However, you must first verify that your desk’s finish can withstand adhesive removal in the future. Some cheap veneers or paper-wrapped particleboard desks can peel or tear when adhesive tape is pulled off, so it is wise to test a small piece of mounting tape on a hidden underside area first.
When applying the adhesive strip magnet, press it firmly against the prepared desk surface, starting from one end and working your way to the other. Apply steady, heavy pressure across the entire length of the strip for at least thirty seconds to ensure full contact and eliminate any trapped air pockets.
Most high-strength adhesives require a curing period to reach their maximum holding strength. Avoid hanging any metal tools or accessories on the magnet for at least twenty-four hours after installation, allowing the bond to set completely undisturbed in your room’s natural climate.
Screw Mounting for Heavy-Duty Use
For heavy metal tools, rulers, or scissors, mechanical screw mounting provides a permanent and highly reliable solution. Before drilling, select screws that are strictly shorter than the thickness of your desk. For example, if your desk is twenty millimeters thick, use screws that penetrate no more than twelve to fifteen millimeters into the wood to prevent unsightly dimpling or puncturing on the top surface.
Hold the magnetic strip or its mounting brackets against your pencil marks and mark the exact center of the screw holes. Use a drill bit that is slightly smaller than the shank of your screws to pre-drill pilot holes, which prevents the wood from splitting or cracking as the screw enters.
Drive the screws in slowly and straight, ensuring they sit flush within the mounting brackets. Over-tightening can crack plastic brackets or strip the threads in softer materials like particleboard, so tighten them just until they are snug and the strip magnet does not wobble.
Strategic Placement for Maximum Efficiency
Where you place your strip magnet determines how useful it will be in your daily workflow. You want to balance easy physical access with visual neatness, ensuring the magnet does not become an obstacle or a safety hazard during busy work sessions.
Under-desk mounting is an excellent option for keeping lightweight, frequently used items like keys, USB drives, or small metal rulers hidden from view but within easy reach. This keeps your main desktop completely clear, which is ideal for minimalist setups or smaller workspaces.
Alternatively, mounting the strip magnet on the side panel of your desk or along the front edge of a shelf provides quick visual access to your tools. This placement is highly efficient for creative professionals or students who need to grab scissors, utility knives, or metal drafting tools frequently throughout the day.
Ensure that the chosen location does not interfere with your legroom, chair movement, drawer operation, or cable management routes. A strip magnet mounted too low under the desk can scrape your knees, while one placed too close to a drawer might prevent it from closing fully if bulky metal items are attached.
Avoid placing the magnet near the outer edges of your desk where passing traffic, loose clothing, or moving chair armrests could accidentally knock items off. A falling pair of scissors or a heavy metal tool can cause injury or damage your flooring, so position the strip in a protected, recessed area whenever possible.
Organizing and Arranging Your Metal Accessories
Once your strip magnet is securely installed, organizing your items properly will maximize the magnetic hold and keep your workspace looking professional. Not all metal objects behave the same way under a magnetic field, so a systematic approach is necessary.
Distribute the weight of your accessories evenly along the length of the strip rather than clustering heavy items in one spot. If you are using a screw-mounted strip, place the heaviest items directly over or near the screw points where the physical support is strongest. For adhesive mounts, keeping the weight balanced prevents uneven peeling forces from pulling one side of the strip away from the desk.
Group similar items together, such as keeping paperclips and binder clips in one section, and larger tools like scissors or rulers in another. Leave adequate spacing between items so you can easily grab one tool without accidentally knocking adjacent items loose or tangling them together.
Verify that the items you intend to store are actually magnetic. Many modern office accessories are made of aluminum, brass, or certain grades of stainless steel, which do not stick to magnets. Test each item gently against the strip before letting go to ensure it has a strong, reliable hold.
Check your metal accessories for sharp edges, burrs, or rough surfaces that could scratch the protective outer coating of your strip magnet. Over time, repeated scratching can wear down the protective layer, exposing the magnet to moisture and leading to corrosion, especially in humid environments.
Maintenance, Removal, and Safety Precautions
Maintaining your strip magnet ensures it remains clean, attractive, and fully functional for years. Because magnets naturally attract fine airborne metal particles and dust, they require occasional cleaning to prevent buildup.
Wipe the magnetic surface regularly with a dry or slightly damp microfiber cloth to remove accumulated dust, lint, and tiny metal shavings. Avoid using harsh chemical solvents, abrasive scrubbing pads, or soaking wet cloths, as moisture can seep behind the strip and weaken the adhesive or cause rust on the mounting hardware.
Periodically inspect the physical stability of your installation. For adhesive mounts, check the edges of the tape for any signs of peeling, lifting, or sliding, especially during hotter months. For screw mounts, gently wiggle the strip to ensure the screws have not loosened over time due to the repeated pulling force of removing heavy metal tools.
If you need to remove an adhesive-mounted strip magnet, do so slowly to protect your desk’s finish. Apply gentle heat from a hair dryer set to a low temperature to soften the adhesive backing, then slowly peel the strip away at a shallow angle. Stop immediately if you notice the desk’s paint, veneer, or laminate finish beginning to lift or crack, and apply a dedicated adhesive remover to dissolve the bond further.
Frequently Asked Questions (FAQ)
Can a strip magnet interfere with electronic devices on my desk?
Most standard strip magnets used for desk organization generate relatively weak, localized magnetic fields that are safe for modern electronic devices like solid-state drives (SSDs), smartphones, and LCD monitors. However, they can still pose a risk to older or more sensitive technology. Keep mechanical hard drives (HDDs), magnetic stripe credit cards, and unshielded audio speakers at a safe distance from the strip magnet, as strong magnetic fields can corrupt data or distort audio signals. Always refer to your specific device manufacturer’s guidelines regarding magnetic clearance to prevent accidental damage.
How do I safely remove adhesive residue from my desk?
To remove leftover adhesive residue without damaging your desk’s original finish, start with the gentlest method possible. Try rolling the residue into small balls using your fingers or a soft plastic scraper, which works well for rubbery adhesive tapes. If a sticky film remains, test a small amount of mild solvent, vegetable oil, or commercial adhesive remover on an inconspicuous area of your desk first to check for discoloration or paint lifting. Once verified safe, apply a tiny amount to a microfiber cloth, gently rub the residue until it dissolves, and wipe the area clean with a damp cloth.
Community discussion
Share your experience or ask a question. Comments are reviewed before publication.