
Mounting a magnetic strip on the wall above or beside your desk is an exceptionally efficient way to clear clutter, keep frequently used stationery within arm’s reach, and maximize your workspace. The process involves assessing your wall material, choosing between a secure drilled installation or a damage-free adhesive mount, and arranging your metal accessories to balance the weight. By taking the time to measure your space and select the correct mounting hardware, you can transform an underutilized wall into a highly functional, vertical storage system.
Plan Your Magnetic Strip Layout and Wall Assessment
Before purchasing any hardware, you must evaluate the composition of your wall. In many modern homes and offices, walls are constructed from drywall, plaster, concrete, brick, or even tiled surfaces. Each of these materials behaves differently under load and requires specific mounting techniques. For instance, drywall requires specialized hollow-wall anchors to prevent the strip from pulling out, while solid concrete or brick walls demand masonry plugs and a hammer drill.
Next, take inventory of the specific items you intend to store on the magnetic strip. Standard stationery items like scissors, metal rulers, utility knives, and paperclips are relatively light, but when aggregated, their cumulative weight can become substantial. If you plan to hang heavier tools, such as heavy-duty shears, metal storage cups, or multiple sets of keys, you must check the manufacturer’s rated weight capacity for both the magnetic strip itself and the mounting hardware. Overloading a poorly mounted strip can lead to sudden failure, potentially damaging your desk surface or the items themselves.
Products mentioned in this guide
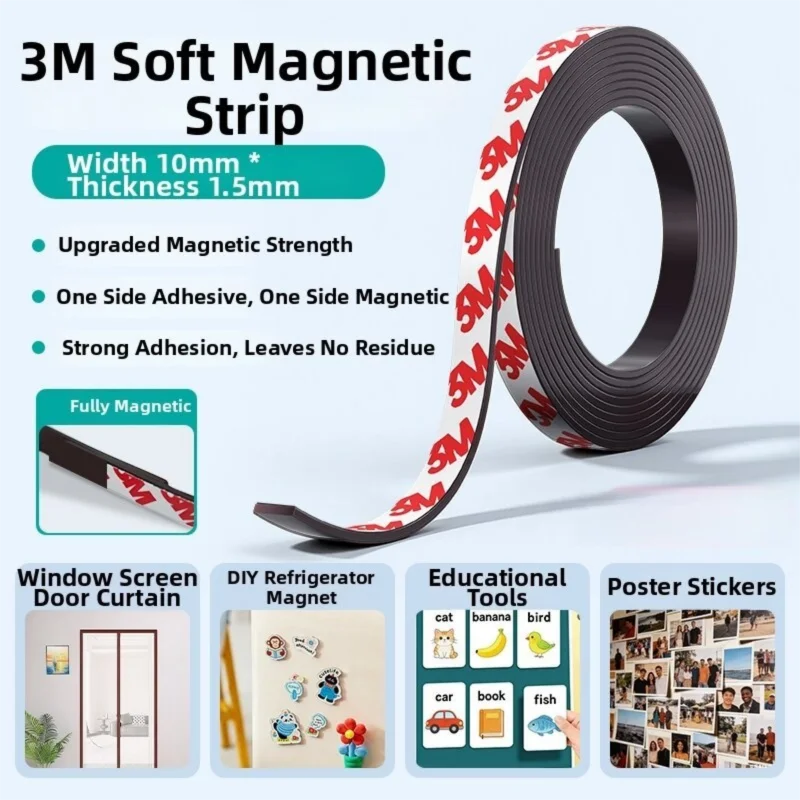
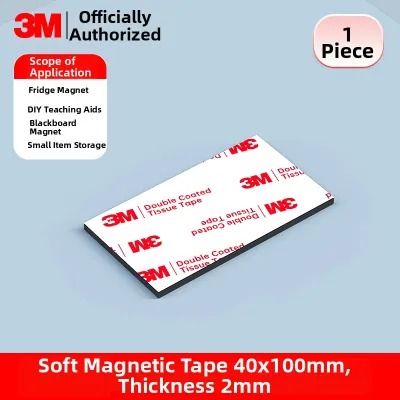
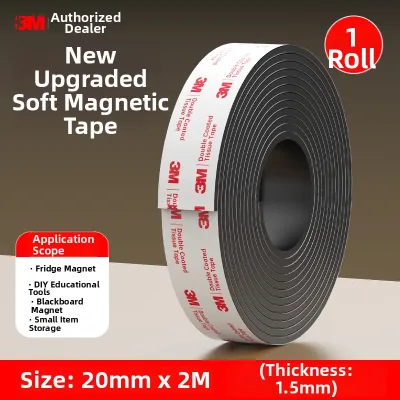
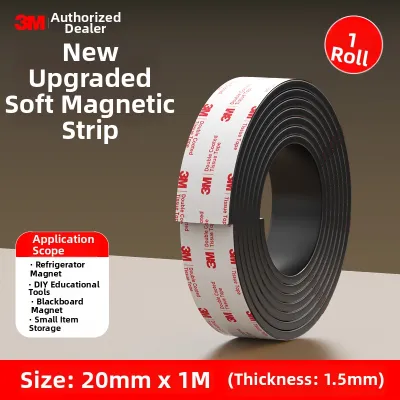
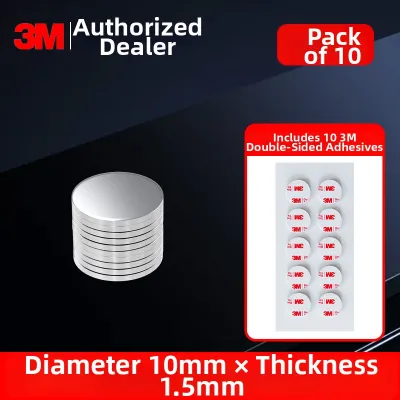
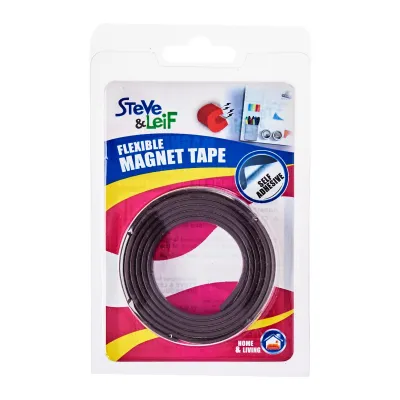
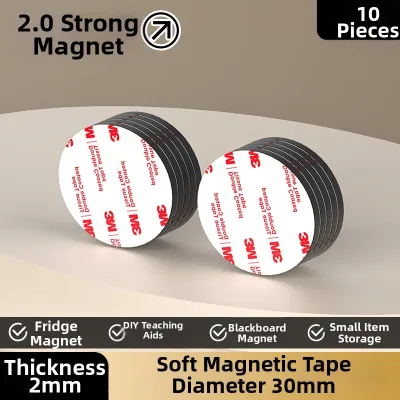
Prices are valid at publication and may change. Please refer to the product page for the latest price.
Accurate physical measurements of your workspace are equally critical. Use a tape measure to determine the exact width and height of the wall space directly above or adjacent to your desk. You want to ensure the magnetic strip is positioned within comfortable arm’s reach while seated, without obstructing your computer monitor, desk lamp, or other desktop equipment. Leaving a clearance of at least 15 to 20 centimeters between the bottom of the strip and the top of your desk accessories prevents accidental bumps during your workday.
Gather the Right Tools and Materials
Having the correct tools on hand before you begin ensures a seamless installation process. For a drilled installation, you will need a reliable power drill, a set of drill bits matched to your wall type, a spirit level to guarantee a straight alignment, a pencil for marking reference points, and a tape measure. If you choose an adhesive-based installation instead, you will need high-quality double-sided mounting tape designed for the weight of your strip, along with cleaning supplies to prepare the surface.

The choice of wall anchors and screws must align precisely with the pre-drilled mounting holes on your magnetic strip. Standard wood screws are sufficient if you are mounting directly into wooden wall studs. However, if you are mounting into drywall between studs, you must use plastic toggle bolts or self-drilling drywall anchors that expand behind the board to distribute the weight. For concrete or brick walls, plastic wall plugs or masonry anchors are necessary to grip the dense material securely.
Safety should always be a priority during any home improvement task. When drilling into masonry, plaster, or concrete, fine dust particles are released into the air. Wearing a well-fitting dust mask prevents inhalation of these irritants, while safety glasses protect your eyes from flying debris or plaster chips. Additionally, always check for hidden utilities behind the wall using a stud finder with live-wire detection before you begin drilling.
Step-by-Step Installation Guide
Regardless of the mounting method you select, proper preparation of the wall surface is the foundation of a successful installation. Begin by wiping down the target area with a clean, dry cloth to remove loose dust, cobwebs, or oils. If the wall has accumulated grime or grease, clean it with a mild soapy water solution or rubbing alcohol, then allow it to dry completely before proceeding.
Once the wall is clean, position your magnetic strip against the wall at your desired height. Place a spirit level on top of the strip and adjust its angle until the bubble is perfectly centered between the indicator lines. Holding the strip firmly in place with one hand, use a sharp pencil to mark the exact locations of the mounting holes or the outer boundaries of the strip if you are using adhesive. This step ensures your final installation is visually appealing and perfectly horizontal.
Method 1: Drilling and Screwing for Heavy Loads
For heavy-duty storage or long-term stability, drilling and screwing is the most reliable mounting method. Start by selecting a drill bit that matches the exact diameter of your wall anchors; using a bit that is too large will result in a loose anchor that cannot hold weight, while a bit that is too small will prevent the anchor from inserting fully. Set your power drill to the standard drilling mode for drywall or wood, or switch to hammer mode if you are tackling solid concrete or brick.
Carefully align your drill bit with the pencil marks you made during the preparation step. Hold the drill perfectly perpendicular to the wall and apply steady, moderate pressure as you drill to the depth recommended by the anchor manufacturer. Once the holes are drilled, gently tap the plastic wall anchors into place using a hammer until they sit flush with the surface of the wall. If an anchor resists, verify that the hole is deep enough and clear of residual dust before trying again.
Next, align the mounting holes of the magnetic strip with the installed wall anchors. Insert the screws through the strip’s mounting brackets and drive them into the anchors using a manual screwdriver or a power drill set to a low torque limit. Tighten the screws until they are snug and flush against the strip, but avoid overtightening, which can strip the plastic anchor threads or crack the mounting bracket of the magnetic strip.
During the drilling process, you must remain alert to potential hazards hidden within the wall cavity. If you experience sudden resistance that feels metallic, or if your drill bit suddenly drops into an unexpected void near known utility lines, stop drilling immediately. Hitting copper pipes, electrical wiring, or steel rebar can cause severe damage or safety hazards. If you suspect you have encountered an obstruction, remove the drill, patch the hole, and consult a qualified professional to assess the wall before proceeding.
Method 2: Adhesive Mounting for Light Loads and Renters
If you live in a rental property or prefer not to drill holes into your walls, adhesive mounting offers a practical alternative for lightweight desk organization. However, adhesive bonds rely entirely on clean contact surfaces. Clean the wall area and the back of the magnetic strip thoroughly with rubbing alcohol to remove any residual oils, dust, or paint chalk. Allow the surfaces to dry completely for at least ten minutes before applying any adhesive.
Select a high-quality, heavy-duty double-sided mounting tape rated for the weight of your magnetic strip and the items you plan to hang. Apply the tape evenly along the entire back surface of the magnetic strip, pressing down firmly to ensure complete adhesion. Peel off the protective backing, align the strip with your pencil marks, and press it firmly against the wall for at least thirty seconds, applying even pressure across the entire length of the strip.
After mounting, you must allow the adhesive to cure fully before subjecting it to any load. Most heavy-duty mounting tapes require a curing period of 24 to 48 hours to reach their maximum bonding strength. Hanging items on the strip prematurely can cause the adhesive bond to fail, resulting in the strip falling and damaging your desk accessories. Refer to the specific adhesive manufacturer’s instructions for the exact curing duration required.
Keep in mind that adhesive mounting has strict weight limitations compared to mechanical fasteners. It is best suited for light items such as paperclips, small scissors, and lightweight metal rulers. Additionally, removing heavy-duty adhesive tape in the future carries a high risk of peeling away the wall paint or damaging the drywall paper. When it is time to remove the strip, use a hairdryer to gently warm and soften the adhesive before slowly peeling it away to minimize surface damage.
Organize Your Desk Using the Magnetic Strip
With your magnetic strip securely mounted, you can begin organizing your desk accessories to optimize your workflow. Beyond directly attaching steel items like scissors or metal rulers, you can expand the strip’s utility with specialized magnetic accessories. Magnetic bowls or small metal tins are excellent for holding non-magnetic items like plastic paperclips, rubber bands, or pushpins. Magnetic hooks can be attached to the strip to hang charging cables, keys, or lightweight headphones, keeping your desk surface entirely clear.
To ensure the long-term stability of your installation, distribute the weight of your items evenly across the entire length of the magnetic strip. Concentrating all heavy items on one end creates localized stress, which can cause adhesive mounts to peel or mechanical anchors to loosen over time. Place heavier items toward the center or distribute them symmetrically across the strip to maintain a balanced load.
Before leaving any item unattended on the strip, perform a quick check of its magnetic grip. Not all metals are highly magnetic, and some items may slide down the strip if the contact area is too small or if the metal alloy has a low iron content. If an item slides or feels unstable, do not force it to stay; instead, place it in a magnetic cup or container that has a stronger, flat magnetic backing to ensure it remains securely in place.
Perform Routine Maintenance and Safety Checks
A magnetic strip is a dynamic storage system that experiences constant pulling forces as you attach and remove items. To prevent accidental drops or wall damage, establish a routine maintenance schedule to inspect the installation’s structural integrity. Once every few months, perform a quick visual inspection to check for any signs of sagging, tilting, or gaps forming between the back of the strip and the wall surface.
If you opted for a drilled installation, temperature and humidity fluctuations can cause wall materials and wooden studs to expand and contract slightly, which may loosen screws over time. Use a manual screwdriver to periodically check the tightness of the mounting screws, ensuring they remain snug without over-tightening. If you notice any play or wobbling when removing items from the strip, address it immediately before the mounting holes widen further.
In the event that you notice the adhesive peeling or the wall anchors pulling loose, take immediate action to prevent a complete failure. Remove all items from the magnetic strip to eliminate weight, and carefully take the strip down from the wall. Clean off any failing adhesive or inspect the damaged drywall holes. You will need to re-evaluate your mounting method, perhaps switching to a drilled installation or using a stronger class of wall anchors to handle your storage needs safely.
Frequently Asked Questions (FAQ)
Can I install a magnetic strip on a tiled wall?
Yes, you can install a magnetic strip on a tiled wall, but it requires specialized tools and careful execution to avoid cracking the tile. You must use a carbide-tipped masonry drill bit or a diamond-grit glass and tile drill bit rather than a standard steel bit. To prevent the drill bit from slipping on the slick tile surface, place a piece of masking tape over the target area and mark your drill hole directly on the tape. Drill at a slow speed with consistent, light pressure, and periodically apply a small amount of water to the drill site to keep the bit cool and prevent thermal cracking of the tile.
Will the magnets damage my electronic devices?
Modern electronic devices, such as smartphones, tablets, and laptops, utilize solid-state drives (SSDs) and liquid crystal displays (LCDs or OLEDs), which are generally unaffected by the magnetic fields of standard household magnetic strips. However, you should keep traditional magnetic media at a safe distance. Devices containing older mechanical hard disk drives (HDDs), magnetic stripe credit cards, floppy disks, or analog cassette tapes can suffer data corruption or permanent damage if they come into direct contact with strong magnets. To maintain safety, store these older magnetic items away from your wall-mounted strip.
Community discussion
Share your experience or ask a question. Comments are reviewed before publication.