
Installing a magnet strip on or near your desk is one of the most efficient ways to clear clutter and keep essential tools within arm’s reach. Whether you want to organize metal stationery like scissors, paperclips, and rulers, or heavy-duty crafting and repair tools, a magnetic strip provides an elegant, minimalist solution. The installation process depends heavily on your workspace setup, your desk material, and whether you are renting your space. By choosing between a non-destructive adhesive mount and a heavy-duty screw mount, you can customize your organization system to match your exact workflow needs.
Choosing the Right Location and Mounting Method
Before purchasing a magnet strip, you must determine where it will live and how it will be supported. The ideal placement depends on how you use your desk. Mounting the strip along the edge of your desk keeps tools flat and out of your direct line of sight while remaining highly accessible. If you prefer a completely clear desktop, mounting the strip on the wall directly above your workspace utilizes vertical real estate and keeps tools at eye level. Alternatively, an under-desk mount offers hidden storage for items you want to keep out of sight but within easy reach, such as keys, flash drives, or small utility knives.
Evaluating the weight of your items is the next critical step. Light stationery items like binder clips, tweezers, and metal rulers require very little magnetic pull and can easily be supported by lightweight strips. Conversely, heavy tools such as large fabric shears, screwdrivers, or wrenches demand a high-strength magnetic bar with a solid mounting foundation.
Products mentioned in this guide
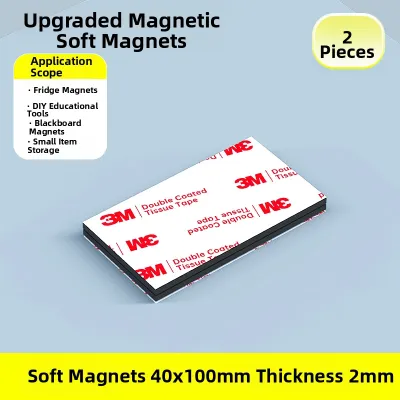
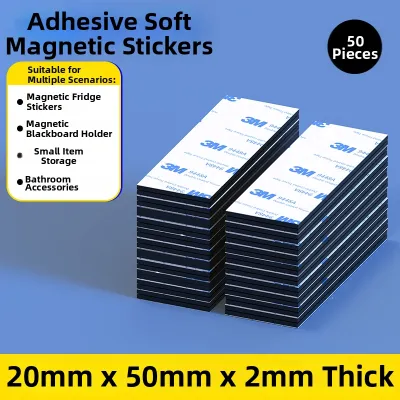
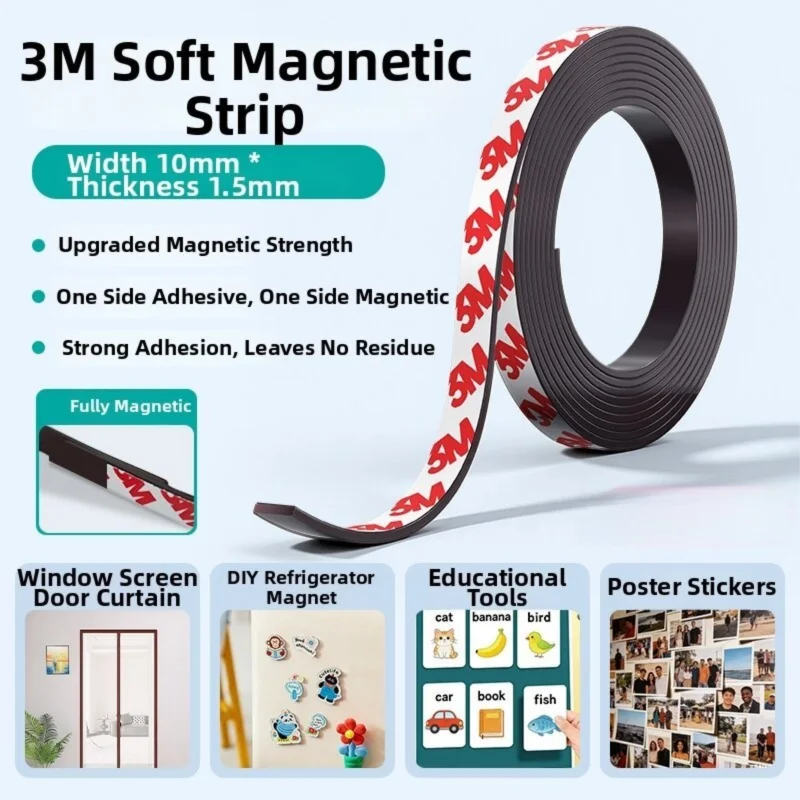
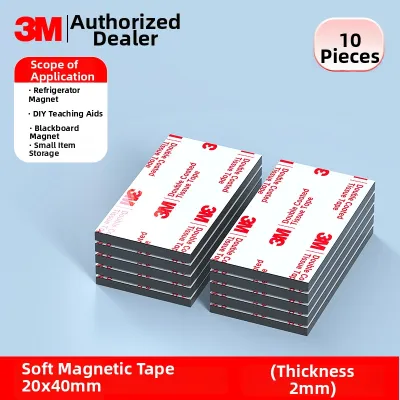
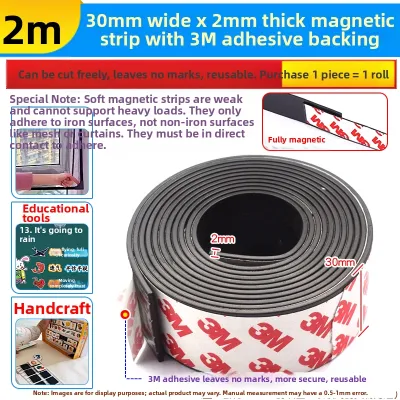
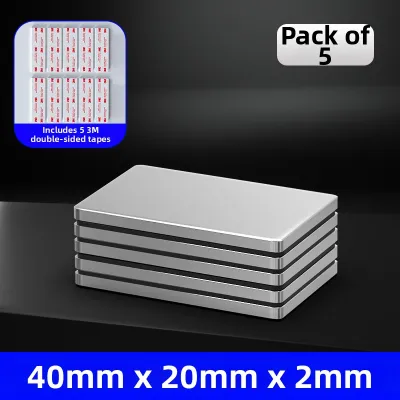
Prices are valid at publication and may change. Please refer to the product page for the latest price.
This weight evaluation dictates your mounting method. Adhesive mounting is the preferred choice for renters, glass desks, or lightweight setups. High-quality double-sided mounting tape can secure a strip without damaging surfaces, making it highly reversible. However, Singapore’s humid climate can challenge adhesive performance over time, making thorough surface preparation essential. For heavy tools, wooden desks, or permanent setups, screw mounting is the gold standard. It provides mechanical stability that won’t degrade with humidity or heavy weight, though it does leave permanent holes.
Always check surface compatibility before proceeding. Do not attempt to mount a heavy magnetic strip on fragile, peeling, or highly textured surfaces. Plaster, old wallpaper, or uneven wood will not provide the flat contact area needed for adhesive tape, and they may crack or crumble under the stress of screws.
Tools and Materials Checklist
Having the correct tools on hand prevents interruptions and ensures a precise, level installation. Depending on your chosen mounting method, gather the following supplies before you begin.

For Adhesive Mounting
- Magnetic strip: Ensure it has a flat back suitable for tape application.
- Heavy-duty double-sided mounting tape: Select a tape rated for the weight of your strip and tools (if not pre-applied).
- Rubbing alcohol (isopropyl alcohol): Crucial for removing oils and dust from the mounting surface.
- Microfiber cloth: For lint-free cleaning.
- Measuring tape and pencil: For precise alignment.
- Spirit level: To guarantee the strip is perfectly horizontal.
For Screw Mounting
- Magnetic strip with pre-drilled holes: Or a strip with dedicated mounting brackets.
- Power drill and drill bits: Use wood bits for wooden desks, or masonry bits if mounting to concrete HDB walls.
- Screws and wall anchors: Choose anchors appropriate for your wall type (plastic plugs for masonry, toggle bolts for drywall).
- Screwdriver: Matching the screw head type.
- Measuring tape, pencil, and spirit level: To mark and align the mounting points accurately.
- Dust cloth or vacuum: To clean up drilling debris.
Step-by-Step Installation Guide
The success of your installation depends on careful preparation and execution. Follow these step-by-step instructions for your chosen mounting method.
Method A: Adhesive Mounting (For Light Accessories and Renters)
Adhesive mounting is quick and non-destructive, but it requires meticulous surface preparation to withstand the daily pull of removing metal tools.
Step 1: Clean the Surface Moisture, oils, and dust are the primary enemies of adhesive bonds. Thoroughly wipe the target area on your desk or wall with rubbing alcohol and a microfiber cloth. Avoid using household glass cleaners or soapy water, as these can leave behind a thin residue that prevents the adhesive from bonding fully. Allow the surface to air-dry completely.
Step 2: Measure and Mark Use your measuring tape to find the exact center or desired position of the magnet strip. Hold the strip against the surface, place your spirit level on top, and adjust until the bubble is centered. Carefully draw light pencil marks along the top edge and corners of the strip to serve as your alignment guide.
Step 3: Apply the Tape If your magnet strip does not come with pre-applied adhesive, cut a strip of heavy-duty double-sided mounting tape to match the length of the bar. Apply the tape to the back of the strip, pressing firmly along the entire length to eliminate air bubbles and ensure maximum contact. Do not peel the protective backing off the wall-facing side of the tape just yet.
Step 4: Mount the Strip Peel the protective backing off the tape. Align the strip carefully with your pencil marks. Once aligned, press the strip firmly against the surface. Apply strong, even pressure with both hands along the entire length of the strip for at least 30 to 60 seconds. This pressure activates the adhesive’s bonding properties.
Step 5: Allow to Cure Do not hang any tools on the strip immediately. Most heavy-duty adhesives require a curing period to reach full strength. In Singapore’s humid environment, it is highly recommended to wait a full 24 hours before introducing any weight. This patience ensures the bond does not fail prematurely.
Method B: Screw Mounting (For Heavy Tools and Permanent Setups)
For workshop-style organization or heavy metal tools, a mechanical screw installation provides unmatched security.
Step 1: Position and Mark the Holes Hold the magnetic strip against your wooden desk or wall at the desired height. Place your spirit level on top of the strip to ensure it is perfectly horizontal. Using a sharp pencil, mark the exact center of each pre-drilled mounting hole onto the surface.
Step 2: Pre-Drill Pilot Holes Remove the strip. Select a drill bit that is slightly smaller than the diameter of your mounting screws. If you are mounting directly into a solid wood desk, drill pilot holes to the depth of the screw length. This prevents the wood from splitting or cracking as the screw enters. If you are drilling into concrete or brick walls, use a hammer drill with a masonry bit.
Step 3: Insert Wall Anchors If you are mounting the strip to drywall or concrete, you must use wall anchors to prevent the screws from pulling out under weight. Insert the plastic anchors or toggle bolts into your pre-drilled holes, tapping them gently with a hammer until they sit flush with the surface. If you are mounting directly into solid wood, you can skip this step.
Step 4: Secure the Strip Align the magnetic strip’s mounting holes with your prepared pilot holes or anchors. Insert the screws and drive them in securely using a screwdriver or power drill on a low torque setting. Ensure the screw heads sit flush against the strip or bracket, but avoid overtightening, as this can strip the threads in wood or warp the magnetic bar itself.
Step 5: Clean and Inspect Wipe away any drilling dust with a damp cloth. Grab the mounted strip and give it a gentle tug to check for any wobble or instability. If the strip feels secure, your installation is complete and ready for immediate use.
Testing and Organizing Your Desk Accessories
Once your magnet strip is securely mounted, you can begin arranging your workspace. However, rushing to pack the strip with heavy items can lead to unexpected drops or damage.
Start by testing the strength of the installation. Place a single moderately heavy item, such as a pair of scissors, onto the center of the strip. Observe the strip closely for any signs of pulling away, bowing, or sliding. If you used adhesive and notice the tape peeling, remove the item immediately and re-evaluate your mounting tape’s weight rating.
When organizing, distribute the weight of your tools evenly across the entire length of the strip. Avoid clustering all your heaviest items in one spot, which can create uneven stress points and lead to failure. Place lighter items like paperclips, keys, and binder clips near the ends, and reserve the center for slightly heavier tools.
Group similar items together to streamline your workflow. For example, keep your cutting tools (scissors, utility knives) on one side, measuring tools (metal rulers, calipers) in the middle, and small fastening items (binder clips, pins) on the other. This logical grouping reduces searching time and keeps your desk highly functional.
Finally, be mindful of magnetic-sensitive items. Strong magnets can interfere with or permanently damage certain everyday items. Keep credit cards, external hard drives, mechanical watches, and magnetic storage media at a safe distance (at least 10 to 15 centimeters) from your magnet strip.
Maintenance and Safety Boundaries
A magnetic tool strip requires minimal upkeep, but regular checks are essential to maintain a safe working environment.
Perform periodic inspections of your mounting setup. If you used the adhesive method, check the edges of the tape every few months for signs of peeling or drying out, especially during hot or humid seasons. If you used screws, check for any loosening caused by desk vibrations from typing, writing, or opening drawers. Tighten any loose screws immediately.
Over time, metal tools can leave behind fine metal dust and debris on the magnetic surface. This accumulation can create a barrier that weakens the magnetic grip, increasing the risk of tools slipping off. Wipe the strip down regularly with a slightly damp microfiber cloth to keep the surface clean and the magnetic pull strong.
Always respect the weight limits of your specific magnet strip. If you notice the bar visibly bowing, pulling away from the wall, or if your tools begin to slide down slowly, you have exceeded the weight capacity. Immediately remove the heaviest items to prevent a sudden collapse that could damage your desk or injure your feet.
Lastly, never mount a heavy-duty magnetic strip directly onto painted drywall without proper anchors. The sheer weight of the strip combined with heavy tools can easily tear the paper facing of the drywall, causing the entire installation to fall and leave significant wall damage.
Frequently Asked Questions (FAQ)
Will a magnetic strip damage my wooden or glass desk?
Adhesive mounting can leave behind sticky residue or peel away weak finishes and veneers when removed. Screw mounting provides a permanent hold but leaves physical holes in your desk. To protect your furniture, always test adhesives on a hidden area first, or use thin protective felt pads behind the magnetic strip to prevent scratching glass or polished wood surfaces.
Can I use a magnetic strip to hold my smartphone or tablet?
It is not recommended to use a standard utility magnet strip for modern smartphones or tablets. Strong neodymium magnets can interfere with internal sensors, such as digital compasses, optical image stabilization (OIS) in camera lenses, and magnetic stylus features. For expensive personal electronics, always use dedicated, brand-approved magnetic mounts designed specifically for those devices.
How do I remove an adhesive magnetic strip without leaving residue?
To safely remove an adhesive strip, apply heat to the area using a hairdryer on a medium setting to soften the adhesive backing. Once warmed, gently slide a piece of dental floss or fishing line behind the strip, using a sawing motion to slice through the foam tape. Clean up any remaining sticky residue with rubbing alcohol or a dedicated adhesive remover, then wipe the surface clean.
Community discussion
Share your experience or ask a question. Comments are reviewed before publication.