
Mounting a 3M magnetic strip on your desk is one of the most efficient ways to clear clutter, reclaim valuable workspace, and keep your essential tools within arm’s reach. To complete this installation successfully, you must verify your desk’s surface compatibility, clean the mounting area thoroughly with isopropyl alcohol, measure and mark the position precisely, apply firm pressure for at least 30 to 60 seconds, and allow the adhesive to cure completely for 24 to 72 hours before hanging any items. Skipping any of these preparation steps can lead to adhesive failure, causing your tools and the strip to fall, potentially damaging your workspace.
Whether you are designing a minimalist home office setup or organizing a professional workshop, maximizing desk space is a constant challenge. Traditional desk organizers, pencil cups, and trays take up physical surface area, leaving less room for your keyboard, mouse, and documents. By moving metal tools like scissors, rulers, tweezers, and keys onto a vertical magnetic strip, you utilize underused vertical space and create a highly functional, visual workflow. This guide provides a detailed, reliable roadmap to help you achieve a secure, long-lasting installation without risking damage to your desk.
Check Your Desk Surface Compatibility Before Installing
Before purchasing or mounting your magnetic strip, you must evaluate the material and finish of your desk. The high-performance adhesive backing on 3M strips relies on a chemical and physical bond that requires a smooth, non-porous, and stable surface to achieve maximum adhesion. Ideal surfaces include tempered glass, smooth metals, high-pressure laminates (HPL), sealed solid wood, and high-quality acrylic or plastic panels. On these materials, the pressure-sensitive adhesive can flow evenly into the microscopic texture of the surface, creating a powerful, reliable grip.
Products mentioned in this guide
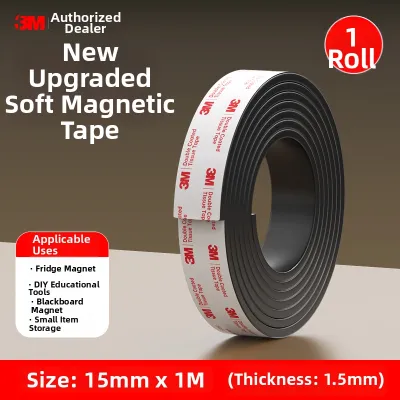
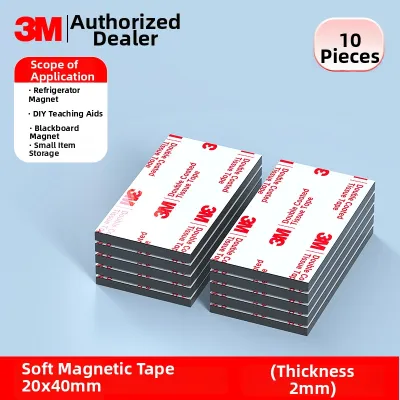
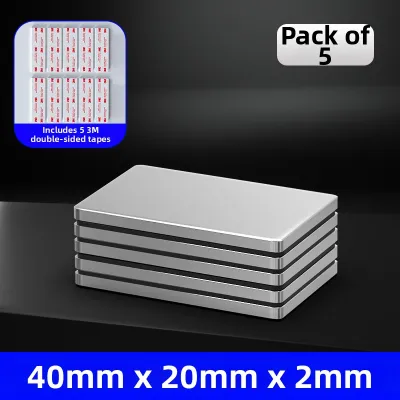
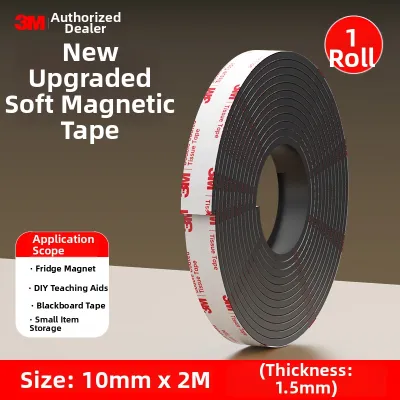
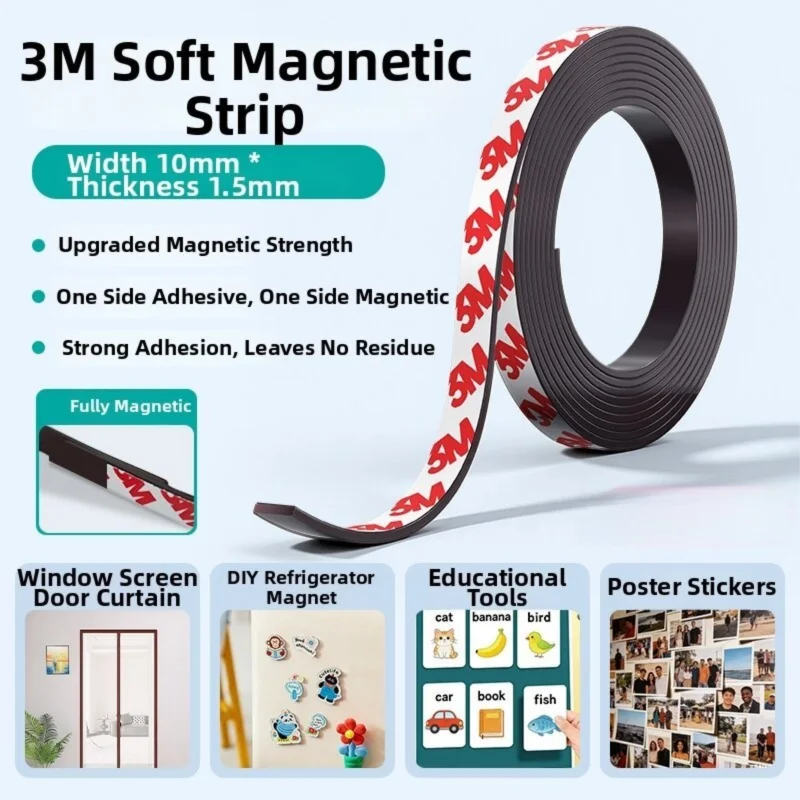
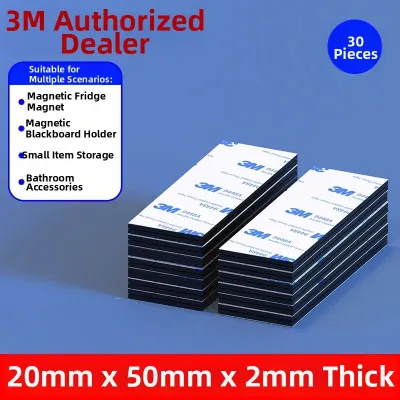
![[✅SG Ready Stock] 3M Magnetic Adhesive Sheets Strong Backing Cut Freely DIY Crafts Home Office Fridge Use](https://img.lazcdn.com/g/p/8bf5bc0d4e64b6a77bddf12d7e0fe01a.jpg_400x400q80.jpg_.webp)
Prices are valid at publication and may change. Please refer to the product page for the latest price.
Conversely, you should avoid applying adhesive-backed strips to rough, heavily textured, or unfinished wood surfaces, as the lack of surface contact will cause the adhesive to fail rapidly. Surfaces with peeling paint, weak veneers, or delicate wallpaper are also highly unsuitable; the weight of the magnetic strip and the tools attached to it will likely pull the finish right off the core material. If you are uncertain about your desk’s finish, perform a small, discreet compatibility test by applying a tiny piece of mounting tape to an inconspicuous area, such as the underside of the desk, and checking its adhesion and removal after 24 hours.
Environmental factors also play a critical role in adhesive performance. In humid climates, such as Singapore, ambient moisture can settle on surfaces and interfere with the initial bonding process. High humidity can prevent the adhesive from wetting the surface properly, leading to premature peeling. Therefore, you must ensure that your workspace is well-ventilated and that the desk surface is completely dry and free of condensation before you begin the installation process. If you work in an air-conditioned room, let the desk surface adjust to room temperature before mounting the strip to prevent moisture from condensing on the cold surface.
Gather Your Tools and Materials
Having all the necessary tools on hand before you start will prevent mistakes and ensure a seamless installation process.

- Primary Item: A high-quality 3M magnetic strip, selected with the appropriate length, width, and weight capacity to accommodate your specific tools.
- Cleaning Agents: Isopropyl alcohol (90% or higher is recommended) or a mild, non-residue glass cleaner, along with a clean, lint-free microfiber cloth.
- Measuring and Alignment Tools: A standard measuring tape, a pencil for light marking, and painter's tape or masking tape to create temporary boundaries.
- Optional but Recommended Tools: A handheld hairdryer to warm the adhesive for better initial tack, and a small spirit level to ensure the strip is perfectly horizontal.
Avoid using standard household multi-surface cleaners, dish soaps, or window cleaners that contain silicones, oils, or moisturizers. These products leave behind an invisible, slippery film that prevents the adhesive from making direct contact with the desk material, which is a common cause of installation failure.
Step-by-Step Guide to Installing the 3M Magnetic Strip
Installing a magnetic strip is a straightforward process, but its long-term success depends entirely on precision and patience. The following sequential steps will guide you through preparing the surface, aligning the strip, activating the adhesive, and allowing it to cure properly.
Step 1: Clean and Prep the Surface
To begin, you must thoroughly clean the exact area where the magnetic strip will be mounted. Pour a small amount of isopropyl alcohol onto your microfiber cloth and wipe the desk surface firmly to remove accumulated dust, skin oils, fingerprints, and manufacturing residues. Even if the desk looks clean to the naked eye, these microscopic contaminants act as a barrier, preventing the adhesive from bonding directly to the solid surface.
Do not use paper towels, as they can shed tiny fibers and lint that get trapped under the adhesive. If you must use a liquid cleaner other than isopropyl alcohol, ensure it is completely free of oils and artificial scents. Once you have wiped the area, wait at least five to ten minutes to allow the surface to air-dry completely, ensuring no moisture remains trapped beneath the strip.
Step 2: Measure and Mark the Placement
Carefully plan where you want to position the magnetic strip, taking your daily workflow and ergonomics into account. Consider your dominant hand and place the strip where you can naturally reach your most frequently used tools, such as scissors, metal rulers, or drafting pens, without straining or knocking over other items. Avoid placing the strip too close to the front edge of the desk where your arms might accidentally bump it, or too far back where you have to stretch excessively to reach it.
Once you have determined the ideal spot, use your measuring tape and a spirit level to ensure the placement is straight. Lightly mark the outer corners of the strip’s position with a pencil, or apply strips of painter’s tape along the top and side boundaries to create a highly visible, straight guide. Painter’s tape is highly recommended because it provides a clear physical border and can be removed easily without leaving marks or damaging sensitive wood veneers.
Step 3: Apply and Press Firmly
With your placement marked, prepare to apply the magnetic strip. Carefully peel the protective paper backing off the 3M adhesive layer, taking care not to touch the exposed adhesive with your fingers, as skin oils will instantly degrade its bonding capability. Align one end of the strip with your marked guidelines or painter’s tape, then slowly lower the rest of the strip onto the surface, pressing it down progressively from one end to the other to prevent air bubbles from getting trapped.
Once the strip is in place, apply firm, continuous pressure with both hands along its entire length for at least 30 to 60 seconds. 3M adhesives are pressure-sensitive, meaning they require physical force to activate the adhesive flow and establish a strong mechanical bond with the surface. If you are working in a cold or highly air-conditioned room, you can use a hairdryer on a low, warm setting to gently heat the adhesive backing for a few seconds before peeling and pressing it; this temporary warmth softens the adhesive polymer, significantly improving its initial tack.
Step 4: Let the Adhesive Cure
The most critical step in the entire installation process is allowing the adhesive to cure without any disturbance. Pressure-sensitive adhesives do not bond instantly; instead, they require time to flow into the surface micro-textures and build to their maximum holding strength. Refer to the manufacturer’s packaging for specific guidelines, but keep in mind that most 3M mounting adhesives require 24 to 72 hours to reach full cure capacity.
During this curing window, do not hang any tools, test the magnetic strength, or apply any weight or pulling force to the strip. Loading the strip prematurely will disrupt the forming chemical bonds, causing the adhesive to lift slightly, which permanently reduces its weight capacity and eventually leads to complete failure. Exercising patience during this phase ensures that your magnetic strip remains securely mounted for years to come.
Best Practices for Organizing Tools on the Magnetic Strip
Once the curing period is complete, you can begin organizing your tools on your new magnetic strip. To maintain a safe and functional setup, you must check the manufacturer’s weight rating for both the magnetic pull strength and the adhesive backing. Always distribute your tools evenly along the length of the strip rather than clustering heavy items in one spot, which can place uneven stress on the adhesive and cause one end to peel away over time.
Ideal items for magnetic desk organization include lightweight steel tools such as metal scissors, tweezers, binder clips, steel rulers, utility knives, and specialized magnetic pen holders. Avoid hanging excessively heavy items, such as large wrenches, heavy hammers, or bulky tape dispensers, which can easily exceed the magnetic or adhesive limits and fall, potentially damaging your desk or injuring your feet.
Additionally, you must keep electronic safety in mind when placing magnetic strips near modern workspaces. While modern smartphones, solid-state drives (SSDs), and tablets are generally resilient against everyday household magnets, older devices containing mechanical hard drives (HDDs), magnetic stripe credit cards, and certain sensitive medical equipment can be disrupted or permanently damaged by magnetic fields. As a safe precaution, maintain a clear distance of at least 15 to 20 centimeters between your magnetic strip and any sensitive electronic storage media or devices.
How to Safely Remove the Magnetic Strip Without Damaging Your Desk
If you ever need to rearrange your workspace, move to a new office, or correct an installation mistake, you must remove the magnetic strip carefully to protect your desk surface. Never attempt to pull, pry, or rip the strip off forcefully. Doing so can easily tear wood veneers, peel away paint, crack glass, or leave behind a stubborn, unsightly layer of hardened foam adhesive.
To remove the strip safely, use a household hairdryer set to a medium heat setting. Hold the hairdryer a few centimeters away from the strip and move it back and forth continuously for two to three minutes to warm the metal and soften the underlying 3M adhesive. Once the adhesive has softened, take a long piece of dental floss or high-strength fishing line, slip it behind one end of the strip, and use a gentle sawing motion to slice through the softened foam or adhesive layer. This technique allows you to separate the strip from the desk without applying damaging leverage to the surface.
After the strip is removed, you may find some sticky residue left behind on your desk. Clean this residue by applying a small amount of isopropyl alcohol, a dedicated commercial adhesive remover, or a mild oil-based solution (such as eucalyptus oil) to a microfiber cloth, then gently rub the spot until the residue lifts. Finish by wiping the area with a clean, damp cloth to remove any remaining solvents.
If at any point during the heating or removal process you notice that the desk surface feels unusually fragile, soft, or begins to lift or bubble, stop immediately. In such cases, consult your desk manufacturer or a professional furniture restorer to prevent irreversible damage to high-end or delicate finishes.
Frequently Asked Questions (FAQ)
Will the magnetic strip damage my electronic devices?
Modern electronic devices, including smartphones, tablets, laptops, and solid-state drives (SSDs), do not use magnetic storage media and are generally unaffected by the magnetic fields produced by standard desk organization strips. However, older technology and specific accessories remain vulnerable. Devices containing mechanical hard disk drives (HDDs), magnetic stripe credit cards, transit passes, and analog compasses can suffer data corruption or mechanical disruption if placed in direct contact with strong magnets. Additionally, individuals with pacemakers or other implantable medical devices should maintain a safe distance from magnetic strips. As a general best practice, keep your primary electronic devices and magnetic cards at least 15 centimeters away from the strip.
Can I mount the magnetic strip vertically on a desk leg or privacy panel?
Yes, you can mount a 3M magnetic strip vertically on a desk leg, wall, or privacy panel, provided the surface material is smooth, non-porous, and compatible with the adhesive. However, vertical mounting subjects the adhesive to continuous shear stress due to gravity, which pulls the strip downward rather than pressing it against the surface. To ensure a successful vertical installation, meticulous surface cleaning and allowing the full 72-hour curing time are absolutely vital. You should also consider using a shorter, lighter magnetic strip or placing only lightweight tools on it to minimize the downward pull and prevent the adhesive from sliding or failing over time.
Community discussion
Share your experience or ask a question. Comments are reviewed before publication.