
Organizing a workspace efficiently is key to maintaining focus and productivity, especially when dealing with limited desk space in modern urban apartments. Magnetic strips offer an elegant, vertical storage solution for keeping frequently used tools, stationery, and metal accessories within arm’s reach. However, the success of this setup relies heavily on the bond between the adhesive backing and your desk’s surface. By understanding how pressure-sensitive adhesives interact with different materials, you can create a reliable, long-lasting mounting system that keeps your workspace tidy and your tools secure.
Preparing Your Desk and Gathering Supplies
Before peeling any adhesive backing, take a close look at the physical condition of your desk. The surface must be structurally sound, completely dry, and free of any loose paint, varnish, or laminate. Even a microscopic layer of dust or oil can prevent the adhesive from making full contact with the substrate, leading to premature failure under the weight of your tools.
To prepare for the installation, gather a few basic supplies: a high-quality microfiber cloth, isopropyl alcohol, a pencil, a ruler or measuring tape, and a spirit level. The microfiber cloth is essential because it removes dust without leaving behind tiny fibers that could compromise the adhesive. Isopropyl alcohol is the standard cleaning agent for preparing surfaces, but you must verify that it is safe for your specific desk finish. For example, some delicate wood varnishes or painted surfaces can be damaged by alcohol, so always perform a quick spot test on an inconspicuous area first.
Products mentioned in this guide
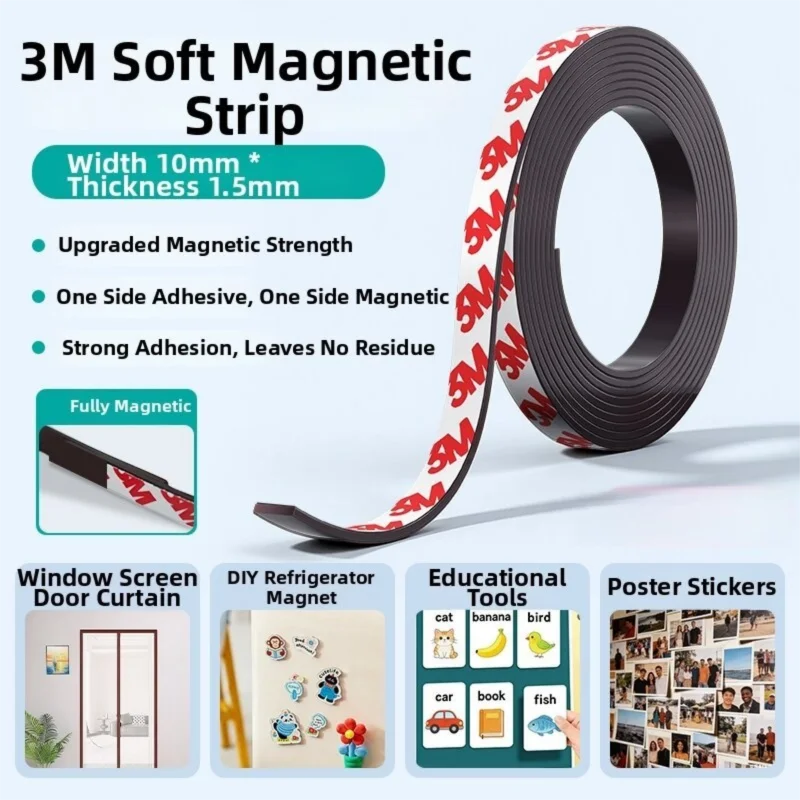
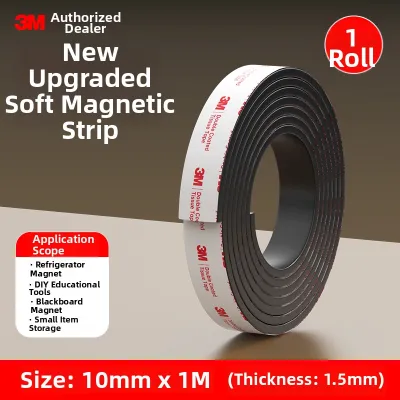
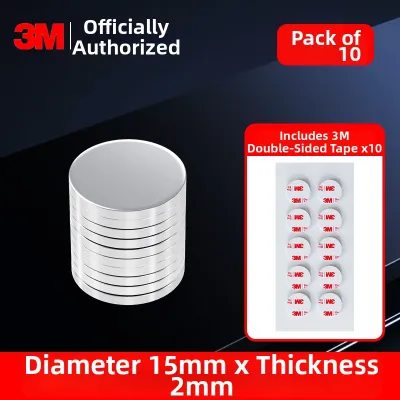
Prices are valid at publication and may change. Please refer to the product page for the latest price.
Finally, consult the packaging of your specific 3M magnetic strip. Different adhesive formulations have distinct weight capacities and surface compatibilities. Look for the manufacturer’s specified weight limits, which are often detailed as a maximum weight per unit of length. Understanding these limits beforehand prevents you from overloading the strip and ensures you select the right tools for your new vertical storage setup.
Step-by-Step Installation Process
The key to a successful installation lies in meticulous preparation and correct application technique. Begin by wiping down the target area with your microfiber cloth dampened with isopropyl alcohol. If your desk has stubborn grease or grime, clean it first with mild soapy water, rinse thoroughly with clean water, and let it dry completely before using the alcohol. The alcohol step is crucial as it strips away invisible oils left behind by hands and cleaning products. Allow the surface to air-dry completely; even a tiny amount of moisture can trap bubbles under the adhesive.

Next, use your ruler, pencil, and level to mark the exact placement of the magnetic strip. Once the adhesive touches the surface, it forms an immediate bond, making repositioning extremely difficult without damaging the adhesive layer. Lightly mark the corners or the top edge of where the strip will sit so you have a clear guide during application.
When you are ready to apply the strip, peel the protective liner away from the adhesive backing. Avoid touching the exposed adhesive with your fingers, as skin oils will immediately degrade its bonding strength. Align the strip with your pencil marks and press one end firmly against the desk. Slowly work your way to the other end, applying continuous, heavy pressure.
Pressure-sensitive adhesives require physical force to flow into the microscopic imperfections of the surface. Use your thumb or a small roller to press firmly along the entire length of the strip, paying extra attention to the edges and corners where lifting is most likely to start.
After application, the most critical step is patience. The adhesive does not reach its full bonding strength immediately. It requires a curing or dwell time to flow and bond deeply with the surface. While some initial tack is present, it is highly recommended to wait at least 24 hours—and up to 72 hours in humid environments like Singapore—before hanging any tools. Rushing this step is the most common cause of adhesive failure.
Adapting the Installation for Wood, Metal, and Laminate
Different desk materials require specific care to ensure the adhesive bonds correctly without causing permanent damage to the furniture.
If you are working with a wooden desk, first determine whether the wood is sealed or unsealed. Sealed wood, such as those finished with polyurethane, lacquer, or varnish, provides a smooth, non-porous surface that is generally excellent for adhesive bonding. However, raw, unsealed, or highly textured wood is highly porous and will absorb the adhesive’s solvents, preventing a secure bond. If your desk is raw wood, you may need to apply a sealant first or consider a mechanical mounting option. Additionally, avoid applying adhesive to antique or highly valuable wood finishes, as removal can strip away the historical patina or delicate topcoats.
Metal desks, often found in industrial or modern minimalist setups, offer an exceptionally strong substrate for magnetic strips. Ensure the metal surface is clean, smooth, and free of any rust, flaking paint, or uneven welding seams. If the metal has a textured powder coating, the adhesive may only contact the high points of the texture, reducing the overall bonding area. In such cases, you may need to select a thicker, conformable foam adhesive strip designed to bridge these gaps.
Laminate desks, common in home offices and commercial workspaces, are highly durable and non-porous, making them ideal candidates for adhesive mounting. Before installation, inspect the laminate for any peeling edges or bubbling, as the weight of the tools could pull the laminate away from its particleboard core. When cleaning laminate, avoid using harsh solvents like acetone or paint thinners, which can dissolve the protective top layer or the glue holding the laminate edge banding in place. Stick to isopropyl alcohol or mild detergents.
Testing the Bond and Organizing Your Tools
Once the curing period is complete, you can begin organizing your tools, but do so systematically to avoid overloading the strip. Start by performing a gradual weight test. Begin by hanging your lightest items, such as paperclips, small metal rulers, or lightweight scissors. Observe how the strip behaves under this minimal load.
If the strip remains secure, gradually introduce heavier items over the next few days. When arranging your tools, distribute the weight evenly across the entire length of the magnetic strip. Placing all heavy items on one end creates a leverage effect that can peel the strip away from the surface. Keep the heaviest tools positioned directly over or near the primary mounting points or the center of the strip to distribute the gravitational pull evenly.
During the first week of use, monitor the installation closely. Check the edges of the magnetic strip daily for any signs of lifting, peeling, or slipping. If you notice the corners starting to curl away from the desk, or if the strip feels spongy when you pull a tool off, it indicates that the bond is failing. Address these signs immediately by removing the weight before the strip falls and potentially damages your tools or desk.
Safe Removal and Surface Protection
There may come a time when you need to reorganize your workspace, move to a new home, or replace your desk. Removing a strong adhesive strip requires patience to avoid tearing the desk’s finish or leaving behind a stubborn, sticky residue.
To begin the removal process, you can use gentle heat to soften the adhesive polymer, but only if this method is explicitly permitted by the product label and is safe for your desk material. A hairdryer set to a low, warm setting can be directed at the strip for a few seconds. Be extremely cautious with laminate and veneered wood, as excessive heat can liquefy the glue holding the veneer or laminate to the desk, causing permanent warping or bubbling.
When peeling the strip, do not pull it straight up or perpendicular to the surface. This action concentrates all the pulling force on a single point and is highly likely to rip away paint, varnish, or wood fibers. Instead, peel the strip slowly and parallel to the surface, stretching it horizontally as you pull. This stretching action helps release the adhesive’s grip cleanly and gradually.
Once the strip is removed, any remaining adhesive residue can be cleaned up safely. For metal and laminate surfaces, a mild adhesive remover or a small amount of isopropyl alcohol on a microfiber cloth will usually dissolve the residue. For wooden surfaces, stick to gentle methods, such as rubbing the residue with your fingers to form small balls, or using a mild soapy water solution, to protect the delicate wood grain and finish.
Frequently Asked Questions (FAQ)
Can I install magnetic strips on a glass desk?
Installing magnetic strips on a glass desk is possible but requires careful evaluation. Glass is a non-porous, smooth surface that provides excellent initial adhesion, but it is also fragile. You must check the thickness and tempering of your glass desk to ensure it can handle the localized stress of heavy tools being pulled off the magnet. Always check the adhesive label to confirm compatibility with glass, and strictly adhere to the manufacturer’s weight restrictions to prevent cracking or shattering the glass under uneven loads.
What should I do if the strip starts peeling off?
If your magnetic strip begins to peel, first identify the likely cause, which is often surface contamination, overloading, or high humidity and temperature fluctuations. Once a strip has begun to peel and the adhesive has been exposed to air and dust, it cannot be successfully reapplied. You must remove the failing strip completely, clean the surface thoroughly to remove all residue, and apply a fresh strip. If the surface material or environmental conditions consistently cause adhesive failure, it may be time to switch to a mechanical mounting method, such as screws or brackets, to secure your tool organizer.
Community discussion
Share your experience or ask a question. Comments are reviewed before publication.