
Setting up a sewing machine for the first time can feel intimidating, but mastering the basic setup is the foundation of successful sewing. Properly inserting the needle and threading the machine correctly are the two most critical steps to ensure smooth operation, balanced stitches, and hassle-free sewing. When these steps are performed accurately, you prevent common frustrations such as skipped stitches, thread bunching, and needle breakage.
Whether you are working with lightweight cottons ideal for Singapore’s warm climate or heavier fabrics for home decor, the mechanical principles of sewing machines remain remarkably consistent. By understanding how the upper thread and lower bobbin thread interact, you can confidently set up almost any domestic sewing machine. This guide walks you through the entire process, from preparing your workspace to executing your very first test stitches.
Preparing Your Machine and Workspace
Before handling any mechanical parts, safety must be your top priority. Always turn off the power switch and unplug the sewing machine from the wall outlet. This simple precaution prevents accidental operation if your foot inadvertently presses the foot controller while your fingers are near the needle bar or take-up lever.
Products mentioned in this guide
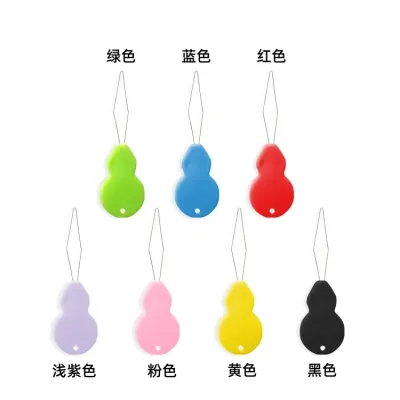
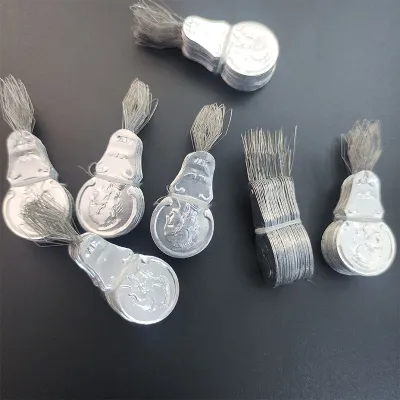
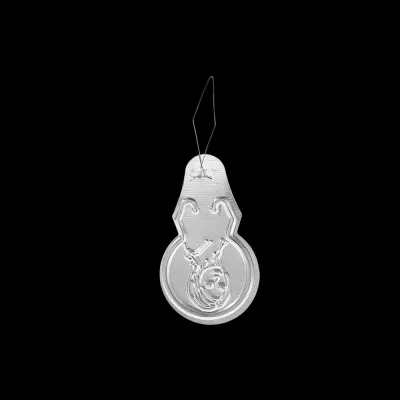
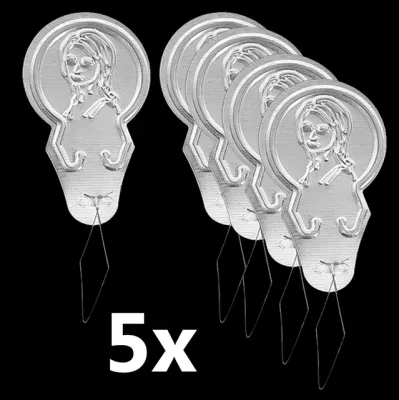
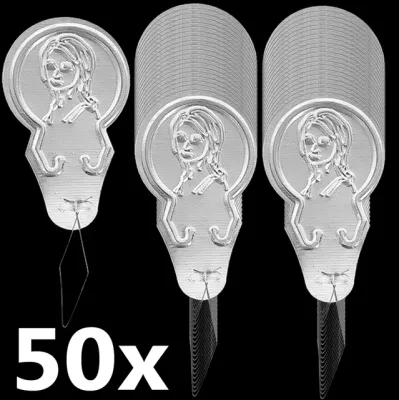
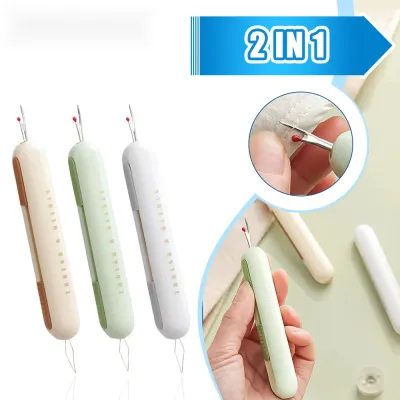
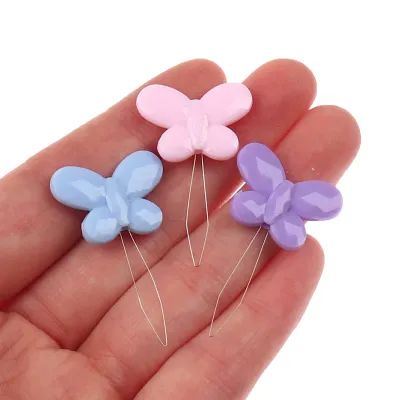
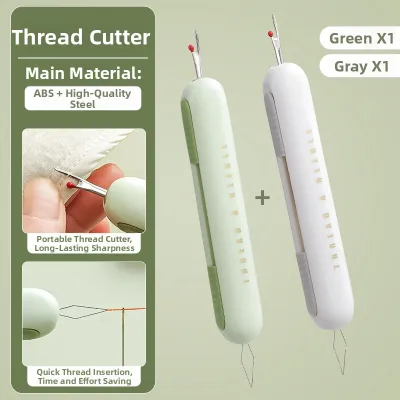
Prices are valid at publication and may change. Please refer to the product page for the latest price.
Next, gather all the necessary tools and materials for your project. You will need the correct needle type and size for your fabric, a spool of high-quality sewing thread, a matching bobbin, and your machine’s instruction manual. Having the manual nearby is highly beneficial, as it provides specific diagrams unique to your machine’s model.
Take a moment to inspect and clean the needle plate and bobbin area. Dust, lint, and tiny fabric fibers accumulate quickly in these compartments, especially when working with natural fibers. Use a small lint brush to gently sweep away any debris from the bobbin case and feed dogs. A clean workspace ensures that the thread moves freely without catching on hidden obstructions, which helps maintain consistent thread tension.
Inserting the Sewing Machine Needle Correctly
The sewing machine needle is a precision tool with a specific anatomy designed to work in harmony with the machine’s hook mechanism. The top portion of the needle is called the shank. On domestic sewing needles, the shank is not perfectly round; it features one flat side and one rounded side. Identifying these sides is crucial because inserting the needle facing the wrong direction will prevent the machine from catching the bobbin thread to form stitches.

For the vast majority of modern domestic sewing machines, the flat side of the needle shank must face toward the back of the machine, while the rounded side faces toward you. However, some vintage or specialized machines may require the flat side to face the left or right. Always verify this orientation by checking your machine’s manual or looking closely at the needle clamp.
To insert the needle, loosen the needle clamp screw using the small screwdriver provided in your machine’s accessory kit. Hold the needle with the flat side facing the correct direction and slide the shank up into the needle clamp. Push it upward until it hits the needle stopper. It is essential that the needle is pushed up as far as it will go; if it is positioned too low, the needle may strike the bobbin case or needle plate, causing damage to both the needle and the machine.
While holding the needle firmly in this fully inserted position, tighten the needle clamp screw. Turn the screw clockwise with your fingers first, then use the screwdriver to secure it firmly. Avoid over-tightening, as excessive force can strip the threads of the clamp screw or damage the needle bar.
Before you begin, always verify that the needle is straight and undamaged. You can easily check this by placing the needle on a flat surface, such as a glass table or the flat extension table of your machine. Roll the needle back and forth; if the tip wobbles or if there is an uneven gap between the shaft and the flat surface, the needle is bent and must be discarded. Using a bent needle can cause skipped stitches, uneven seams, or fabric damage.
Threading the Upper Thread Path
Threading the upper path of a sewing machine involves routing the thread from the spool through a series of guides and tension discs down to the needle eye. To begin, place your thread spool onto the spool pin. If your machine has a horizontal spool pin, slide a spool cap onto the pin to secure the spool. Choose a spool cap that matches the diameter of the spool to prevent the thread from getting caught on the edge of the cap as it unwinds.
Before you pull the thread through the machine, ensure that the presser foot is raised. This is one of the most critical steps in the entire threading process. When the presser foot is in the raised position, the internal tension discs open up. This allows the thread to seat deeply and correctly between the discs. If you thread the machine with the presser foot down, the tension discs remain closed, and the thread will sit on top of them instead of between them. This results in a complete lack of upper thread tension, leading to massive thread tangles on the underside of your fabric.
With the presser foot raised, pull the thread from the spool and follow the numbered path printed on your machine’s housing. Most modern machines feature clear arrows or numbers to guide you. Typically, the thread goes through a pre-tension guide near the spool, down through a U-shaped channel on the front of the machine, and then back up the adjacent channel.
At the top of the second channel, the thread must pass through the eye of the take-up lever. Turn the handwheel toward you to raise the take-up lever to its highest position before threading. Ensure the thread is securely hooked into the lever from right to left, or as indicated by your machine’s guides. From the take-up lever, bring the thread down toward the needle, passing it through one or two lower thread guides located on the needle bar.
Finally, thread the needle eye. For most modern machines, the thread passes through the eye from the front to the back. Pull about ten to fifteen centimeters of thread through the eye and lay it toward the back of the machine, passing it under the presser foot.
Loading and Threading the Bobbin
The lower thread is supplied by the bobbin, which must be wound evenly and inserted correctly into the bobbin case to enable proper stitch formation. To wind a bobbin, place an empty bobbin on the bobbin winding spindle. Pass the thread from the spool through the bobbin winding tension guide, then thread the end through the small hole in the bobbin from the inside out. Push the bobbin spindle to the right to engage the winding mechanism. Hold the thread tail, gently press the foot controller to wind a few turns, snip the tail close to the bobbin, and continue winding until the bobbin is full. Ensure the thread winds evenly; uneven winding can cause tension fluctuations during sewing.
Once wound, insert the bobbin into the machine. If your machine has a top drop-in bobbin system, remove the clear plastic cover. Drop the bobbin into the compartment so that the thread unwinds in the correct direction. For most machines, the thread should unwind counter-clockwise, resembling the letter “P.” If your machine has a front-loading metal bobbin case, insert the bobbin into the metal case, pull the thread through the slot, and slide it under the tension spring until it clicks.
For both systems, you must guide the bobbin thread through the designated tension slot or spring. Pull the thread gently along the path indicated by the arrows on the bobbin cover or case. This step applies the necessary resistance to the lower thread, which is essential for balanced stitches.
To draw up the bobbin thread, hold the tail of the upper needle thread gently with your left hand. With your right hand, slowly turn the handwheel toward you (counter-clockwise) for one full rotation. The needle will descend into the bobbin area and rise back up, carrying a loop of the bobbin thread with it. Gently pull the upper thread to bring the bobbin thread loop up through the hole in the needle plate. Use a small tool, like a screwdriver or a pair of scissors, to sweep both the upper and lower threads under the presser foot and toward the back of the machine.
Testing Your Stitches and Troubleshooting
Before starting on your actual project, always perform a test sew on a scrap piece of the same fabric. This step allows you to verify that the needle and thread are properly installed and that the tension is balanced. Fold the scrap fabric to mimic the thickness of your project, place it under the presser foot, and lower the foot.
Turn the handwheel toward you manually for the first two or three stitches to ensure the needle moves smoothly without hitting anything. Then, gently press the foot controller to sew a straight line of about ten centimeters. Remove the fabric and inspect the stitches on both sides.
A balanced stitch looks identical on the top and bottom of the fabric, with the interlocking point hidden inside the fabric layers. If you observe loops of thread on the underside of the fabric, this usually indicates that the upper thread has no tension, often because the presser foot was down during threading or the thread missed the tension discs. If you see loops on the top of the fabric, the bobbin thread may not be seated correctly in its tension spring.
If you encounter issues, do not adjust the tension dials immediately. Instead, completely unthread both the upper and lower paths, raise the presser foot, and re-thread the machine step-by-step. This simple reset resolves the vast majority of stitch quality issues. If you experience mechanical resistance, unusual grinding noises, or if the needle strikes the needle plate, stop sewing immediately. Consult your machine’s manual or contact a qualified technician to prevent damage to the internal gears.
Frequently Asked Questions (FAQ)
How do I know which needle size to use for my fabric?
Choosing the correct needle size is essential for clean stitches and preventing fabric damage. Needle packages display sizes using both European and American standards, such as 70/10, 80/12, or 90/14. The smaller number represents the American size, while the larger represents the European size; in both systems, a lower number indicates a finer needle. Use fine needles (size 70/10) for lightweight fabrics like silk, chiffon, or thin cottons. Medium-weight fabrics like linen, quilting cotton, and light canvas pair well with size 80/12 or 90/14 needles.
Additionally, match the needle eye size to your thread thickness. If you use a thick thread with a fine needle, the thread will rub against the edges of the eye, leading to friction, shredding, and eventual breakage. For heavy-duty threads, select a specialized needle with a larger eye, such as a topstitch or denim needle.
Why does my thread keep breaking right after I start sewing?
Frequent thread breakage right at the start of a seam is a common issue that usually points to a few specific setup errors. First, check if the upper thread is catching on the spool pin or the notch of the thread spool itself. If the thread cannot unwind smoothly, the sudden tension spike will snap it instantly.
Second, verify that the needle is inserted correctly with the flat side facing the back and that it is pushed all the way up into the clamp. An incorrectly oriented needle prevents the hook from catching the thread smoothly, causing it to shred. Finally, ensure that you raised the presser foot while threading the upper path. If the thread is not seated properly within the tension discs, it can slip out or become trapped, leading to immediate breakage. Replacing old or low-quality thread with fresh, high-quality polyester thread can also resolve persistent breakage issues.

Community discussion
Share your experience or ask a question. Comments are reviewed before publication.