
Quick Answer
Replacing a broken zipper puller on a favorite jacket or travel bag is a highly manageable task, provided you select a compatible replacement. The correct zipper puller depends entirely on two primary factors: the zipper slider’s size (commonly denoted by numbers like #3, #5, or #8) and its specific attachment hole configuration.
Before purchasing a replacement, you must inspect the existing slider body on your item to determine these exact specifications. While universal pullers and quick-clip replacements are widely available, they must match the slider’s physical dimensions and mechanical style to function safely and smoothly without slipping.
Diagnose Your Zipper Slider and Attachment Style
Before shopping for a new zipper puller, you must diagnose the exact specifications of the broken zipper’s remaining components. The zipper puller does not attach directly to the fabric; instead, it connects to the slider, which is the metal or plastic mechanism that moves along the teeth. If you select a puller that is too thick for the slider’s connection point, it will not fit, while a puller that is too small may slip out or jam the mechanism.
Products mentioned in this guide
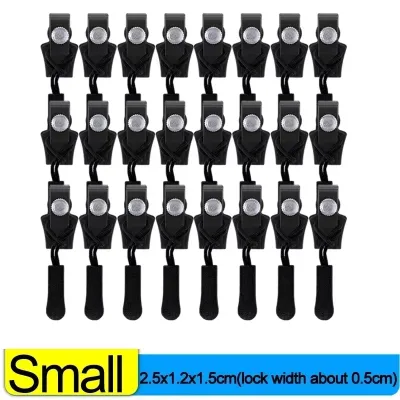
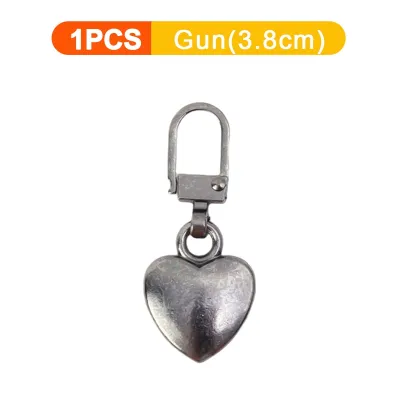
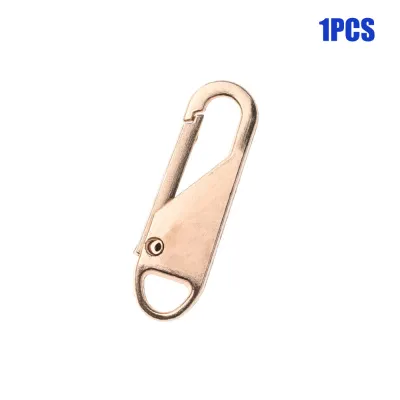
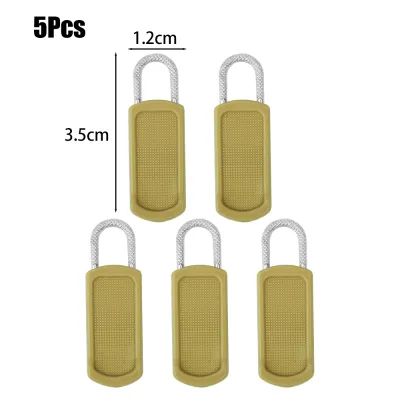
Prices are valid at publication and may change. Please refer to the product page for the latest price.

Finding the Zipper Size
Most professional zipper manufacturers stamp the zipper size directly onto the flat back or the nose of the slider body. Look closely at the underside or the rear of the slider for a raised or engraved number, such as 3, 5, 8, or 10. These numbers correspond to the width of the zipper teeth in millimeters when zipped closed.
If the number has worn off or was never stamped, you can estimate the size by measuring the width of the closed zipper teeth with a ruler or caliper. For example, a zipper track measuring approximately 5 millimeters across indicates a #5 zipper, which is the standard size for most casual jackets, backpacks, and everyday bags. Heavy-duty duffel bags and winter coats often utilize a #8 or #10 zipper, while lightweight inner pockets or delicate garments typically use a #3 zipper.
Identifying Slider Types
Zipper pullers are designed to complement specific slider bodies, which are categorized by the type of teeth they join.
- Metal Teeth Sliders: These sliders have a wide, flat profile designed to guide individual metal teeth. They require sturdy pullers that can handle the physical resistance of metal-on-metal friction.
- Plastic Coil Sliders: Extremely common on modern backpacks and jackets, coil zippers feature a continuous nylon loop. The sliders for these zippers have a rounded interior and require lightweight pullers that do not place uneven stress on the flexible coils.
- Invisible Zippers: Primarily used on delicate garments or sleek bag compartments, these sliders are hidden behind the fabric. They require specialized, ultra-slim pullers that do not obstruct the fabric overlap.
Understanding Attachment Holes
The physical point where the puller connects to the slider determines the type of attachment mechanism you need.
- Single-Hole (Pin Pull) Sliders: These feature a small, solid loop on top of the slider. The puller must have a built-in openable wire, a split ring, or a small pin that feeds through this single loop.
- Double-Hole (Bar Pull) Sliders: These contain a small metal bridge or bar raised above the slider body. The replacement puller must feed under this bar, which often requires a thin, flexible cord or a specialized clip-on mechanism.
- Lock Sliders: Commonly found on jackets, these sliders have a small internal spring-loaded lock pin that prevents the zipper from sliding down on its own. The puller must have a small cam or tab that lifts this pin when pulled. Replacing a puller on a locking slider requires a compatible tab that can actuate the internal lock.
- Cord or Rope Attachment Holes: Often found on outdoor gear, these sliders have a large, open loop designed specifically for threading utility cord, paracord, or nylon webbing rather than metal rings.
Always compare the shape, thickness, and spacing of the connection loop on your broken puller with any replacement options. Forcing a mismatched hook or wire into a delicate slider loop can warp the metal, crack the slider body, or tear the surrounding fabric.
Select the Appropriate Replacement Puller
Once you have identified your slider’s size and attachment style, you can select a replacement puller that matches your functional needs and durability requirements. Choosing the right material and design ensures your jacket or bag remains reliable for daily use.
Material Trade-offs
The material of your replacement puller directly affects its lifespan, weight, and ease of use, especially under specific environmental conditions.
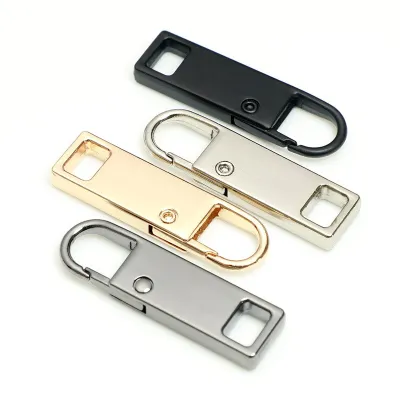
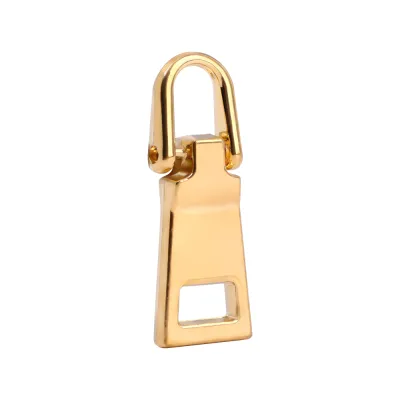
- Metal Pullers: Typically made of brass, zinc alloy, or stainless steel, metal pullers offer the highest durability and structural strength. However, in highly humid tropical climates like Singapore, low-grade metal alloy pullers are susceptible to oxidation, corrosion, and tarnishing over time. If you choose metal, look for rust-resistant stainless steel or solid brass components to ensure longevity on frequently used commuter bags or rain jackets.
- Plastic and Resin Pullers: Lightweight and completely immune to rust, plastic or molded resin pullers are excellent for sports gear, casual bags, and lightweight jackets. While they do not corrode, low-quality plastics can become brittle over time when exposed to UV light or high heat.
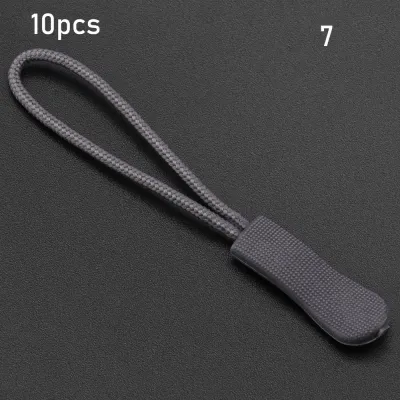
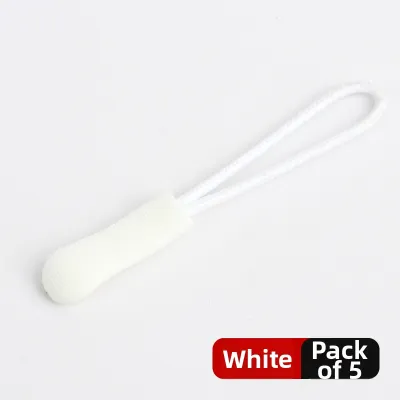
- Nylon and Cord Pullers: These consist of a loop of durable cord attached to a textured plastic or rubber tab. They are exceptionally flexible, easy to grab with wet hands or gloves, and put minimal stress on the slider body. They are the preferred choice for outdoor backpacks, camera bags, and technical sportswear.
Functional Features for Jackets and Bags
Consider how the item is used when selecting a puller design. For travel bags and backpacks, security is often a priority; look for lockable pullers that feature overlapping loops designed to accommodate a small padlock.
For heavy winter jackets or rainwear, ergonomic pullers with extended tabs or textured rubber grips allow for easy operation even when your hands are cold or wet. For fashion items, decorative metal tabs or leather pullers can restore the original aesthetic of the piece.
Compatibility and Kit Verification
Replacement pullers are sold either as individual tabs, universal snap-on clips, or complete zipper repair kits. If you purchase a repair kit, verify that it includes the specific pins, top stops, or rivets required for your slider size.
Always check the product packaging, labels, or manufacturer specifications for explicit size compatibility. Do not rely solely on brand names or generic labels; physical measurements and specification checks are the only reliable way to guarantee a proper fit.
How to Replace the Zipper Puller Safely
Installing a new zipper puller is a straightforward task that can be completed at home with a few basic tools. However, because zipper sliders are often made of cast metal or molded plastic, they can crack easily under uneven pressure.
Essential Tools
Before beginning, gather the necessary tools. You will typically need:
- Needle-nose pliers (for gripping, bending, or crimping metal loops)
- A small flathead screwdriver (to gently pry open a closed slider loop if necessary)
- A soft cloth (to wrap around the metal parts to prevent scratching during installation)
- A dedicated zipper pull installation tool (optional, but helpful for specialized snap-on pullers)
Step-by-Step Installation
Prior to starting, check the manufacturer’s care label on your jacket or bag for any specific material warnings. If the manufacturer’s instructions conflict with general repair steps, always defer to the manufacturer’s guidance.
- Prepare the Slider: If a portion of the old, broken puller is still trapped in the slider loop, use your needle-nose pliers to gently extract it. If the loop is bent or compressed, use a small flathead screwdriver to carefully pry it open just enough to clear the debris.
- Align the New Puller: Position the attachment hook, ring, or cord of the new puller directly over the slider's connection point. Ensure that the puller is facing the correct direction (usually with the textured or branded side facing outward).
- Thread and Secure: If using a split-ring or snap-on puller, thread the wire loop through the slider's attachment hole. For pullers that require crimping, wrap a soft cloth around the connection wire to protect the finish, then use your needle-nose pliers to gently squeeze the loop closed. Apply steady, gradual pressure rather than a sudden squeeze.
- Secure Cord Pullers: If you are installing a nylon cord puller, thread the loop through the slider hole, pass the plastic tab back through the cord loop (creating a girth hitch knot), and pull it tight to secure it.
Safety and Testing
Avoid using excessive force during any part of this process. Applying too much pressure with pliers can easily crack cast-zinc sliders or tear the delicate fabric tape holding the zipper track to the garment.
Once the new puller is attached, perform a thorough verification check. Slowly zip and unzip the track multiple times. The movement should feel smooth, and the puller should swing freely without binding, catching on the fabric, or twisting sideways. If the puller feels loose, wobbly, or interferes with the slider’s path, undo the installation immediately and recheck the alignment and compatibility.
When to Replace the Entire Zipper or Seek Professional Help
While a broken puller is a simple fix, it can sometimes be a symptom of a much larger issue. If the zipper track or the slider body itself is compromised, replacing the puller will not restore functionality.
Inspect your zipper for the following signs of structural failure:
- Teeth Misalignment: Individual metal or plastic teeth are missing, bent, or warped, causing the zipper to split open behind the slider.
- Slider Separation: The slider frequently jumps off one side of the track or fails to join the teeth together as it moves.
- Cracked Slider Body: The metal or plastic casing of the slider has visible hairline fractures or is physically warped.
If you observe any of these issues, the entire slider or the complete zipper assembly must be replaced. For high-value items, technical outdoor gear with waterproof seals, or structured leather bags, attempting a DIY track replacement can permanently damage the material. In these scenarios, or if the zipper track is heavily compromised, consult a professional tailor, cobbler, or specialized outdoor gear repair service to ensure a high-quality, long-lasting repair.
Frequently Asked Questions (FAQ)
Can I use a zipper puller from a different brand or item?
Yes, you can repurpose a zipper puller from another item or brand, provided the physical dimensions and attachment mechanism match. Zipper compatibility is determined by the size and shape of the slider’s connection loop, not the brand name. Before installing a repurposed puller, measure its attachment wire or ring to ensure it fits through your current slider’s hole without binding or forcing.
How do I fix a zipper puller that keeps sliding down on its own?
A zipper that constantly slides open usually indicates a worn-out locking mechanism inside the slider body rather than a problem with the puller tab itself. If your slider features an automatic lock, check if the internal pin is bent or missing. If the slider body has stretched open from years of use, replacing the puller tab will not solve the sliding issue; you will need to replace the entire slider body to restore proper tension and locking functionality.
Community discussion
Share your experience or ask a question. Comments are reviewed before publication.