
When a sewing machine jams, loops, or snaps the thread, it halts your project and causes immense frustration. Resolving these issues requires a systematic approach: identifying where the failure occurs, verifying the physical setup, adjusting tension balances, and assessing the quality of your materials. By isolating each variable step-by-step, you can restore smooth, consistent stitches and prevent future disruptions.
Identify the Symptoms of Thread Failure
To fix a sewing issue, you must first diagnose the exact symptom. Thread failure generally presents in three distinct ways: snapping, looping, or tangling. Snapping occurs when the upper thread breaks cleanly, often right at the needle eye or just before it enters the fabric. Looping, commonly referred to as “bird nesting,” is characterized by a chaotic cluster of loose loops gathering on the underside of the fabric. Tangling typically involves the thread jamming or bunching tightly within the bobbin case, locking the needle in place.
Pay close attention to when the failure occurs. If the thread snaps the moment you lower the needle to start a seam, the issue is likely related to how the machine is threaded or how you hold the thread tails. If the breakage or tangling happens only when sewing through thick seams, multiple layers, or dense fabrics, the needle size or type is likely mismatched with the material.
Products mentioned in this guide
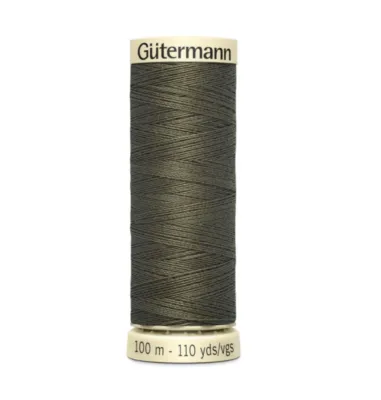
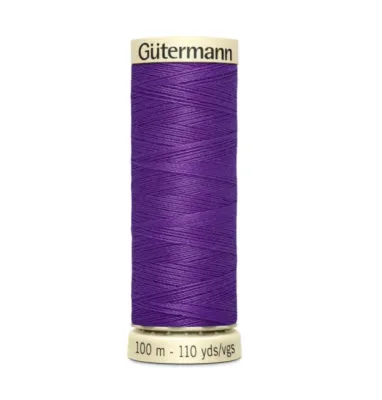
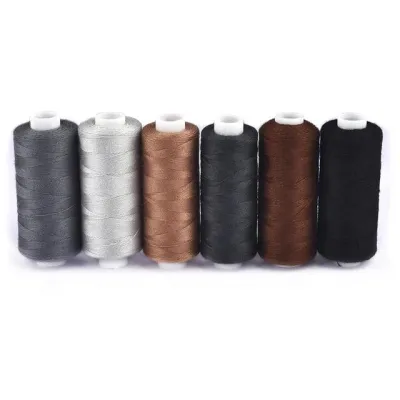
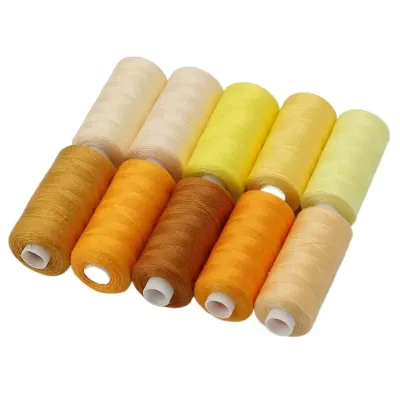
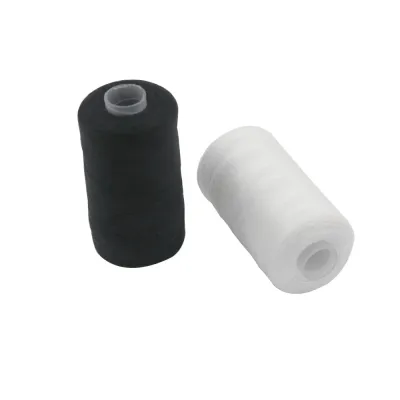
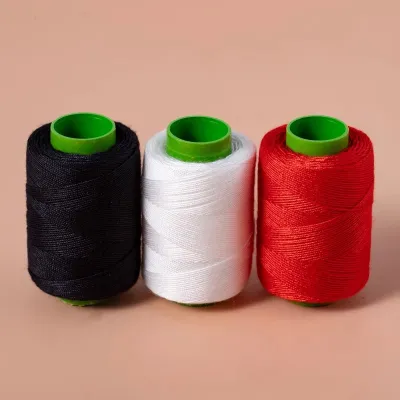
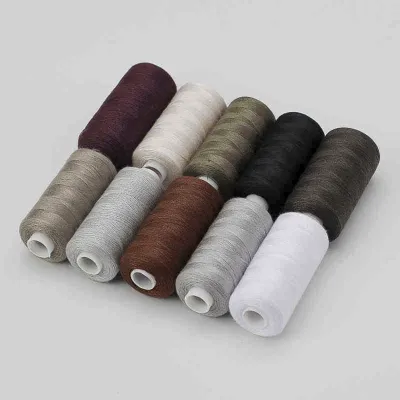
Prices are valid at publication and may change. Please refer to the product page for the latest price.
Isolating the physical location of the problem provides immediate clues. A break occurring above the needle suggests an issue along the upper thread path, such as a caught spool or a tight tension disc. A tangle concentrated entirely below the needle plate points directly to bobbin tension, incorrect bobbin insertion, or lint accumulation in the shuttle race.
Check the Threading Path and Needle Setup
The most frequent cause of immediate thread breakage is an incorrect threading path. Even experienced sewists occasionally miss a guide or fail to seat the thread fully between the tension discs. To correct this, completely unthread the machine, raise the presser foot to open the tension discs, and rethread the upper path step-by-step according to your machine’s manual. Ensure the thread passes securely through the take-up lever and every designated guide before reaching the needle.

Next, examine the needle itself, as a damaged or improperly installed needle will shred or snap the thread. Turn off the machine’s power before handling the needle to prevent accidental injury. Loosen the needle clamp, remove the needle, and check it for any slight bends, dullness, or rough spots. When reinstalling, verify that the flat side of the needle shank faces the direction specified by your machine’s manufacturer—usually toward the back or the side—and push it up as far as it will go before tightening the clamp.
Matching your needle to both the fabric and the thread is critical for smooth operation. A needle that is too small for the thread thickness forces the thread to rub aggressively against the edges of the needle eye, leading to rapid shredding and snapping. Conversely, using a heavy-duty needle on delicate fabric can cause loose stitches and skipped loops. Refer to standard needle sizing charts to ensure your needle type (such as universal, ballpoint, or denim) and size (such as 70/10 for lightweight fabrics or 90/14 for medium-weight fabrics) align with your project materials.
Adjust Thread Tension and Bobbin Settings
Balanced stitches require equal tension from both the upper thread and the bobbin thread. When these forces are out of balance, the thread will either snap from excessive tightness or loop from extreme looseness. If you observe loops on the underside of your fabric, it actually indicates that the upper thread tension is too loose, allowing the bobbin to pull excess upper thread downward. Conversely, loops on the top of the fabric suggest the bobbin tension is too loose or the upper tension is too tight.
To adjust the upper tension, locate the tension dial on your machine, which typically ranges from 0 to 9, with 4 being the standard baseline. Make incremental adjustments of no more than half a number at a time, then test the stitch quality on a scrap piece of the exact fabric you are using. Continue adjusting and testing until the lock of the stitch sits perfectly hidden between the fabric layers.
The bobbin area requires equal scrutiny. Remove the bobbin and inspect the bobbin case for accumulated lint, dust, or tiny thread fragments that can lodge under the tension spring. Ensure the bobbin is wound evenly; an unevenly wound bobbin will feed thread erratically, causing sudden tension spikes. When inserting the bobbin, verify that it rotates in the correct direction (clockwise or counter-clockwise, depending on your machine’s design) and that the thread clicks securely into the bobbin case tension slot.
While most tension issues can be resolved using the external upper tension dial, some situations require professional intervention. If adjusting the upper dial across its entire range yields no change in stitch quality, or if you suspect the internal timing of the hook and needle is misaligned, stop adjusting. Forcing mechanical parts or turning internal screws without specialized knowledge can permanently damage the machine.
Evaluate Thread Quality and Storage Conditions
Not all sewing threads are created equal, and using degraded or low-quality thread is a primary source of sewing frustration. Poor-quality thread often exhibits uneven thickness, visible knots, and excessive fuzz or lint shedding. These imperfections catch on the needle eye or tension discs, causing sudden snaps. To test your thread’s strength, pull a short length from the spool; if it snaps easily with minimal resistance, the fibers have degraded and the spool should be discarded.
Environmental factors play a significant role in preserving thread integrity. In warm, humid climates, improper storage can accelerate the deterioration of thread fibers. High humidity can weaken cotton threads and cause synthetic threads to become sticky or brittle, while prolonged exposure to direct sunlight fades colors and breaks down fiber structures. Store your spools in airtight, dust-free containers away from direct sunlight and extreme temperature fluctuations to maintain their strength.
Selecting the right thread type for your specific project ensures compatibility and durability. Standard all-purpose polyester thread is highly versatile and suitable for most synthetic and blended fabrics due to its strength and slight elasticity. Pure cotton thread is ideal for quilting and natural fiber projects but lacks the stretch needed for knit fabrics. Always match the thread weight to the fabric weight, and avoid using cheap, unbranded thread assortments that are prone to shedding and breaking under machine tension.
Maintain Your Machine to Prevent Future Jams
Regular machine maintenance is the most effective way to prevent recurring thread jams and breakage. As you sew, fabric fibers and thread lint accumulate rapidly around the feed dogs, bobbin case, and tension discs. This buildup creates friction, restricts thread movement, and can eventually jam the entire mechanism. After completing a major project, or after every few hours of continuous sewing, use a small lint brush or a vacuum attachment to clean these areas thoroughly. Avoid using compressed air cans, as they can blow lint deeper into the machine’s internal gears.
Lubrication is vital for smooth mechanical operation, but it must be done with extreme care. Only apply sewing machine oil to the specific points designated in your machine’s user manual, and never use household oils or lubricants like WD-40, which can gum up the delicate parts. Some modern sewing machines are designed to run without oil, so always verify your manufacturer’s instructions before applying any lubricant. After oiling, sew several rows of stitches on scrap fabric to absorb any excess oil before starting your actual project.
Using compatible, high-quality accessories is equally important for consistent thread delivery. Ensure you are using the exact bobbin type specified for your machine model, whether plastic or metal, as even a fraction of a millimeter difference in bobbin height or width can cause severe tension fluctuations and jams. Inspect your bobbin edges regularly for any nicks, cracks, or rough spots that could snag the thread as it spins.
When to Stop and Seek Professional Repair
While many thread issues can be resolved with basic troubleshooting, certain symptoms indicate a deeper mechanical problem that requires professional repair. If your machine produces unusual grinding, clicking, or squealing noises, or if the needle repeatedly strikes the needle plate or bobbin case, stop sewing immediately. These signs often point to a slipped timing belt, a bent needle bar, or damaged internal gears that cannot be fixed with simple adjustments.
When DIY troubleshooting fails to resolve the issue, safely power down and unplug the machine before preparing it for service. Remove the needle, thread, and bobbin to prevent them from getting lost or damaged during transport. Document the specific symptoms you observed, including when the breakage occurs and what steps you have already taken, to help the technician diagnose the problem quickly.
Attempting to disassemble the internal mechanical components, timing gears, or motor housing without proper training and specialized tools can void your warranty and cause irreparable damage. Professional servicing fees (which typically range from S$50 to S$150 depending on the machine’s complexity) are a worthwhile investment to preserve the lifespan of your equipment. Professional technicians have the precise gauges and diagnostic equipment needed to realign the hook timing and calibrate tension systems safely, ensuring your machine returns to optimal working condition.
Frequently Asked Questions (FAQ)
Why does my thread keep breaking at the needle eye?
Thread breaking specifically at the needle eye is usually caused by friction or physical damage. If the needle eye is too small for the thread thickness, the thread shreds as it passes through at high speeds. Additionally, check the needle eye, needle plate, and presser foot for tiny burrs or sharp metal edges; even a microscopic scratch can snag and cut the thread as it moves. Replacing the needle with a larger size or a fresh, undamaged one often resolves this issue immediately.
Can I use the same thread for the top and the bobbin?
For most standard sewing projects, using the same thread type and weight for both the upper spool and the bobbin is highly recommended. This symmetry makes it much easier to achieve balanced tension, as both threads behave identically under stress. However, specialty techniques may require exceptions; for example, machine embroidery often utilizes a lightweight bobbin thread paired with a decorative top thread to reduce bulk on the underside of the design.
How often should I change my sewing machine needle?
As a general rule of thumb, you should replace your sewing machine needle after approximately 6 to 8 hours of continuous sewing time, or at the start of every major new project. Sewing through heavy, dense, or abrasive fabrics like denim, canvas, or synthetic laminates accelerates needle wear, requiring more frequent changes. A dull or slightly bent needle damages fabric fibers, skips stitches, and causes the thread to shred or snap.
Community discussion
Share your experience or ask a question. Comments are reviewed before publication.