
To resolve paper jams or misaligned punches on your GBC X312 binding machine, you must systematically clear physical blockages, verify your document stack thickness, and adjust the alignment guides. Most mechanical issues stem from exceeding the sheet capacity, misaligning the paper edge, or allowing the waste tray to overflow. By following a step-by-step diagnostic process, you can safely restore smooth punching and binding operations without risking damage to the internal components.
Initial Safety and Preparation Steps
Before inspecting your GBC X312, safety must be your primary priority. If your model utilizes an electric punching mechanism, disconnect the power cord from the electrical outlet. This simple step prevents accidental activation of the punch dies while your hands or tools are near the entry slot. For manual configurations, ensure the punching handle is fully returned to its upright, neutral position.
Clear your immediate workspace of loose documents, pens, and other office supplies to give yourself ample room to work. Prepare a clean, flat surface and gather safe extraction tools. Non-conductive plastic tweezers, a soft-bristled brush, and a small flashlight are ideal for inspecting the narrow paper slot. Avoid using sharp metal objects like screwdrivers or scissors, as these can easily scratch the precision-ground punch dies or bend the delicate alignment fingers.
Products mentioned in this guide
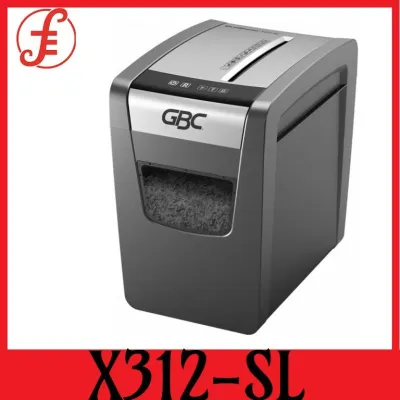
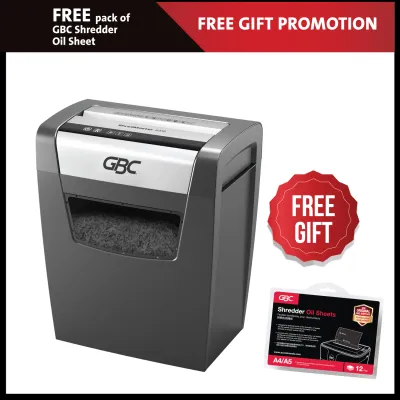
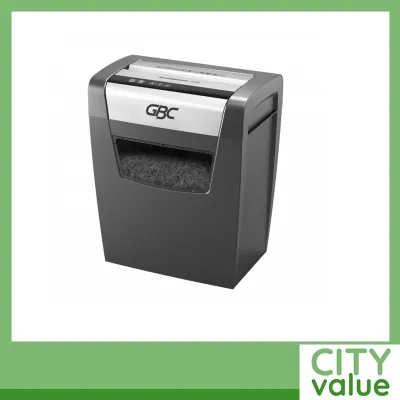
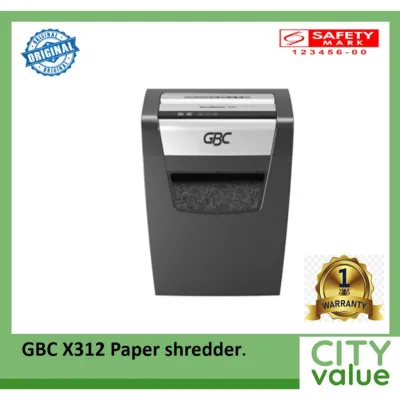
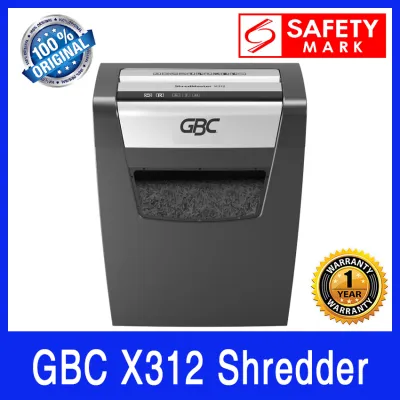
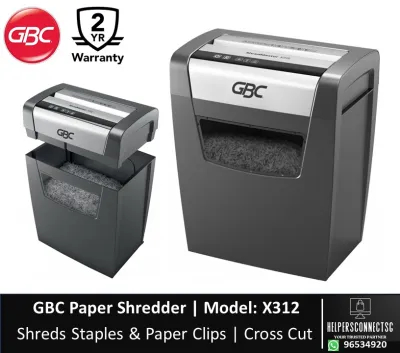
Prices are valid at publication and may change. Please refer to the product page for the latest price.
Review the manufacturer’s safety guidelines to understand which areas of the machine are user-serviceable. Generally, users should only access the paper entry slot, the comb binding fingers, and the removable waste tray. Do not attempt to unscrew the main outer housing or access the internal motor and gear assemblies. Opening the sealed chassis can void your warranty and expose you to sharp mechanical parts or electrical hazards.
Troubleshooting Paper Jams
Paper jams typically occur when too many sheets are inserted at once or when foreign objects enter the punching channel. To resolve a jam, you must first identify its exact location. The most common areas for blockages are the main punch die channel, the paper insertion slot, and the chute leading down to the waste tray. Use your flashlight to peer directly into the paper slot to locate the stuck sheets or compressed paper fibers.

If your GBC X312 features an electric punch with a reverse function, attempt to use this setting first. Gently press the reverse button to back the punch pins out of the paper stack. If the machine is manual, slowly and steadily raise the punching handle. If you encounter heavy resistance, do not force the handle upward, as this can bend or snap the internal punch pins. Instead, apply gentle, even pressure to see if the mechanism releases.
Once the punch pins are retracted, try to extract the paper stack. Pull the paper backward along the entry path, keeping your pull straight and even to avoid tearing the sheets. If the paper tears, you will have to extract the remaining fragments individually. Use your plastic tweezers to carefully grip and slide out any trapped paper pieces from the punch channel.
After removing the bulk of the paper, inspect the slot for remaining debris. Look closely for staples, paperclips, or plastic binding covers that may have been inadvertently inserted. These hard materials can easily nick or dull the cutting blades, leading to permanent punching issues. Ensure the entire path is completely clear before attempting to insert any new paper.
Resolving Incomplete or Misaligned Punches
Incomplete holes or misaligned punches usually point to an overloaded paper slot or an incorrect edge guide setting. To prevent strain on the punching mechanism, always verify that your paper stack thickness matches the machine’s rated capacity. Standard copy paper (typically 80 gsm) punches much more easily than heavy cardstock, laminated sheets, or plastic front covers. If you are working with thicker materials, reduce the number of sheets per punch cycle to a fraction of the maximum limit.
Perfect alignment requires proper use of the edge guide and paper adjuster. Before inserting your document, slide the edge guide to the correct setting for your paper size (such as A4 or Letter). Ensure the guide is locked securely in place so it does not shift during repetitive tasks. When feeding the paper, tap the stack against a flat surface to align all edges, then slide it firmly into the slot until it bottoms out against the backstop.
If the machine still produces partial or ragged holes, inspect the punch dies for paper dust and compacted confetti. Over time, tiny paper fibers can accumulate inside the hollow punch pins, preventing them from cutting cleanly through the paper. You can clear this buildup by inserting a thick piece of rigid cardboard or a specialized punch-clearing card into the slot and executing a single punch. This action often pushes out stubborn debris and restores a clean cut.
Fixing Comb Binding Alignment Problems
When the plastic comb does not align correctly with the punched holes, the binding process becomes frustrating and can damage your document. Begin by checking how the plastic comb is seated on the machine. The comb must be placed flat on the binding bed with the loops opening upward and forward. Ensure the spine of the comb is pushed fully back against the metal or plastic binding fingers before you attempt to open it.
Slowly rotate the binding lever to open the comb to the correct width. Opening the comb too far can cause it to pop off the fingers, while not opening it enough makes it difficult to thread the paper. Once the comb is open, align your punched document stack. Hold the pages firmly, keeping them flush against the backstop, and lower them vertically onto the open comb fingers. Work in small sections if you are binding a thick document to ensure every hole hooks onto a comb loop.
If you notice the comb opening unevenly, inspect the binding fingers for physical obstructions or bent components. Accumulated paper dust, adhesive residue from tape, or stray plastic fragments can lodge under the fingers and disrupt their movement. Clean the area around the binding fingers with a dry, lint-free cloth or a soft brush to ensure smooth, symmetrical operation.
When to Seek Professional Service
While most paper jams and alignment issues can be resolved with basic troubleshooting, certain mechanical failures require professional intervention. If you hear unusual grinding noises, experience motor stalling, or detect a burning smell during operation, stop using the machine immediately. These symptoms indicate internal gear damage or electrical motor strain that cannot be safely repaired at home.
Another clear sign that professional service is needed is the presence of damaged punch pins. If you observe bent, chipped, or missing pins inside the punching channel, do not attempt to straighten or replace them yourself. Operating the machine with damaged pins will cause uneven punching and can lead to catastrophic failure of the entire die assembly.
For users in Singapore, contact the authorized GBC service center or reach out to the manufacturer’s customer support team for warranty assistance. Attempting to disassemble the internal mechanical linkages yourself will void any active warranty. Professional technicians have the specialized tools and genuine replacement parts required to safely recalibrate and repair your binding machine.
Preventive Maintenance for Smooth Operation
Establishing a regular maintenance routine is the most effective way to prevent future paper jams and extend the lifespan of your GBC X312. The most critical maintenance task is regularly emptying the confetti waste tray. When the tray overflows, punched paper circles back up into the die assembly, causing severe jams and preventing the punch pins from completing their downward stroke. Check and empty the tray after every major binding project.
Keep the punch dies and binding fingers clean by removing accumulated paper dust. Use a soft brush or a can of compressed air to blow out loose fibers from the paper slot and the underside of the machine. If you frequently punch adhesive-backed covers or tabbed dividers, check for sticky residue on the pins. Wipe accessible areas with a dry microfiber cloth to prevent adhesive buildup from dragging on the paper.
Store your binding machine in a clean, dry environment. Singapore’s high humidity can cause paper sheets to absorb moisture, making them soft, limp, and significantly harder to punch cleanly. Always store your paper stock in sealed packaging until use, and avoid leaving loose sheets in the machine’s entry slot overnight. Using crisp, dry paper ensures clean punches and minimizes mechanical strain.
Frequently Asked Questions (FAQ)
Can I use lubricants on the punch dies to prevent jams?
No, you should never apply liquid oils, WD-40, or standard household lubricants to the punch dies of your GBC X312. Liquid lubricants attract paper dust and microscopic fibers, quickly turning into a sticky paste that clogs the mechanism and causes severe jams. Additionally, oil can easily transfer onto your documents, leaving permanent stains on your paper and covers. If the punch pins require maintenance, use manufacturer-approved dry cleaning sheets or simply punch through a sheet of wax paper several times to lightly coat the pins without attracting debris.
What should I do if the machine makes a loud clicking sound?
A loud clicking sound during the punching cycle typically indicates gear strain or motor overload. This occurs when the machine is attempting to punch through a stack that exceeds its maximum capacity or when a hard foreign object is blocking the dies. Immediately stop pressing the punch button or releasing the handle. Disconnect the power source if applicable, and inspect the paper slot for staples, thick plastic, or an oversized paper stack. Reduce the sheet count and try punching a smaller test batch to see if the sound resolves.
Community discussion
Share your experience or ask a question. Comments are reviewed before publication.