
Finishing a goodie bag with a beautifully tied ribbon instantly elevates a simple party favor into a thoughtful, premium gift. Whether you are preparing treats for a birthday party, a corporate seminar, or a wedding celebration, the key to a polished look lies in matching the weight of your ribbon to the structural integrity of your bag. By mastering a few precise threading, knotting, and trimming techniques, you can ensure your goodie bags remain secure during transport while presenting a clean, professional aesthetic that delights your recipients. This guide walks you through the entire process, from selecting compatible materials to troubleshooting common wrapping mishaps.
Essential Materials and Tools for Ribbon Wrapping
To achieve a flawless finish, you must first evaluate the compatibility of your bag and ribbon materials. Paper gift bags, particularly those made from sturdy 120 gsm to 150 gsm kraft paper, provide an excellent, rigid base that supports heavier ribbons and holds its shape well under tension. Plastic or cellophane bags offer high water resistance and transparency, making them ideal for edible treats, but they require lightweight, flexible ribbons like organza or thin satin to avoid crushing the delicate plastic. Fabric bags, such as cotton canvas or linen pouches, pair beautifully with natural cotton cords or rustic jute twine, offering a reusable packaging option that appeals to eco-conscious recipients.
Selecting the correct ribbon width and material is crucial for both structural balance and visual appeal. A wide ribbon, such as a 25mm or 38mm polyester satin, provides a luxurious, glossy finish but can easily overwhelm a small favor bag. For smaller bags, a delicate 6mm or 10mm ribbon is far more proportionate. Grosgrain ribbon, characterized by its ribbed texture, offers excellent grip and slip resistance, making it the preferred choice for securing heavier bags where knots must remain tight. Organza ribbon, with its sheer and airy weave, adds a soft, romantic touch but lacks the structural strength to hold heavy bags closed on its own.
Products mentioned in this guide
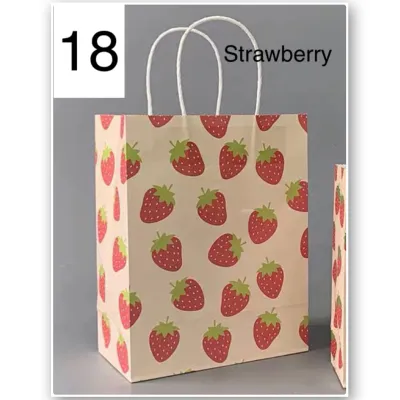
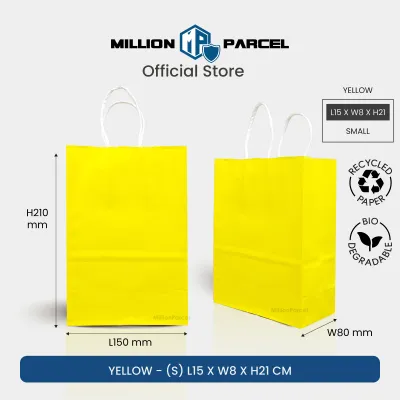

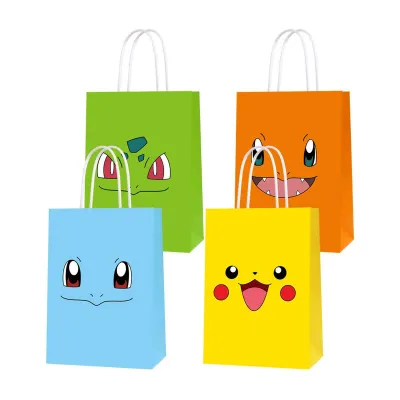
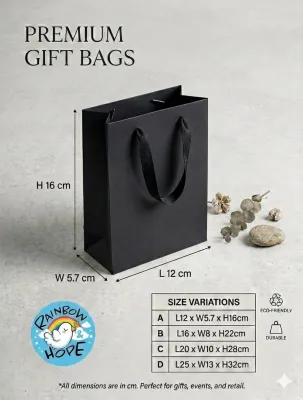


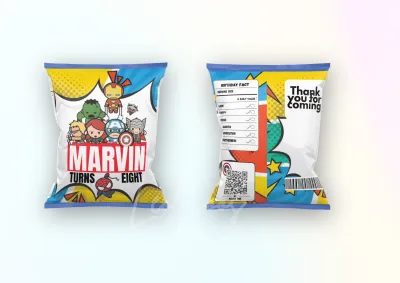
Prices are valid at publication and may change. Please refer to the product page for the latest price.
Equipping yourself with the right tools ensures clean lines and prevents damage to your materials. A standard single-hole punch with a 6mm punch diameter is indispensable for creating clean entry points in paper bags. To cut your ribbons without causing unsightly fraying, always use dedicated, sharp fabric shears rather than general household scissors, which tend to chew through delicate fibers. For securing ribbon placement or attaching decorative elements, keep a roll of high-tack double-sided craft tape or clear glue dots on hand. If your project involves liquid craft glues, always perform a quick spot test on a scrap piece of ribbon to verify the drying speed and ensure the adhesive does not bleed through or leave dark stains on the fabric. When working with sharp cutting tools or adhesives, ensure your workspace is flat, stable, and well-lit to maintain safety throughout the crafting process.
Step-by-Step Guide to Threading and Tying the Ribbon
Preparing your goodie bag correctly sets the foundation for a neat ribbon application. If you are working with a plain, handle-less paper bag, fold the top 3 centimeters of the bag downward toward the back to create a reinforced collar. This folded edge adds structural strength, preventing the ribbon from tearing through the paper when lifted. Using a ruler, mark two symmetrical points near the top center of the folded flap, spacing them approximately 6 to 8 centimeters apart. Align your single-hole punch with these marks and pierce through both layers of paper. If your bag already features pre-installed rope handles, you can either thread your ribbon alongside them for a layered look or carefully snip and remove the original handles to replace them entirely with your custom ribbon.

Once your holes are prepared, choose a threading technique that matches your bag’s weight and purpose. For a classic single-ribbon setup, cut a length of ribbon roughly four times the width of your bag. Thread one end of the ribbon from the inside of the bag outward through the left hole, pull it across the front face of the bag, and thread it back toward the inside through the right hole. This technique creates a clean, horizontal band of ribbon across the front of the bag, leaving the two tails inside. Bring both tails up over the top folded edge of the bag to meet on the outside, ready to be tied. For heavier goodie bags containing items like small jars or notebooks, a double-ribbon setup is highly recommended. Thread two separate pieces of ribbon through the holes from opposite directions, which distributes the carrying weight across four anchor points instead of two, significantly reducing the risk of the paper tearing.
Tying a secure, symmetrical bow requires careful tension control. Pull the ribbon tails upward until the top of the bag is closed snugly but not puckered or warped. Cross the left tail over the right tail to form a basic half-knot, pulling it tight against the top of the bag. To prevent this base knot from slipping while you form the loops, you can place your index finger firmly over the center of the knot. Fold the lower ribbon tail into a neat loop, ensuring the shiny side of the ribbon faces outward if you are using single-sided satin. Wrap the remaining tail around the base of this loop, then push it through the central gap to form the second loop. Pull both loops outward simultaneously while gently tugging the tails downward to tighten the central knot. Adjust the loop sizes until they are perfectly symmetrical and proportional to the bag.
The final step in the tying process is trimming and sealing the ribbon ends to ensure long-lasting durability. Unraveling ribbon tails can quickly ruin the polished look of your gift. Use your fabric shears to cut the tails at a sharp 45-degree angle, which naturally discourages fraying while creating a sleek, modern silhouette. Alternatively, you can fold the ribbon tail vertically in half and cut upward at an angle from the folded edge to the outer edge, creating a classic swallowtail shape. For synthetic ribbons such as polyester satin, nylon, or grosgrain, you can permanently seal the edges using heat. Carefully pass the freshly cut ribbon edge near the outer blue flame of a lighter or candle for a fraction of a second. The heat will melt the synthetic fibers slightly, forming a tiny, smooth bead that locks the weave. Always perform this step in a well-ventilated area, and avoid using heat on natural fibers like cotton, linen, or paper ribbon, as they will singe or catch fire rather than melt. For natural fibers, apply a microscopic dab of clear fabric glue or fray-preventing liquid along the cut edge instead.
Customization and Advanced Finishing Techniques
Elevating your ribbon wrap with personalized details transforms a standard goodie bag into a memorable keepsake. One of the simplest ways to customize your packaging is by integrating decorative embellishments directly into the ribbon knot. Before tying your final bow, slide a custom-printed gift tag, a small wooden charm, or a sprig of dried florals—such as lavender or baby’s breath—onto one of the ribbon tails. When you tighten the knot, these elements will be securely locked in place at the center of the bow, creating a beautiful, multi-dimensional focal point. This technique is particularly popular for wedding favors and corporate gifts, where branding or personal messages add significant value.
For a more sophisticated aesthetic, experiment with multi-layered ribbon techniques. Combining different ribbon widths, textures, and colors allows you to design a bespoke look tailored to your event’s theme. Try layering a thin, 10mm metallic gold satin ribbon directly over a wider, 25mm matte grosgrain ribbon in a contrasting shade like navy blue or forest green. Thread both ribbons through the bag holes simultaneously and tie them together as a single unit. The contrast between the textured, matte background and the shiny, metallic foreground adds depth and visual interest. You can also mix materials, pairing a rustic paper raffia ribbon with a soft organza ribbon to strike a perfect balance between organic charm and delicate elegance.
Adjusting the proportions of your ribbon loops and tails can also dramatically alter the style of your packaging. For a contemporary, minimalist look, tie a small, tight bow with exceptionally long tails that drape elegantly past the bottom of the bag. This style works beautifully on tall, slender paper bags. Conversely, if you are preparing goodie bags for a festive holiday or a children’s party, aim for large, voluminous loops with short, steeply angled tails to convey a sense of playfulness and abundance. Always ensure the scale of your ribbon matches the dimensions of your bag; a tiny favor box will look overwhelmed by a thick, heavy ribbon, while a large A4-sized gift bag will make a thin, spindly ribbon look sparse and unfinished.
Troubleshooting Common Ribbon and Bag Issues
Even with careful preparation, you may occasionally encounter structural or aesthetic challenges when finishing your goodie bags. One common issue is the tearing of punched holes, especially when bags are packed with heavier items like gourmet treats or small bottled beverages. If you notice the paper around the holes beginning to crease or tear, you can easily reinforce the area. Apply self-adhesive reinforcement rings—commonly used for binder paper—to both the inside and outside of the bag before threading the ribbon. For an invisible fix, cut a small strip of stiff cardstock, apply double-sided tape to one side, and adhere it inside the folded collar of the bag before punching your holes. This internal splint distributes the weight across a larger surface area, preventing the ribbon from ripping through.
Stiff, wiry, or overly slippery ribbons can also present a challenge when trying to achieve a neat bow. High-gloss satin ribbons are notoriously slippery and often refuse to hold a tight knot, resulting in a sagging, loose bow. To resolve this, tie a secure square knot as your base before forming your loops, or place a tiny dot of removable double-sided craft tape inside the knot to lock it in place. If your ribbon is too stiff or has creases from being stored on a tight spool, you can soften it by gently pulling the ribbon over the smooth edge of a wooden table or ruler. For stubborn creases, run a low-heat crafting iron over the ribbon, making sure to test a small scrap first to verify that the heat will not melt or discolor the fabric.
When preparing goodie bags filled with substantial gifts, standard paper bags require extra reinforcement to ensure they survive transport. Heavy items put immense downward pressure on the bag’s base and upward tension on the ribbon holes. To prevent catastrophic failure, place a custom-cut piece of thick cardboard at the bottom of the bag to distribute the weight of the contents evenly. Additionally, instead of threading the ribbon directly through the paper, slide a wide plastic or metal washer onto the ribbon on the inside of the bag before pulling it through to the outside. This simple mechanical reinforcement ensures that even if the bag is carried entirely by the ribbon, the pulling force is transferred to the washer rather than the delicate paper edge, keeping your gifts safe and secure.
Frequently Asked Questions (FAQ)
Can I use ribbon on a goodie bag without pre-punched holes?
Yes, you can easily finish a goodie bag with ribbon even if it lacks pre-punched holes. For a clean, modern look, fold the top of the bag down twice, then wrap a long piece of ribbon vertically around the entire bag, securing it at the back with a small piece of double-sided tape before tying a bow at the front top. Alternatively, you can use a decorative wooden mini-peg or a paperclip to pinch the folded top closed, then tie a small ribbon bow directly onto the peg or clip. Another option is using a high-tack double-sided craft tape to adhere a pre-tied bow directly to the front face of the bag, giving the illusion of a threaded ribbon without altering the bag’s structure.
How do I keep the ribbon bow from losing its shape?
To maintain a crisp, upright bow shape, choose a ribbon with structural body, such as grosgrain or a wire-edged ribbon. If you are using soft satin or organza, you can spray the finished bow lightly with a fabric stiffener or a light-mist hairspray from a distance of 20 centimeters, allowing it to dry completely before handling. Another professional trick is to insert a tiny piece of clear, flexible plastic strip (cut from clean packaging waste) inside the loops of the bow to keep them propped open, or use a double-knot technique where you loop the second ear through the center knot twice instead of once before pulling tight, which friction-locks the bow in place.
Community discussion
Share your experience or ask a question. Comments are reviewed before publication.