
A broken zipper puller can instantly render your favourite jacket, backpack, or travel bag unusable. However, a broken puller does not mean you need to discard the entire item or pay for an expensive professional repair. Most zipper issues can be resolved at home with a simple, budget-friendly replacement.
To complete a successful repair, you must first determine whether you only need to replace the pull tab (the handle you grip) or the entire slider mechanism (the metal body that opens and closes the teeth). Matching the replacement part to your zipper’s exact material, size, and function is essential for a smooth, long-lasting fix.
This guide will walk you through diagnosing the damage, measuring your zipper specifications, choosing the correct slider or tab, and installing the replacement safely.
Products mentioned in this guide
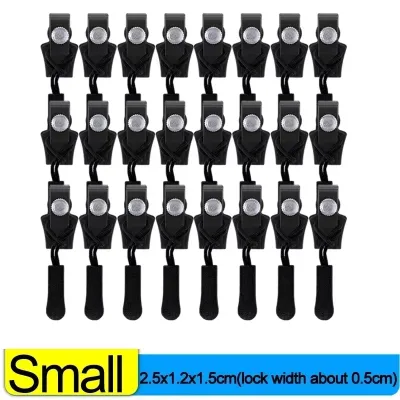
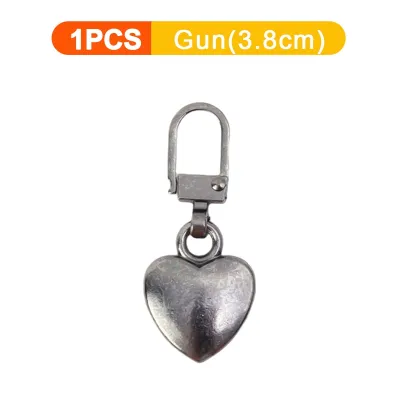
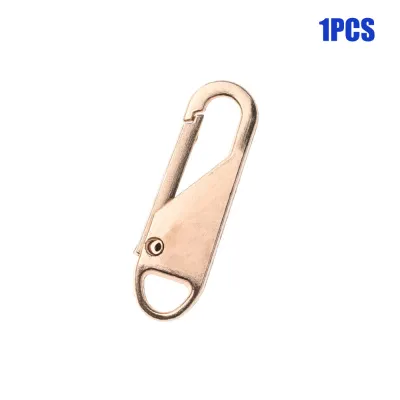
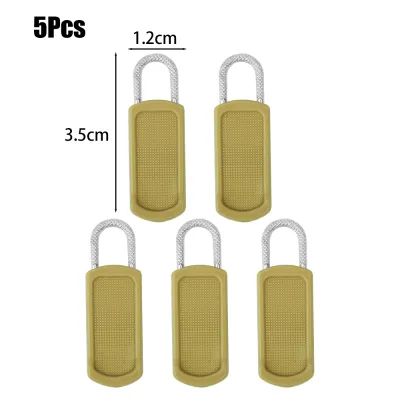
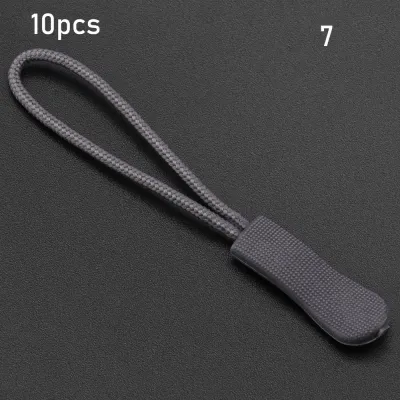
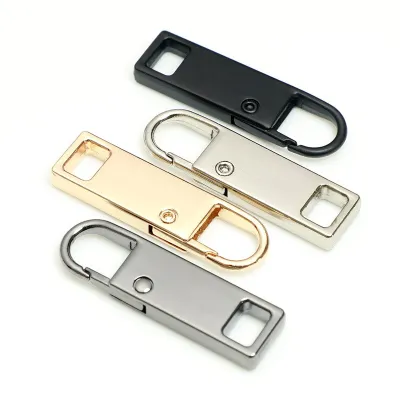
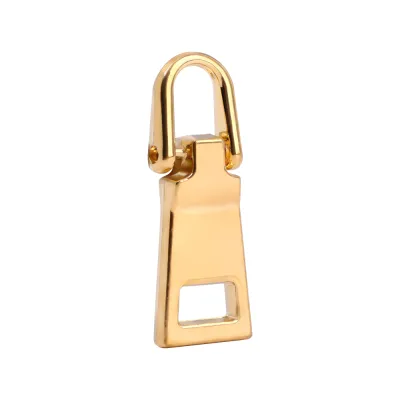
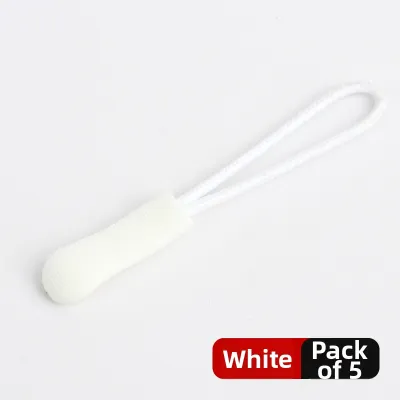
Prices are valid at publication and may change. Please refer to the product page for the latest price.
Diagnose the Damage: Pull Tab vs. Zipper Slider
Before purchasing any replacement parts, you must identify exactly which component of the zipper assembly is broken. The zipper slider is the central block that slides up and down to join or separate the teeth. The pull tab is the smaller handle attached to the crown of the slider that gives you the leverage to pull it.
To determine what needs replacing, inspect the zipper using this diagnostic checklist:
- The zipper teeth separate or burst open behind the slider: If you pull the zipper shut but the teeth immediately split open behind it, the slider body is worn out. Over time, the internal side walls of a metal slider stretch outward by fractions of a millimeter, losing the compression required to interlock the teeth. Replacing the pull tab will not fix this; you must replace the entire slider.
- The zipper is completely stuck or jammed: If the slider refuses to move, check the internal channels for trapped fabric or debris. If the slider body is bent, cracked, or the top loop (the crown) is crushed, the slider itself is compromised and must be replaced.
- Only the grip handle is missing or snapped off: If the slider body still moves smoothly along the track and successfully locks the teeth together, but the loop you hold has broken off, you only need to replace the pull tab. This is a highly straightforward, low-risk repair.
Always perform this visual and functional inspection first. Purchasing a replacement pull tab will not restore functionality to a zipper with a worn-out, stretched, or cracked slider body.
How to Measure and Identify Your Zipper Specifications
Zippers are highly precise, engineered fastening systems. Sliders are designed to fit specific teeth shapes and widths; using a mismatched slider will cause excessive friction, split the track, or permanently damage the zipper tape. Taking exact measurements ensures your replacement parts track smoothly without causing wear.

Identifying Teeth Material
Zipper tracks are constructed from three primary materials, each requiring a matching slider design. You can identify your zipper type using these visual and tactile cues:
- Metal Teeth: These consist of individual, distinct metal teeth clamped onto the fabric tape. They feel cold to the touch, have a heavy weight, and are commonly found on heavy denim, leather jackets, and rugged duffel bags.
- Molded Plastic Teeth: These are chunky, individual plastic teeth fused directly to the fabric tape. Often referred to as Vislon zippers, they have a distinct blocky appearance and are highly common on outdoor jackets, sportswear, and casual backpacks.
- Nylon Coil Zippers: These feature a continuous spiral of nylon thread stitched to the fabric tape. They look like a continuous plastic spring, are highly flexible, and are standard on lightweight bags, interior pockets, and stationery cases.
Sliders are engineered with specific internal channel angles to match these profiles. A slider designed for metal teeth has flat internal walls, while a nylon coil slider has rounded channels to cradle the continuous spiral. Never attempt to use a metal slider on a nylon coil zipper, or vice versa, as this will tear the fabric tape or jam the track.
Determining Zipper Size and Gauge
Zipper sizes are standardized using gauge numbers, which correspond directly to the physical width of the closed teeth in millimeters. To find your zipper’s gauge, follow these steps:
- Measure the closed teeth: Close the zipper as much as possible. Use a precise millimeter ruler or a digital caliper to measure the width across the closed teeth. Do not include the fabric tape in this measurement.
- Correlate the measurement to a gauge number: The width in millimeters corresponds closely to the standard gauge number. For example, a measurement of 5.5mm to 6.0mm indicates a standard #5 zipper.
- Check the back of the slider: Turn your existing slider over and look at the back. Many manufacturers stamp the gauge number (such as "3", "5", or "8") directly onto the metal. Note that some brands include additional letters (like "CN" or "VS") which represent brand-specific mold codes rather than universal standards.
| Gauge Number | Typical Teeth Width (mm) | Common Applications |
|---|---|---|
| #3 | 3.0 to 4.5 mm | Inner pockets, delicate bags, stationery pouches, lightweight cushions |
| #5 | 5.5 to 6.5 mm | Standard jackets, everyday backpacks, laptop sleeves, tote bags |
| #8 | 7.5 to 8.5 mm | Heavy winter coats, travel luggage, duffel bags, outdoor gear |
| #10 | 9.5 to 10.5 mm | Heavy-duty tents, tactical gear, marine canvas, oversized luggage |
Selecting the Correct Zipper Slider Mechanism
If your diagnosis reveals that the slider body itself is damaged, you must select a replacement slider that matches the item’s function. Sliders differ significantly based on whether they need to lock in place automatically or glide open freely.
Choosing the Right Locking Mechanism
Selecting the correct lock type ensures your garment or bag remains secure during daily use:
- Auto-Lock Sliders: These feature a tiny, spring-loaded pin inside the slider body. When the pull tab is laid flat, the pin engages the teeth to lock the slider in place. This prevents the zipper from sliding open on its own under tension. Auto-lock sliders are essential for jacket fronts, sportswear, and trousers.
- Pin-Lock Sliders: These rely on physical pins located on the underside of the pull tab. When you manually push the tab flat against the teeth, the pins lock into the track. These are less common on modern items but are frequently found on vintage garments.
- Non-Lock Sliders: These have no internal locking mechanism, allowing the slider to glide freely along the track whenever any force is applied. They are the standard choice for bags, backpack compartments, luggage, and tents, where quick, unhindered access is preferred.
Matching the Zipper Function: Closed-End vs. Separating
The physical construction of the zipper track determines how the slider must be installed:
- Closed-End Zippers: Found on bags, pockets, and boots, these zippers have a permanent stop at the bottom that prevents the two sides of the tape from separating completely. To replace a closed-end slider, you must pry off the metal top stops at the top of the track, slide the old slider off, thread the new slider onto both sides of the tape, and clamp new top stops in place.
- Separating Zippers: Found on the front of jackets and coats, these allow the two halves of the garment to detach completely using an insert pin on one side and a retainer box on the other. When replacing a slider on a separating zipper, you must ensure the new slider is compatible with the original insert pin and retainer box. The installation requires removing the top stops, sliding the new slider down the active side of the tape, and securing new top stops at the top.
Choosing and Attaching a Replacement Zipper Puller
If your slider body is in perfect working condition but the pull tab has broken off, you do not need to replace the slider. Swapping the pull tab is a fast, low-cost repair that requires minimal effort.
Common Pull Tab Styles and Materials
Replacement pull tabs come in various styles to suit different aesthetic and practical needs:
- Flat Metal or Plastic Tabs: These replicate the classic, streamlined look of original apparel hardware.
- Ring Pulls: Featuring a large circular loop, these are highly functional for winter jackets or outdoor gear, making the zipper easy to grab while wearing gloves.
- Cord Pulls: Made from durable nylon or paracord, these are silent, lightweight, and ideal for activewear and backpacks.
- Universal Slip-On Pull Tabs: These feature a built-in clasp similar to a tiny carabiner. They can be threaded directly through the slider's crown hole and clipped shut without using any tools. This is a low-risk, completely reversible fix that takes seconds to install.
Safe Installation and Removal Techniques
If you are installing a traditional metal replacement tab that does not have a quick-clasp mechanism, you will need to open the loop on the tab itself:
- Prepare your tools: Use a pair of fine jewelry pliers or a small flat-head screwdriver.
- Pry the replacement tab loop open: Gently pry open the loop of the new pull tab just wide enough to slip over the slider's crown.
- Respect safety boundaries: Always check the manufacturer's care instructions for your garment or bag before applying tools. Never attempt to pry open the bridge or crown of the slider itself. Most modern sliders are made of cast zinc alloy, which is highly brittle. Bending the slider's bridge will cause it to snap instantly, ruining the entire slider.
- Secure the loop: Slide the open loop of the replacement tab over the slider's bridge. Use your pliers to gently squeeze the loop closed, taking care not to apply pressure to the slider body itself.
When to Stop Repairing and Replace the Entire Zipper
While replacing a slider or pull tab can save an item, some zipper damage is terminal. Knowing when a repair is no longer viable will save you time and prevent frustration.
Inspect your zipper track for these fatal structural failures:
- Missing or severely deformed teeth: If teeth are missing from the middle of the track, or if plastic teeth are melted or crushed, a new slider will constantly snag and fail to close the zipper.
- Frayed or torn zipper tape: If the fabric tape stitched to the garment is torn, the slider will catch on the loose threads, causing further tearing and jamming.
- Damaged bottom components: On a separating jacket zipper, if the metal insert pin or the bottom retainer box is cracked, split, or missing, the zipper cannot be aligned or zipped.
When these structural failures are present, no replacement slider or pull tab can restore functionality. You must replace the entire zipper track. If you are not confident using a sewing machine to install a new track, seek professional alteration services to handle the replacement.
Frequently Asked Questions (FAQ)
Can I use a metal slider on a nylon coil zipper?
No, you cannot use a metal slider on a nylon coil zipper. Sliders designed for metal teeth have flat internal channels designed to align individual metal teeth. Nylon coil zippers require a slider with rounded internal channels to cradle the continuous plastic spiral. Forcing a mismatched metal slider onto a nylon coil will cause excessive friction, shred the nylon thread, and permanently ruin the zipper tape.
What do the numbers stamped on the back of a zipper slider mean?
The numbers stamped on the back of a zipper slider typically indicate the zipper’s gauge or size (such as 3, 5, or 8). Any accompanying letters or symbols usually represent the manufacturer’s brand name or specific factory mold code. Because these markings are not universally standardized across all brands, you should always measure the physical width of the closed zipper teeth in millimeters to guarantee a compatible replacement.
Community discussion
Share your experience or ask a question. Comments are reviewed before publication.