
Transforming a simple, plain wedding paper bag into an elegant piece of wedding memorabilia is an excellent way to add a personal touch to your celebration. By using ribbons, custom tags, and delicate embellishments, you can elevate budget-friendly packaging into something that complements your wedding theme beautifully. Whether you are hosting an intimate gathering in a colonial bungalow or a grand banquet in a ballroom, these customized favor bags show your guests a high level of care and appreciation. The key to success lies in selecting the right materials, preparing your workspace, and mastering a few simple assembly techniques that ensure every bag looks professionally finished.
Materials and Tools You Will Need
Before beginning your assembly line, gathering high-quality, compatible materials will save time and prevent frustration. The foundation of your project is the wedding paper bag itself. Standard options include rustic brown kraft paper, smooth matte white paper, or premium textured cardstock bags. For wedding favors, bags with a paper weight of at least 120 gsm (grams per square meter) are recommended to ensure they can hold items like small jars of kaya, tea tins, or iced cookies without sagging or tearing.
Next, select your ribbons. Satin ribbons offer a classic, glossy sheen that reflects light beautifully, while grosgrain ribbons provide a ribbed texture that holds knots exceptionally well. Organza ribbons are sheer and lightweight, making them ideal for layering over solid colors. For standard favor bags measuring roughly 15 cm by 20 cm, a ribbon width of 1.5 cm to 2.5 cm is generally the most visually balanced.
Products mentioned in this guide
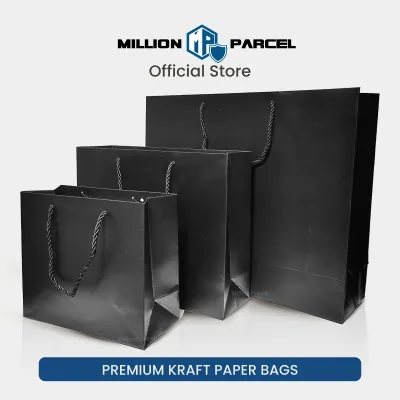
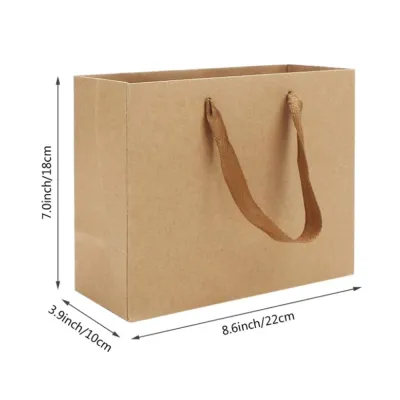
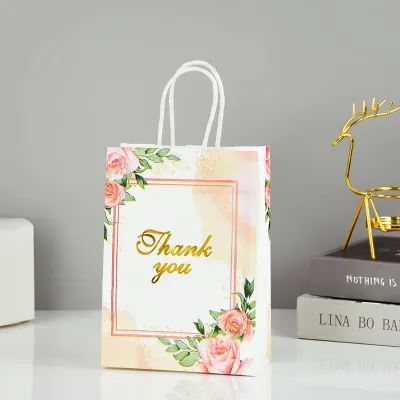
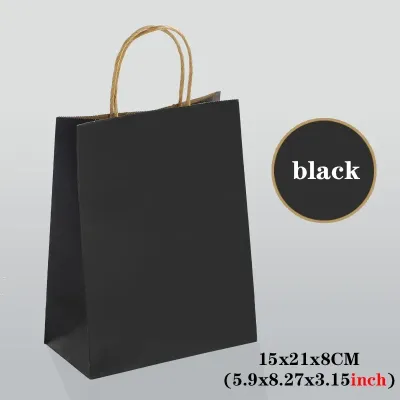
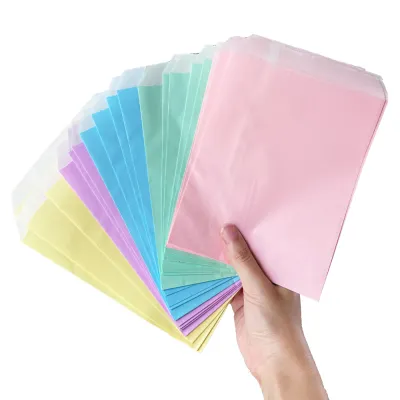
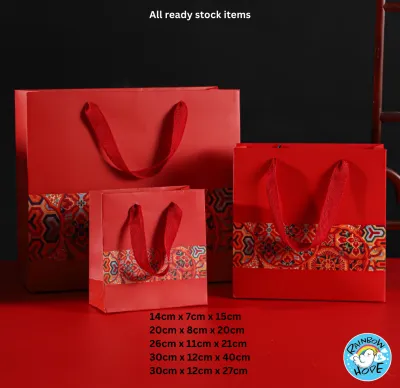
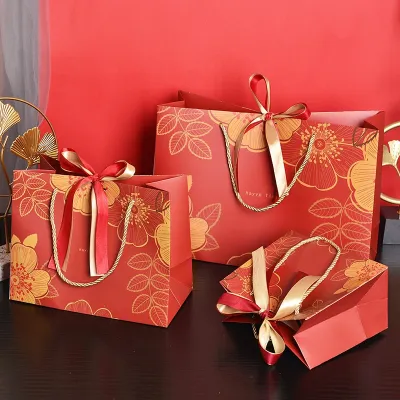
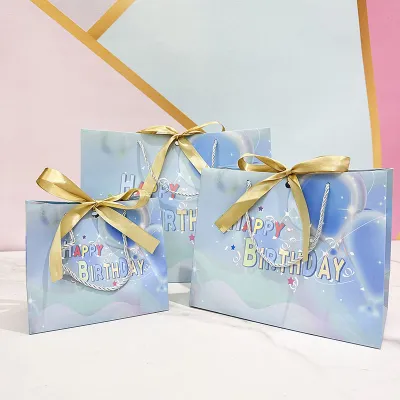
Prices are valid at publication and may change. Please refer to the product page for the latest price.
To secure your decorations, avoid standard liquid school glues, which easily warp paper. Instead, opt for double-sided tape, high-tack glue dots, or dry adhesive rollers. You will also need a pair of ultra-sharp fabric scissors to ensure clean ribbon cuts, a standard single-hole punch for threading, and a ruler to measure consistent lengths.
Preparing the Plain Wedding Paper Bag
Proper preparation prevents structural failures during your wedding reception. Begin by inspecting a sample bag to check its structural integrity. Place your intended wedding favors inside to verify that the base handles the weight and that the handles are securely glued to the interior walls. If you notice any weak points, reinforce the bottom of the bag with a small piece of matching cardstock cut to fit the base.

For handle-less paper bags, creating a clean, folded top edge adds instant sophistication. Fold the top 2 to 3 centimeters of the bag inward or outward to create a crisp collar. Use a bone folder or the smooth edge of a plastic ruler to press the crease firmly. This fold not only hides raw paper edges but also doubles the thickness of the paper where you will later punch holes for ribbon closures, preventing the paper from tearing under tension.
Before cutting your entire spool of ribbon, create a single prototype. Measure the length of ribbon needed to wrap around the bag or tie a complete bow, adding an extra 5 to 8 centimeters to allow for trimming. Once you have determined the ideal length, cut a template piece of ribbon and use it to measure and cut the remaining pieces. This ensures consistency across all your favor bags and minimizes material waste.
Step-by-Step Ribbon Tying and Embellishment Techniques
Decorating your bags efficiently requires a systematic approach, especially when preparing dozens or hundreds of favors. By breaking the process down into distinct steps—first preparing the ribbon, then securing the knots, and finally adding secondary accents—you can set up an efficient assembly line. The following techniques cover both handled and handle-less bag designs, ensuring a secure and polished finish.
Classic Bow and Loop Methods
If your wedding paper bag features pre-installed twisted paper or rope handles, tying a symmetrical bow directly onto the handle base is the most straightforward embellishment. Loop a pre-cut length of satin or grosgrain ribbon around the base of one handle. Tie a standard square knot first to create a stable anchor, then form your bow loops. To ensure the bow stays centered and does not slide down the handle, apply a single glue dot directly underneath the anchor knot, pressing it firmly against the paper bag.
For handle-less bags, a ribbon loop closure offers an elegant, secure alternative. Fold the top flap of the bag down, then use a single-hole punch to create two parallel holes through both the flap and the body of the bag, spaced about 3 to 5 centimeters apart. Thread your ribbon from the back of the bag to the front through one hole, and then from the front to the back through the other. Pull the ribbon snug and tie a classic bow on the front face of the bag. This method keeps the bag closed securely while showcasing the ribbon.
To prevent synthetic ribbons like satin or polyester organza from fraying, you must seal the cut ends. Always cut ribbon tails at a sharp 45-degree angle or in a classic “V” shape (chevron cut) using very sharp scissors. For synthetic fibers, you can lightly run the cut edge near a small flame to melt and seal the fibers, or apply a tiny bead of clear fabric sealant. If you are using natural fibers like cotton or jute, a small dab of clear craft glue on the very tip of the cut edge will prevent unraveling without altering the ribbon’s appearance.
Adding Tags, Stamps, and Floral Accents
Layering secondary embellishments adds depth and personalization to your wedding paper bag. Custom name tags or thank-you labels can be easily integrated into your ribbon design. Before tying your final bow, thread the ribbon through the punched hole of your custom tag. This allows the tag to hang naturally from the center of the knot. Alternatively, you can clip the tag to the side of the bag using a miniature wooden clothespin or tie it separately with a thin piece of metallic thread or baker’s twine.
If you want to apply custom ink stamps or wax seals, do so while the paper bag is completely flat, before assembly or filling. Place the flat bag on a hard, smooth surface. When stamping, press the ink pad evenly onto the stamp, then press firmly onto the paper without rocking, which can cause smudging. Because ink drying speed and bleed resistance depend entirely on the specific combination of your stamp ink and the bag’s paper coating, always perform a trial stamp on a spare bag first. Check if the ink smudges after a few minutes or bleeds through to the inside.
Integrating botanical elements like dried lavender, baby’s breath, or small eucalyptus leaves brings a touch of nature to your packaging. Tuck a small sprig of your chosen botanical directly into the knot of your ribbon before pulling it tight. To ensure the sprig does not slip out during transport, apply a tiny drop of clear adhesive to the stem before inserting it into the knot. This technique works best with sturdy, dried botanicals that will not wilt or bruise during the event.
Customizing for Different Wedding Themes
Your choice of materials and colors should align with your overall wedding aesthetic. For a rustic or outdoor garden wedding, natural textures work beautifully. Pair a classic brown kraft paper bag with rough jute twine or a cotton herringbone ribbon. You can accent this look with a simple black ink stamp featuring your initials and a small sprig of dried rosemary or lavender. The contrast between the earthy paper and the delicate botanicals creates a warm, organic feel.
If your theme is classic elegance, opt for a clean matte white or soft ivory paper bag. Pair this with a wide, high-quality double-sided satin ribbon in a rich jewel tone or a classic champagne hue. Keep the embellishments minimal: a single, beautifully written calligraphy tag attached with a thin silk thread, or a clean, metallic gold wax seal pressed directly onto the center of the bag. This approach relies on clean lines and premium materials to convey sophistication.
For a whimsical garden theme, embrace pastel tones and botanical patterns. Use a soft sage green or blush pink paper bag as your base, paired with a delicate organza ribbon or a floral-printed cotton ribbon. You can secure a custom tag featuring watercolor floral illustrations using a gold paperclip or a delicate piece of twine.
Common Mistakes to Avoid When Decorating Paper Bags
When producing wedding favor bags in large quantities, avoiding common pitfalls will save you time and preserve your materials. One of the most frequent mistakes is using standard liquid white glue or school glue. These adhesives contain high water content, which quickly saturates paper fibers, causing the paper to warp, wrinkle, or leave unsightly dark stains when dry. Always stick to dry adhesives like double-sided tape, glue dots, or specialized paper-crafting tape runners.
Another common issue is overloading the bag’s structural capacity. Even a beautifully decorated bag will look unprofessional if the handles sag or the bottom drops out when a guest lifts it. Always test the weight of your favors beforehand. If your favors are heavy, such as small jars of jam or honey, avoid lightweight paper bags and opt for reinforced gift bags with cardboard bottom inserts. Additionally, avoid adding heavy embellishments like large metal charms or thick wooden elements that put extra strain on the paper.
Finally, avoid cutting your ribbons too short. It is incredibly difficult to tie a neat, symmetrical bow with a piece of ribbon that is barely long enough to loop. This often results in tight, distorted knots and frayed ends. Always err on the side of caution by cutting your ribbon slightly longer than needed; you can easily trim the excess tails at a clean angle once the bow is securely tied.
Frequently Asked Questions (FAQ)
Can I use hot glue to attach embellishments to paper bags?
While hot glue is a popular crafting adhesive, it is generally not recommended for decorating delicate paper bags. The high temperature of the glue can easily scorch thin paper or cause it to warp as the adhesive cools and contracts. Furthermore, hot glue tends to dry very quickly, leaving thick, visible lumps underneath ribbons or flat tags, which ruins the clean, professional look of your packaging. For a smooth, flat, and secure bond, it is much safer to use high-tack glue dots, double-sided tape, or a specialized cold craft adhesive designed specifically for paper and fabric.
How do I prevent ribbon from fraying after cutting?
Preventing ribbon fraying is essential for maintaining a polished look throughout your wedding day. For synthetic ribbons, such as polyester satin or organza, you can carefully seal the edges using heat. Gently pass the cut edge of the ribbon near a small flame for a fraction of a second; the heat will melt the plastic fibers together, creating a permanent, fray-proof seal. For natural fibers like cotton, linen, or jute, heat sealing will not work. Instead, use a pair of very sharp fabric shears to cut the ribbon at a clean 45-degree angle or a chevron shape, which naturally reduces fraying.
Community discussion
Share your experience or ask a question. Comments are reviewed before publication.