
Using plain paper bags for gift presentation is an eco-friendly, cost-effective, and highly customizable way to package presents. Instead of purchasing expensive, single-use gift bags, you can easily transform basic kraft or white paper bags into stunning, boutique-quality packaging using ribbons and leftover wrapping paper scraps. This approach not only saves money but also allows you to tailor the design perfectly to the recipient and the occasion.
Whether you are preparing a birthday present, a wedding favor, or a festive holiday package, custom decorations add a thoughtful, personal touch that store-bought options simply cannot replicate. By mastering a few simple cutting, folding, and tying techniques, you can elevate plain paper bags into beautiful works of art that your recipients will hesitate to tear open.
Gathering Your Materials and Tools
Before beginning your crafting session, it is essential to gather the correct materials and tools to ensure a smooth, frustration-free process. Having everything organized on your work surface allows you to focus on the creative design without mid-project interruptions.
Products mentioned in this guide
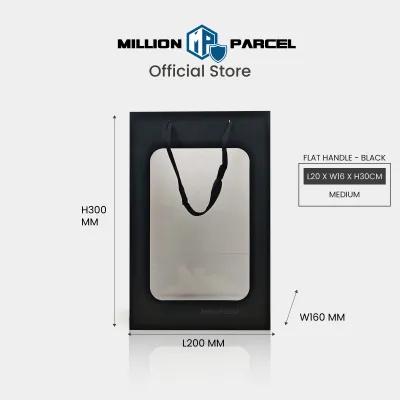
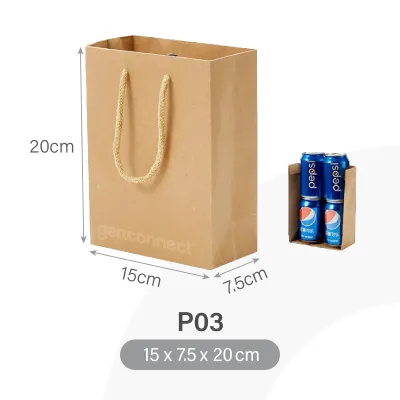
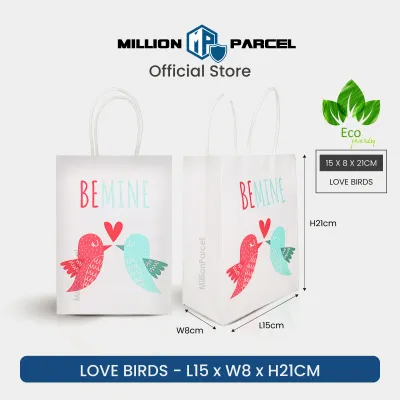
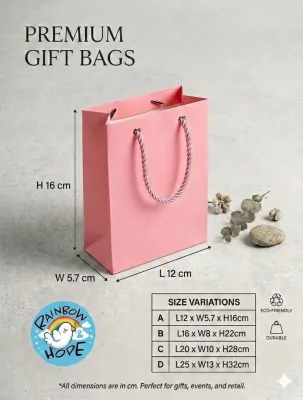
![[SG] Big High Quality Thick Paper Bag Birthday goodie bag Kraft Paperbag birthday party childrens day present](https://img.lazcdn.com/g/p/80e58f441ce292bbb308f9ccc6946a22.jpg_400x400q80.jpg_.webp)

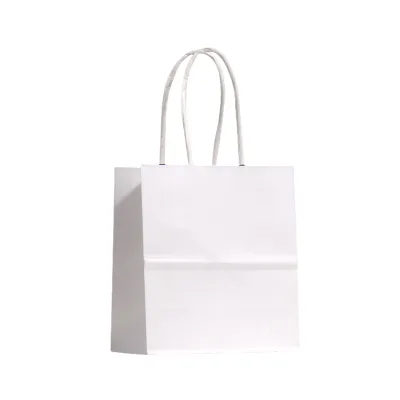
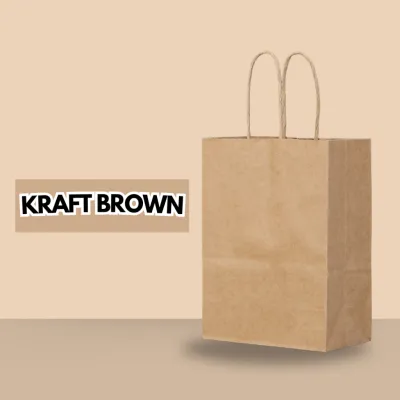
Prices are valid at publication and may change. Please refer to the product page for the latest price.
Essential Base Materials
- Plain paper bags: Keep a selection of kraft paper, matte white, or solid-colored paper bags on hand. Standard sizes ranging from small jewelry bags to large tote-sized bags are ideal.
- Ribbons: Gather various styles such as double-sided satin (for a glossy, elegant finish), grosgrain (for a sturdy, ribbed texture), natural cotton twine (for a rustic look), or curling ribbon (for a playful, high-volume effect).
- Wrapping paper scraps: Save leftover pieces of patterned wrapping paper from previous gifting occasions. High-quality paper with vibrant prints, metallic foil accents, or geometric patterns works best.
Necessary Crafting Tools
- Sharp scissors: Use dedicated fabric scissors for clean ribbon cuts, and a smaller pair of precision craft scissors for detailed paper cutting.
- Single-hole punch: A standard 6mm hole punch is necessary for creating clean holes in your tags and bag collars.
- Metal ruler: A sturdy ruler helps you measure straight lines, align your paper accents, and create crisp, clean folds.
Adhesive Selection and Safety Choosing the right adhesive is critical when working with paper mediums. Double-sided tape and high-tack glue sticks are highly preferred over liquid craft glues. Liquid white glue contains a high water content that easily saturates paper fibers, leading to unsightly warping, wrinkling, and structural weakness as it dries. This is especially true in humid climates, where wet adhesives take significantly longer to cure and can attract moisture from the air.
For heavy-duty attachments, such as securing thick ribbons or heavy paper appliqués, dry adhesive dots or double-sided tissue tape provide an instant, permanent bond without any moisture. When using sharp scissors or craft blades to cut your materials, always work on a stable, flat surface and cut away from your body. If children are participating in the crafting process, ensure they use age-appropriate safety scissors and non-toxic, child-safe glue sticks.
Adding Visual Interest with Wrapping Paper Accents
Plain paper bags offer a blank canvas that can easily look plain or unfinished without a focal point. Repurposing leftover wrapping paper allows you to introduce color, pattern, and texture to the face of the bag, instantly elevating its overall aesthetic.

By strategically applying paper accents, you can create a cohesive theme that matches the gift inside. This technique is highly versatile, allowing you to design anything from minimalist, modern graphics to elaborate, multi-layered festive scenes.
Creating Custom Gift Tags and Labels
Personalized tags are both functional and decorative, providing a dedicated space for writing the recipient’s name while adding a professional layer of detail to the bag’s exterior.
- Step 1: Measure and cut the base shape. Use your metal ruler and pencil to mark out a rectangle measuring approximately 5 cm by 9 cm on a piece of sturdy cardstock or thick wrapping paper. Cut the shape out using sharp scissors.
- Step 2: Fold for added durability. If your wrapping paper is thin (under 100 gsm), fold a strip of the paper in half and secure the blank inner sides together with a glue stick before cutting your tag shape. This double-layered technique prevents the tag from curling or tearing easily.
- Step 3: Shape the corners. To create a classic luggage-tag shape, carefully snip off the two top corners at a 45-degree angle, ensuring they are symmetrical.
- Step 4: Punch the hole. Use your single-hole punch to create a clean opening centered about 1 cm below the top edge of the tag.
- Step 5: Write your message. If using patterned paper, paste a small rectangle of plain white or cream paper on the back of the tag to write your message. Use a quick-drying, smudge-proof fineliner pen to prevent ink from bleeding into the paper fibers.
- Step 6: Thread and attach. Thread a 20 cm length of thin satin ribbon or natural twine through the hole. Loop the ribbon through itself to secure it to the tag, then tie the remaining ends around the base of the paper bag's handle.
Adding Paper Appliqués and Cut-outs
Paper appliqués are decorative shapes cut directly from patterned wrapping paper and adhered flat to the front of the paper bag to create a striking visual centerpiece.
- Select your motifs: Look for wrapping paper featuring distinct, easily isolatable designs such as botanical leaves, floral blooms, geometric icons, or festive holiday illustrations.
- Fussy cutting: Use small, sharp detail scissors to cut precisely around the outer edges of the motif. Hold the scissors steady and rotate the paper rather than the blades to achieve smooth, clean curves without jagged edges.
- Apply the adhesive: Lay the cut-out face down on a clean scrap piece of paper. Apply an even, thin layer of glue stick or strips of double-sided tape across the entire backside, paying close attention to the delicate outer edges and corners.
- Position and press: Carefully position the appliqué on the center of the paper bag. Press down firmly, starting from the middle of the design and smoothing outward to the edges to eliminate air bubbles and prevent any glue from seeping out.
- Layer for a 3D effect: To add depth, cut out two identical motifs. Glue the first motif completely flat onto the bag. Gently fold the outer petals or leaves of the second motif upward, apply a small strip of double-sided tape only to its center line, and paste it directly on top of the first. This simple trick creates a beautiful, dimensional shadow effect.
Enhancing Paper Bags for Gift Handles with Ribbons
Ribbons are the ultimate embellishment for gift packaging, offering a tactile contrast to the dry, matte surface of paper bags. By modifying the handles or adding secure closures, you can make the bag feel like a premium, thoughtfully wrapped parcel.
Using ribbon creatively also serves a practical purpose. It can reinforce the bag’s structure, secure the contents inside, and make the package much more comfortable for the recipient to carry.
Tying Classic Bows and Decorative Knots
A perfectly tied bow is a timeless symbol of celebration. The key to a professional presentation is ensuring the bow is proportionate to the size of the paper bag.
- The standard looped bow: Cut a 40 cm length of ribbon. Fold the ribbon to create two equal loops (often called "bunny ears"). Cross the left loop over the right loop, tuck it under the intersection, and pull it through the center opening. Adjust the loops and tails until they are symmetrical, then trim the tails at a clean 45-degree angle or cut a neat V-shape into the ends.
- The modern decorative knot: For a minimalist, contemporary look, wrap a thick grosgrain ribbon around the handle base and tie a simple, clean square knot. Leave the tails long so they drape elegantly down the front of the bag.
- Securing the bow: To prevent your bow from sliding or untying, secure the knot to the bag handle or the top collar of the bag using a small, high-tack adhesive dot. This keeps the bow perfectly centered during transit.
Wrapping and Weaving Through Handles
If your plain paper bags have basic twisted paper or cotton rope handles, you can easily upgrade them by wrapping or weaving ribbon directly into the existing structure.
- Handle wrapping: Cut a piece of 1 cm wide satin ribbon that is roughly twice the length of the bag's handle. Secure one end of the ribbon to the inside base of the handle using strong double-sided tape. Wrap the ribbon tightly around the handle in a continuous spiral, overlapping each turn slightly to hide the original material. Secure the opposite end inside the bag with another piece of tape. This adds a luxurious, comfortable grip.
- Weaving a drawstring closure: Fold the top 2 cm of your paper bag downward to create a reinforced collar. Punch four evenly spaced holes along this collar (two on the front panel, two on the back). Thread a long piece of grosgrain ribbon or cotton twine through the holes in a continuous loop. Pulling the ribbon ends tight will draw the top of the bag closed, creating a functional, secure drawstring that keeps the gift hidden.
Combining Paper and Ribbon for a Cohesive Design
To achieve a truly professional finish, your paper appliqués, tags, and ribbons must work together as a unified design. Haphazardly mixing clashing patterns and textures can make the bag look cluttered rather than customized.
Color Coordination and Texture Contrast When selecting your materials, aim for a balanced color palette. If your wrapping paper scrap has a busy, multi-colored pattern, choose a solid ribbon that matches one of the minor accent colors in the print to tie the design together. For a sophisticated look, pair rustic, textured brown kraft paper bags with high-shine, luxurious materials like emerald green or deep burgundy double-sided satin ribbon. If you are using a crisp white paper bag, matte pastel ribbons combined with delicate floral paper cut-outs create a soft, elegant aesthetic.
Balancing Visual Weight Always consider the scale of your decorations. A large, bold paper appliqué on the front of the bag should be balanced with a relatively simple, thin ribbon tie. Conversely, if your paper bag is mostly plain with only a small, minimalist gift tag, you can afford to use a wide, dramatic grosgrain ribbon tied into a large, voluminous bow at the top of the bag.
Adding Low-Cost Secondary Embellishments Once your primary paper and ribbon elements are in place, you can add small, natural touches to complete the presentation:
- Natural botanicals: Slip a small sprig of dried lavender, eucalyptus, or a single pressed leaf under the ribbon knot for an organic, fragrant detail.
- Minimalist stickers: Use a small round foil sticker to seal the top fold of the bag, adding a touch of metallic shine.
- Wooden beads: Thread one or two simple wooden beads onto natural twine before tying it to the bag handles to add a tactile, Scandinavian-inspired element.
Ensuring Durability and a Polished Presentation
An attractive gift bag must also be functional. If the decorations fall off or the bag tears before it reaches the recipient, the polished presentation is lost. Taking a few structural precautions ensures your custom creation remains pristine.
Reinforcing Weight Capacity Plain paper bags are generally designed for lightweight items. If your gift is relatively heavy, such as a jar of gourmet jam, a ceramic mug, or a heavy book, you must reinforce the bag’s structure. Cut a piece of thick, rigid cardboard to match the dimensions of the bag’s interior bottom, and slide it inside to distribute the weight evenly. Additionally, apply a strip of strong packing tape over the handle attachment points on the inside of the bag to prevent them from pulling through under tension.
Testing Adhesives First Paper types and finishes vary widely. Some high-gloss wrapping papers or textured kraft bags do not bond well with standard adhesives. Always perform a quick compatibility test by applying a small dab of your glue or a strip of tape to a hidden corner of the bag (such as the interior fold or bottom flap) and a scrap piece of your wrapping paper. Let it sit for ten minutes to ensure the adhesive holds securely and does not cause the paper to tear, stain, or discolor.
Proper Storage and Transport If you are decorating multiple bags in advance, store them completely flat in a cool, dry drawer or a shallow plastic storage box. Avoid stacking heavy items on top of them, which can crush your carefully tied bows and crease the paper appliqués. When transporting the decorated bags to your event, keep them upright in a sturdy shopping tote to protect the delicate details from rubbing against other surfaces.
Frequently Asked Questions (FAQ)
Can I use liquid glue on thin paper bags?
It is highly recommended to avoid liquid craft glues on thin paper bags. Liquid glues contain water, which quickly saturates thin paper fibers, causing the paper to swell, warp, wrinkle, and lose its structural integrity as it dries. This can leave your finished bag looking messy and distorted. Instead, use dry adhesives such as high-quality glue sticks, double-sided tape, or adhesive dots. These options provide an instant, secure bond while keeping the paper perfectly flat, clean, and professional.
How do I prevent fabric ribbon from fraying at the ends?
To keep your cut ribbon ends looking neat and sharp, always cut them at a 45-degree angle or a clean V-shape using very sharp fabric scissors. For synthetic ribbons like polyester satin or grosgrain, you can carefully seal the edges by holding them near—but not directly in—a small flame from a lighter for a fraction of a second. The heat will melt the synthetic fibers together, preventing any future fraying. Always perform this step in a well-ventilated area, keep your fingers away from the heat, and supervise children closely. For natural fiber ribbons like cotton or silk, apply a tiny dab of clear nail polish or specialized fabric sealant along the cut edge to lock the threads in place.

Community discussion
Share your experience or ask a question. Comments are reviewed before publication.