
Transforming plain paper goody bags into elegant, custom-made party favors is an easy and rewarding way to elevate any celebration. By combining decorative wrapping paper panels with coordinated ribbon accents, you can turn basic packaging into a memorable part of your gift-giving experience. Whether you are preparing favors for a wedding, a birthday party, or a festive gathering, mastering a few clean folding and tying techniques ensures your presentation looks polished and professional.
Gather Your Materials and Prepare the Bags
To achieve a high-end look, selecting the right materials is the essential first step. Wrapping paper comes in various weights, typically measured in grams per square meter (gsm). For decorating goody bags, a medium-weight paper between 80 gsm and 100 gsm offers the ideal balance of flexibility and durability. Extremely thin paper tears easily when stretched over bag corners, while overly thick paper resists clean creasing and tends to lift off the bag surface.
Pattern scale is another critical factor to consider. Large-scale motifs can easily get lost or awkwardly cut off on small goody bags. Opt for small, repeating patterns, geometric designs, or solid colors with subtle textures that fit neatly within the bag’s dimensions.
Products mentioned in this guide
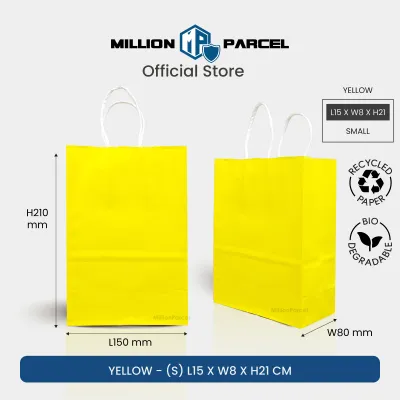

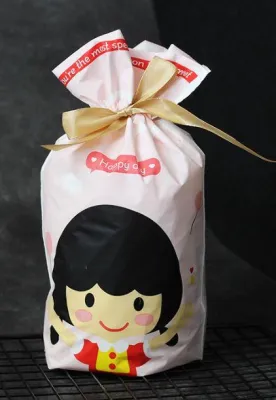
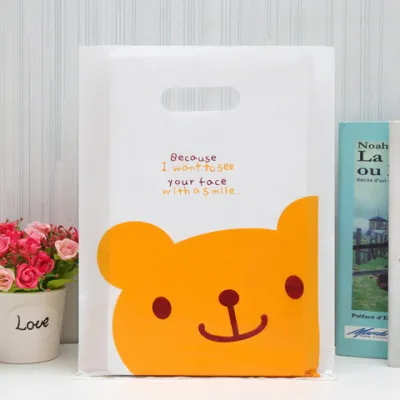

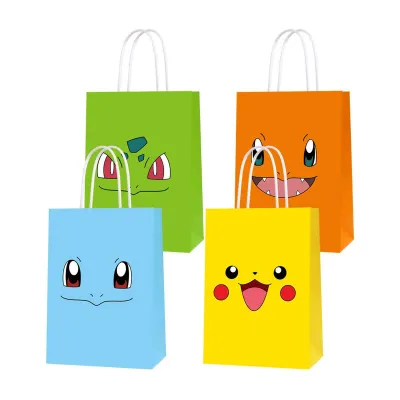
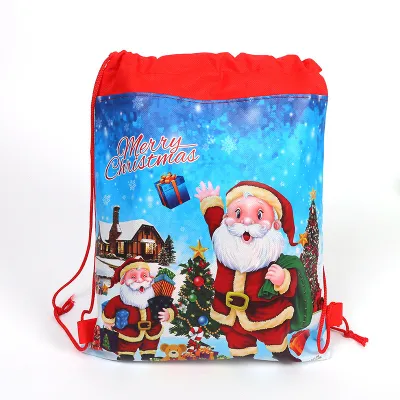
Prices are valid at publication and may change. Please refer to the product page for the latest price.
Ribbon selection should complement both the paper design and the bag size. Satin ribbons provide a luxurious, glossy finish that catches the light beautifully, making them ideal for formal events. Grosgrain ribbons offer a ribbed texture that holds knots exceptionally well and resists slipping. Organza ribbons add a sheer, delicate touch. For standard goody bags, a ribbon width of 15mm to 25mm is highly versatile and visually balanced.
Adhesives are the secret to a seamless finish. Double-sided tape is the gold standard for paper application because it remains completely hidden. Glue dots are excellent for securing heavy ribbon knots or attaching small embellishments. Avoid standard liquid school glue, as the moisture can warp thin wrapping paper and create unsightly wrinkles, especially in humid climates.
Before you begin, gather a pair of sharp scissors, a metal ruler, and a pencil. Lay your goody bags flat on a clean, dry work surface. Wipe away any dust or manufacturing residue with a dry microfiber cloth to ensure the adhesive bonds securely. Measure the height, width, and depth of the bag to plan your paper cuts accurately.
Always perform a quick trial on a scrap piece of your chosen wrapping paper. Apply a small strip of double-sided tape to the scrap and press it onto a hidden part of the bag. Check after a few minutes to ensure the adhesive does not bleed through, leave grease spots, or lift away from the paper surface.
Step-by-Step Wrapping Techniques for Goody Bags
There are two primary methods for applying wrapping paper to a goody bag: the front panel accent and the full wrap. The front panel accent is the cleanest and most straightforward method for beginners, while the full wrap covers the entire lower portion of the bag for a cohesive look.

For the front panel accent, measure the front face of the bag. Cut a piece of wrapping paper that is exactly the same width but about 2 centimeters shorter in height. This leaves a neat, intentional border of the original bag visible at the top and bottom, creating a framed effect.
For the full wrap, measure the perimeter of the bag by adding the width of the front, back, and both sides together, then add an extra 2 centimeters for an overlap seam. Cut the paper to this length. For the height, decide how much of the bag you want to cover—typically the bottom two-thirds looks most balanced.
To apply the paper panel, place it face down on your work surface. Apply strips of double-sided tape along all four outer edges on the reverse side. Carefully align the paper with the bottom edge of the bag, pressing firmly from the center outward to prevent air bubbles.
If you are executing a full wrap, start by aligning one edge of the paper with the back center of the bag. Press firmly, then wrap the paper tightly around the sides, creasing sharply at each vertical corner. Use your fingernail or a plastic bone folder to run along the vertical edges of the bag to define the shape.
To achieve a professional finish, fold a 5-millimeter hem along the final vertical edge of the wrapping paper before securing it with tape. This hides the white, cut core of the paper and prevents fraying or peeling over time.
When wrapping gusseted bags—which fold flat but expand when filled—always open the bag fully and place a light object inside before applying the paper. If you apply the paper while the bag is completely flat, the decorative panel will buckle, wrinkle, or tear when the bag is later expanded and filled.
Adding Ribbon Accents and Finishing Touches
Once your wrapping paper is securely in place, adding a ribbon accent provides the perfect finishing touch. A classic bow is timeless and easy to execute. Cut a length of ribbon approximately four times the width of the bag. Wrap it horizontally around the center of the paper panel, pull it tight, and tie a basic knot. Form two loops and tie them together, adjusting the loops and tails until they are symmetrical.
If you are using single-faced satin ribbon, which only has a glossy finish on one side, pay close attention to your twists. As you tie the knot and loops, twist the ribbon slightly at the base to ensure the shiny side always faces outward.
For a more elaborate look, try a multi-loop bow. Loop the ribbon back and forth three or four times before securing the center with a thin wire or a small piece of ribbon, then attach the entire assembly to the bag using a glue dot.
Ribbon bands and handle wraps offer alternative styling options. A simple horizontal ribbon band can anchor a gift tag beautifully. Wrap a single band of ribbon around the bag, securing the ends at the back with double-sided tape. If your goody bag has rope or ribbon handles, you can tie small ribbon bows directly to the base of the handles for an effortless accent.
Ribbons can easily slide down smooth paper surfaces. To prevent this, place a small piece of double-sided tape or a glue dot directly underneath the ribbon band or knot. Press the ribbon firmly into the adhesive. This keeps the decoration perfectly centered during transport.
Once the ribbon is secure, slide a custom gift tag onto one of the ribbon tails before tying the final bow. You can also tuck a small sprig of dried lavender or eucalyptus behind the ribbon band for an organic, sensory touch.
Troubleshooting Common Wrapping and Ribbon Mistakes
Even with careful preparation, minor issues can arise during the decorating process. Knowing how to quickly address these common mistakes will save time and materials.
If your wrapping paper wrinkles during application, it is often due to uneven tension or using liquid glue. Gently peel the paper back if using low-tack tape, or smooth it out from the center outward using a soft cloth. If the paper is badly creased, it is best to cut a new panel.
In humid environments, standard tape can lose its grip, leading to peeling seams. Switch to a high-tack, heavy-duty double-sided tape or reinforce the seam with a thin line of clear craft glue applied sparingly.
Synthetic ribbons like satin and grosgrain fray quickly when cut. Always cut ribbon tails at a sharp 45-degree angle or in a “V” shape (chevron cut) using very sharp scissors. For synthetic fibers, you can carefully pass the cut edge near a small flame for a fraction of a second to melt and seal the fibers. Always perform this step away from flammable materials and supervise children if they are assisting.
If the ribbon refuses to stay in place, ensure the bag surface is completely free of dust. Use a high-strength glue dot directly under the knot to anchor it to the paper.
If the base structure of the bag becomes compromised—such as a torn handle or a ripped corner—it is best to stop and restart with a fresh bag. Attempting to patch structural damage with tape rarely looks clean and can lead to the bag failing when filled with gifts.
Frequently Asked Questions (FAQ)
Can I use regular printer paper instead of dedicated wrapping paper?
Yes, but with limitations. Standard printer paper (usually 80 gsm) is easy to fold but lacks the flexibility and surface finish of dedicated wrapping paper. It can also look plain unless you print a custom pattern onto it first. If you use printer paper, stick to small accent panels rather than wrapping the entire bag, as it can crease harshly and show wear quickly.
How do I keep ribbons from fraying at the ends?
The most reliable method is to cut the ends at a 45-degree angle with sharp fabric scissors, which minimizes thread exposure. For synthetic ribbons like polyester satin or grosgrain, you can seal the edges by briefly holding them near a flame to melt the fibers slightly. Alternatively, apply a tiny drop of clear fabric sealant or clear nail polish along the cut edge and let it dry completely.
What is the best way to decorate paper bags with handles?
When working with bags that have pre-attached twist or rope handles, focus your wrapping paper panels below the handle attachment points to avoid tearing. You can wrap a ribbon horizontally around the collar of the bag, threading it behind the handles, and tie a bow at the front. This integrates the handles into the design seamlessly without compromising their structural strength.
Community discussion
Share your experience or ask a question. Comments are reviewed before publication.