
Transforming a plain paper gift bag into an elegant, custom presentation is an easy and rewarding way to elevate any gift. By combining basic craft supplies like ribbons, tags, and simple embellishments, you can turn a standard kraft or white paper bag into a beautiful, personalized keepsake. This process allows you to match the packaging to the recipient’s taste, the occasion, or a specific holiday theme without spending a fortune on specialty gift wrap.
To achieve a professional finish, you need to select the right materials, use clean cutting techniques, and apply adhesives that secure your decorations without warping or staining the paper. Whether you are preparing a single gift or assembling multiple party favors, mastering these simple decorative techniques will ensure your packaging looks polished, intentional, and structurally sound.
Essential Tools and Materials for Bag Decoration
Before starting your project, gather high-quality materials that complement each other and suit the structural limits of your paper gift bag. The foundation of your design is the bag itself, which typically ranges from lightweight 80 GSM paper to sturdy 150 GSM cardstock. For heavy embellishments or intricate ribbon work, choose a bag made from thicker kraft paper or reinforced cardstock, as thin paper can easily sag, crease, or tear under the weight of added decorations. Pay attention to the handle style as well; bags with twisted paper handles, cotton ropes, or die-cut slots each require different attachment methods for ribbons and tags.
Products mentioned in this guide

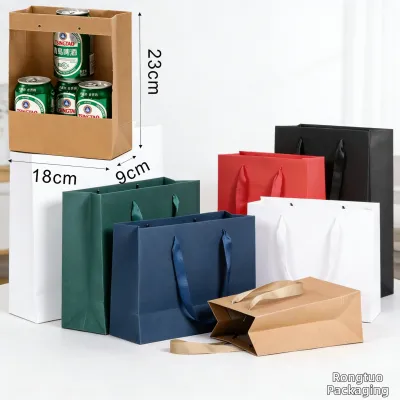
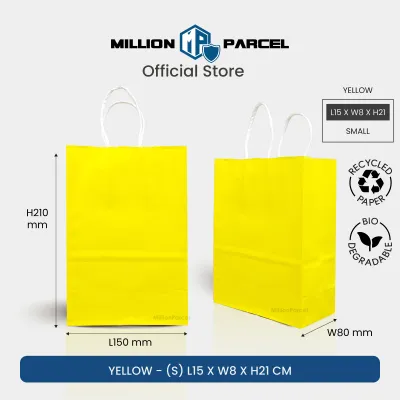
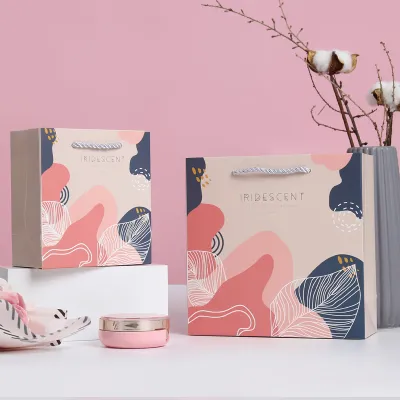
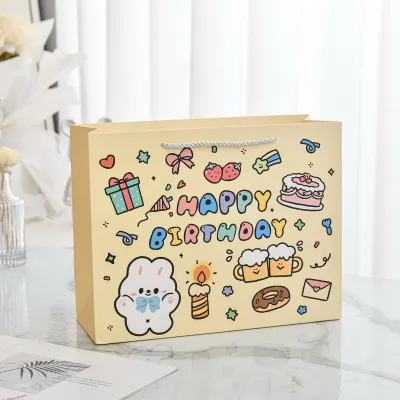
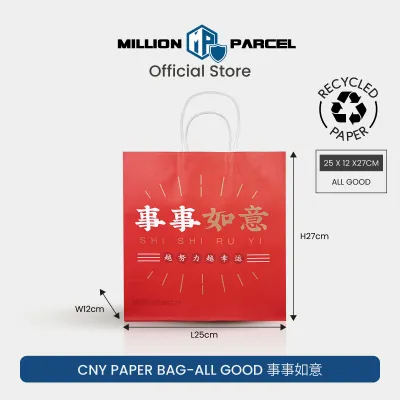

Prices are valid at publication and may change. Please refer to the product page for the latest price.
Selecting the correct adhesive is critical to preventing unsightly stains, paper warping, or structural failure. Liquid craft glues are highly versatile but contain water, which can cause thin paper to buckle or bleed through if applied too heavily. In Singapore’s humid climate, liquid glues also take longer to cure fully. For a clean, instant bond, high-tack double-sided tape, dry glue dots, or a low-temperature hot glue gun are excellent alternatives that keep the paper perfectly flat. Always perform a quick test patch on a scrap piece of paper or the bottom of the bag to verify how the adhesive interacts with the specific paper fibers and ribbon material.
Precise cutting tools are essential for achieving clean, professional edges on your ribbons and paper elements. Standard household scissors often chew through delicate fabrics, leaving frayed edges that detract from the overall presentation. Instead, use dedicated fabric shears for your ribbons and a sharp utility knife or paper trimmer for any custom tags or paper layers. Keep a metal ruler handy to measure ribbon lengths accurately, ensuring symmetry and reducing material waste during the assembly process. If you are using craft knives or hot glue guns, always work on a self-healing cutting mat to protect your work surface and ensure safety.
Step-by-Step Ribbon Techniques
Ribbons are the most effective tool for adding color, texture, and movement to a plain paper gift bag. To begin, measure the length of ribbon you need by wrapping it loosely around the bag handles or across the face of the bag, adding a few extra centimeters on each side to account for knots, bows, or folds. Cutting the ribbon at a clean 45-degree angle or a classic swallowtail V-shape not only improves the visual appeal but also helps prevent the woven threads from unraveling over time.

The method you use to secure the ribbon depends entirely on the bag’s handle construction. For bags with twisted paper handles, you can tie the ribbon directly around the base of the handle where it meets the paper collar, securing it with a tight double knot before styling. If your bag features soft cotton rope handles, try threading the ribbon through the existing metal eyelets alongside the rope for an integrated look. For bags with die-cut handles, you can thread a wide ribbon directly through the opening, wrapping it around the center grip to create a comfortable, decorative handle wrap that cushions the recipient’s hand.
Creating a Classic Bow
A perfectly balanced, symmetrical bow serves as an eye-catching focal point on any gift bag. To tie a classic bow, start with a length of ribbon approximately 30 to 40 centimeters long, depending on the desired size of your loops. Fold the ribbon into two equal loops, often referred to as “bunny ears,” and cross one loop over the other. Pass one loop through the central opening created underneath the crossover point, then pull both loops firmly to tighten the knot.
To ensure the bow looks professional, take a moment to adjust the loops and tails so they are perfectly symmetrical. Hold the central knot firmly with one hand while gently pulling the loops to increase their size, or pull the tails to shrink the loops. If the central knot looks messy or uneven, you can conceal it by wrapping a smaller, contrasting piece of ribbon around the center and securing it at the back with a tiny dot of hot glue or double-sided tape.
Once the bow is shaped to your satisfaction, trim the tails to a proportional length. The tails should ideally drape elegantly without dragging below the bottom edge of the bag. For a structured look, use wired ribbon, which allows you to bend and shape the loops so they retain their volume and do not flatten during transport. For a softer, more delicate drape, satin or organza ribbons work beautifully, though they require careful handling to avoid snagging.
Weaving and Layering Ribbons
Layering different ribbon styles is an excellent way to add depth, texture, and a high-end feel to a simple paper bag. When pairing ribbons, combine different widths and textures to create visual contrast. For example, place a wide, matte grosgrain ribbon as a base layer, then center a narrower, shiny satin ribbon directly on top of it. This combination creates a beautiful framed effect that highlights the unique qualities of both materials.
If your gift bag features multiple die-cut holes or a reinforced top collar, you can weave ribbons directly through the paper structure. Thread a contrasting ribbon in and out of the holes along the top rim of the bag to create a stitched border pattern. This technique not only adds a striking geometric design element but also reinforces the top edge of the bag, making it more durable when carrying heavier gifts.
To maintain a neat, professional appearance, always secure the loose ends of your layered or woven ribbons cleanly inside the bag. Pull the ribbon ends through to the interior of the bag, fold them flat against the inner wall, and secure them with a strip of strong double-sided tape or a dab of fast-drying craft glue. Covering these secured ends with a small piece of matching cardstock or a decorative sticker keeps the interior looking just as polished and tidy as the exterior.
Adding Tags and Simple Embellishments
Personalizing your paper gift bag with tags and lightweight embellishments adds a thoughtful touch that shows extra care. Gift tags can be attached using rustic jute twine, metallic thread, or thin satin ribbon threaded through the bag’s handle loops. For a highly durable and premium finish, punch a hole in your custom tag and insert a metal eyelet using an eyelet setter tool, which prevents the paper from tearing when tied tightly to the bag.
When placing embellishments like stamps, stickers, or pressed flowers, aim for a balanced composition that guides the viewer’s eye naturally across the bag. A good rule of thumb is to follow the rule of thirds, placing your main decorative cluster in the lower-right or upper-left section of the bag rather than dead center. If you are using ink stamps, select a fast-drying, archival ink pad and press firmly on a flat, hard surface to ensure a clean transfer without smudging on the textured paper.
The weight of your embellishments should dictate your choice of adhesive to ensure they remain securely attached. Lightweight items like paper cutouts, stickers, and pressed leaves can be easily secured with standard glue rollers or double-sided tape. For slightly heavier items, such as wooden shapes, metal charms, or small resin flatbacks, use a high-tack craft glue or a small dab of hot glue. Apply the adhesive sparingly to avoid squeeze-out, which can leave shiny, unsightly residue on the matte paper surface.
Finishing Touches and Quality Checks
Before presenting your decorated gift bag, perform a few quick quality checks to ensure it is structurally sound and visually flawless. Allow all liquid glues and sealants to dry completely according to the manufacturer’s instructions; handling the bag too early can cause decorations to shift or slide, leaving sticky trails on the paper. In humid environments, it is wise to double the recommended drying time to guarantee a permanent, secure bond.
Next, test the structural integrity of the bag by gently lifting it by the handles to ensure they can still support the weight of your gift. If you have woven ribbons through the handles or added heavy embellishments, verify that the paper around the attachment points is not straining, creasing, or tearing. If you notice any weakness, reinforce the inside of the bag by gluing a small strip of thick cardstock over the stressed areas to distribute the weight more evenly.
Finally, inspect the bag for any cosmetic imperfections. Use a clean pair of scissors to trim any stray threads from the ribbon edges, and gently rub away any excess dried glue or adhesive residue using a rubber cement eraser. If the paper bag became slightly creased during the decorating process, you can smooth it out by gently pressing a warm, dry iron over a protective pressing cloth placed on top of the paper. These final steps ensure your handmade creation looks pristine, professional, and ready to impress.
Frequently Asked Questions (FAQ)
How do I prevent ribbon from fraying at the ends?
To prevent synthetic ribbons like polyester satin, grosgrain, or organza from fraying, you can carefully heat-seal the cut edges. Hold the freshly cut ribbon end near—but not directly in—the flame of a lighter or match for a fraction of a second until the synthetic fibers melt slightly and fuse together. For natural fibers like cotton, linen, or silk, which will burn rather than melt, apply a thin line of clear fabric sealant or clear nail polish along the cut edge. Alternatively, cutting the ribbon at a sharp 45-degree angle or using pinking shears significantly reduces the risk of unraveling.
What is the best adhesive for attaching heavy embellishments to paper bags?
For securing heavier embellishments like wooden cutouts, metal charms, or thick cardstock layers, a low-temperature hot glue gun or high-tack glue dots offer the best combination of strength and drying speed. These adhesives create an immediate, strong bond without introducing moisture that could warp or weaken the paper bag. Always test the adhesive on a scrap piece of the same paper first to ensure it does not bleed through or damage the surface finish. To prevent heavy items from tearing the bag, reinforce the interior wall directly behind the embellishment with a small piece of heavy cardstock glued flat against the paper.
Community discussion
Share your experience or ask a question. Comments are reviewed before publication.