
Personalizing a plain drawstring pouch is an elegant, sustainable, and highly creative way to elevate your gift presentation. By transforming a simple cotton, canvas, or velvet bag with custom ribbons, hand-carved stamps, fabric paints, or delicate charms, you create a reusable wrapping that feels like an extension of the gift itself. This approach allows you to tailor the colors, textures, and themes to the recipient’s taste, making the exchange memorable before the pouch is even opened.
Whether you are preparing a small token of appreciation or a curated set of items, decorating a fabric pouch offers a tactile, premium feel that paper wrapping rarely matches. The process is highly accessible, requiring only a few basic stationery and crafting supplies to achieve a professional, store-bought finish. By mastering a few simple techniques, you can turn a blank fabric canvas into a beautiful keepsake that the recipient can reuse for storage, travel, or daily organization.
Materials and Tools Needed for Pouch Decoration
Before beginning your project, gathering the right materials ensures a smooth crafting process and prevents damage to your fabrics. The foundation of your design is the base pouch, which should be selected based on the weight and style of the gift. Lightweight cotton and linen pouches work beautifully for rustic, minimalist, or botanical themes, while plush velvet or satin bags offer a luxurious backdrop for jewelry and delicate keepsakes. Ensure the pouch is large enough to accommodate your gift without stretching the seams or distorting your planned decorations.
Products mentioned in this guide
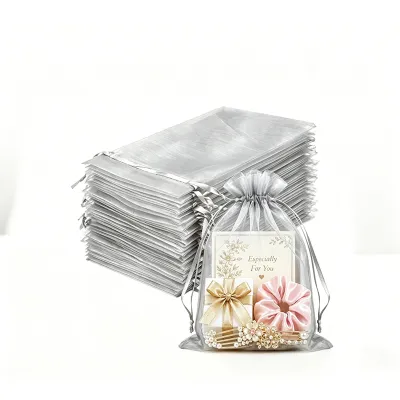
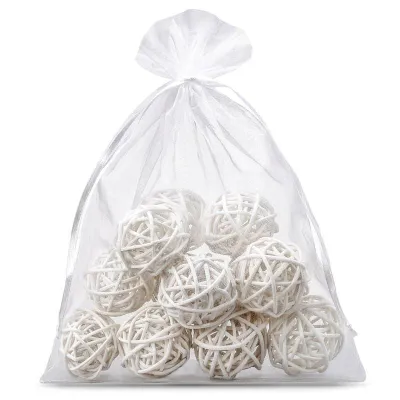
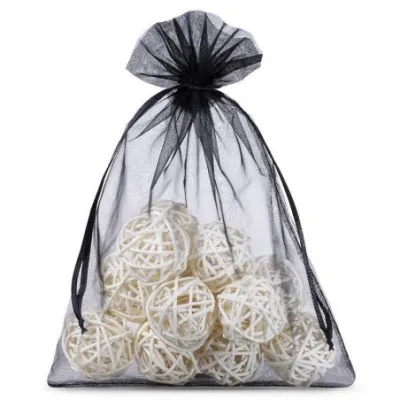
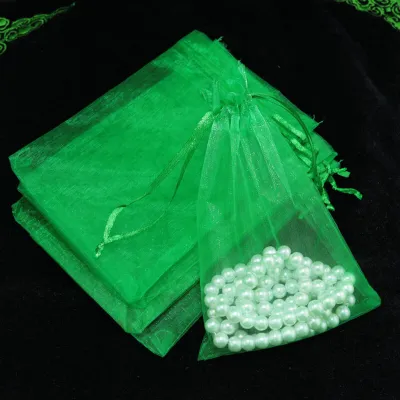
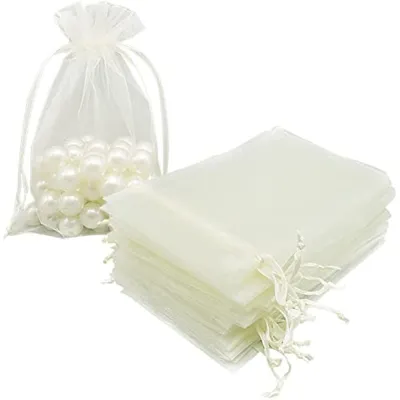
Prices are valid at publication and may change. Please refer to the product page for the latest price.
To execute your designs, you will need a few essential tools depending on your chosen customization path. For ribbon work, sharp fabric shears are indispensable to prevent frayed edges, alongside a safety pin or a specialized loop turner to thread new cords through the drawstring channel. If you plan to stamp or paint, select high-density foam brushes, acrylic blocks for clear stamps, and a firm backing board to insert inside the pouch during application.
Adhesives and fasteners must be chosen with care to avoid staining or stiffening the fabric. Fabric-safe glue, double-sided fusible tape, or a basic needle and thread are ideal for securing embellishments without leaving unsightly residue. Avoid standard school glues or heavy-duty industrial adhesives, as these can bleed through porous fibers, create stiff patches, or discolor delicate textiles over time.
Step-by-Step Guide to Personalizing Your Drawstring Pouch
Achieving a professional result starts with proper preparation of your workspace and the pouch itself. Begin by inspecting the fabric for any loose threads, dust, or lint, and use a lint roller to clean the surface thoroughly. If the pouch has creases from shipping or storage, iron it on a low-to-medium heat setting appropriate for the fabric type to ensure a perfectly flat canvas for your designs.

To protect your workspace and the pouch itself, always insert a piece of thick cardboard, cardstock, or wax paper inside the bag before applying any paint, ink, or glue. This simple barrier prevents adhesives or pigments from bleeding through the front layer and fusing the front and back of the pouch together. Set up your crafting station on a flat, stable surface covered with scrap paper or a silicone mat to catch any accidental spills.
Depending on your timeline and comfort level with crafting, you can choose from three primary decoration paths. Ribbon replacements offer a quick, high-impact upgrade that requires minimal drying time. Stamping and painting allow for intricate, repeatable patterns but require patience for curing. Attaching 3D embellishments provides a tactile, luxurious finish that can range from simple iron-on patches to hand-sewn beads.
Method 1: Adding Ribbons, Bows, and Trims
Replacing the stock cotton string of a plain pouch with a premium ribbon instantly elevates its aesthetic. To begin, measure the length of the existing drawstring and cut your new ribbon—such as double-faced satin, grosgrain, or organza—to match, adding an extra five to ten centimeters on each side to allow for tying decorative knots. Use a safety pin secured to one end of the new ribbon to guide it smoothly through the drawstring channel, pulling it gently until it emerges from the opposite side.
When customizing your pouch with trims, consider these popular options:
- Satin Ribbons: Excellent for a glossy, luxurious finish that glides smoothly through the channel.
- Grosgrain Ribbons: Ideal for a ribbed, textured look that holds knots securely.
- Lace Trims: Perfect for gluing or sewing along the bottom hem to add a vintage touch.
If you prefer to keep the original drawstring, you can attach decorative bows or lace trims directly to the exterior of the pouch. Use a thin line of flexible fabric glue or a few discreet hand stitches to secure a lace border along the bottom hem or a neat bow just below the drawstring channel. When applying trims, work in small sections to ensure the adhesive is distributed evenly without pooling or soaking through the fabric fibers.
After adding any ribbons or trims, always check the tension and clearance of the drawstring channel. Pull the strings to ensure the pouch opens and closes smoothly without catching on your newly attached decorations. If the ribbon is too thick for the channel, it may bunch up or prevent the pouch from closing completely, so opt for thinner, more pliable ribbons if the channel is narrow.
Method 2: Using Stamps and Fabric Paint
Stamping is an excellent method for creating clean, repeating patterns or adding a personalized monogram to your gift pouch. Select a fabric-appropriate ink pad or a specialized textile paint, as standard paper inks will smudge, fade, or wash away easily. Before applying the stamp to your actual pouch, perform several test impressions on a scrap piece of similar fabric to gauge how much ink and pressure are required for a crisp transfer.
To achieve clean results, keep these key application steps in mind:
- Ink Loading: Press the stamp firmly onto the ink pad, ensuring even coverage without overloading the crevices of the design.
- Steady Placement: Position the stamp carefully over the fabric, press down vertically with steady, even pressure, and lift it straight up without rocking or sliding.
- Curing Time: Allow the stamped design to dry completely in a dust-free environment, which typically takes several hours depending on the humidity, especially in Singapore's warm climate.
Once the ink or paint is dry to the touch, check the manufacturer’s instructions to see if heat-setting is required to make the design permanent. This is often done by placing a clean pressing cloth over the design and ironing it on a dry, medium heat setting for a few minutes.
Method 3: Attaching Embellishments, Charms, and Appliqués
Adding three-dimensional elements like metal charms, wooden beads, or embroidered appliqués gives your gift pouch a tactile, bespoke quality. For lightweight items like flat-backed pearls or small felt shapes, a high-quality fabric glue or double-sided iron-on adhesive web provides a secure, low-profile bond. For heavier items like metal charms, wooden buttons, or thick tassels, hand-sewing with a matching thread is the most reliable method to prevent them from falling off during transit.
When choosing your attachment method, match the technique to the embellishment type:
- Fabric Glue: Best for flat-backed pearls, rhinestones, and small felt shapes.
- Hand-Sewing: Recommended for heavy charms, buttons, and tassels to ensure long-term durability.
- Iron-On Adhesive: Ideal for embroidered patches and fabric appliqués on heat-tolerant materials.
Carefully plan the placement of your embellishments to ensure they do not interfere with the pouch’s functionality. Avoid placing heavy or bulky items near the top drawstring channel, as this will prevent the fabric from gathering naturally when pulled shut. Instead, focus your designs on the lower two-thirds of the pouch, keeping the embellishments centered or arranged along the bottom edge to maintain a balanced drape.
Once your embellishments are attached, perform a gentle pull test to verify that everything is securely fastened. Check the inside of the pouch to ensure no sharp metal prongs, rough knots, or hardened glue spots are exposed, as these could scratch or damage the gift inside. If you find any rough areas, cover them with a small piece of soft felt or iron-on backing for a clean, professional interior finish.
Tips for a Polished and Professional Finish
To ensure your decorated pouch looks like a premium, store-bought item rather than a rushed craft project, pay close attention to the details. When working with fabric glue, apply it sparingly using a toothpick or a fine-tip applicator to prevent it from squeezing out past the edges of your trims. If paint or ink accidentally bleeds beyond your design, you can sometimes mask the mistake by incorporating a small embellishment, a hand-drawn border, or a strategically placed ribbon over the spot.
Frayed ribbon ends and unraveling cords can quickly ruin the appearance of an otherwise beautiful pouch. For synthetic ribbons like polyester satin or nylon grosgrain, you can carefully pass the cut edge near a small flame for a split second to melt and seal the fibers. For natural fibers like cotton or linen cords, apply a tiny drop of clear fabric sealant or tie a neat overhand knot at the very end to keep the strands intact.
Achieving a professional look also means practicing visual restraint. Avoid cluttering the pouch with too many competing elements; instead, choose one focal point, such as a bold stamped monogram paired with a simple satin ribbon, or a plain pouch adorned with a single, elegant metal charm. A balanced, clean design always feels more sophisticated and allows the quality of your craftsmanship to shine through.
How to Package the Gift Inside the Decorated Pouch
The presentation does not end with the exterior decoration; how you pack the interior is just as important for creating a memorable unboxing experience. To give the pouch a pleasing, full shape and protect delicate items, cushion the interior with a layer of acid-free tissue paper or clean, crinkle-cut paper filler. If the gift is fragile or oddly shaped, placing it inside a small, plain cardboard box before sliding it into the pouch provides structural support and keeps the fabric looking neat.
To complete the presentation, attach a personalized gift tag or a handwritten note to the drawstring cord. You can thread the tag directly onto the ribbon before tying the final bow, or secure it with a small wooden peg or a dab of wax seal for an old-world, artisanal touch. Ensure the handwriting is neat and matches the overall color palette and style of your decorated pouch.
Before presenting the gift, perform a final inspection of the closure mechanism. Pull the drawstrings firmly to ensure the pouch closes securely and the contents are completely hidden from view. Adjust the loops of your bow so they sit symmetrically, smooth out any minor wrinkles in the fabric, and ensure the decorated face of the pouch is clean, lint-free, and ready to impress the recipient.
Frequently Asked Questions (FAQ)
Can I wash a decorated drawstring pouch?
Whether you can wash your decorated pouch depends entirely on the materials and attachment methods you used. Pouches decorated with heat-set fabric paint or sewn-on embellishments can often be hand-washed gently in cold water with a mild detergent. However, if you used fabric glue, iron-on adhesives, delicate metal charms, or non-washable ribbons, washing may dissolve the glue or tarnish the metal, so spot cleaning with a damp cloth is highly recommended instead. Always check the manufacturer’s care label on the original plain pouch before attempting any cleaning.
What type of paint works best on cotton or canvas pouches?
For porous, flexible fabrics like cotton and canvas, dedicated fabric paint or textile ink yields excellent results because it is formulated to bend with the fabric without cracking or peeling. Alternatively, you can mix standard acrylic paint with a textile medium in a one-to-one ratio to achieve a similar flexible finish. Always check the product labels to ensure the paint is suitable for natural fibers, and verify the required drying and heat-curing times to ensure your custom designs remain vibrant and permanent.
How do I prevent the drawstring from fraying after cutting?
To keep cut drawstrings looking neat and professional, the finishing method should match the cord material. For synthetic cords, a brief application of heat from a lighter will melt the ends and prevent unraveling. For natural cotton, hemp, or linen cords, applying a small amount of clear fabric sealant or liquid fray check to the tips is highly effective. For a premium touch, you can also slide decorative wooden beads, metal aglets, or cord ends onto the tips and secure them with a tight knot, which prevents fraying while making the drawstrings easier to pull.
Community discussion
Share your experience or ask a question. Comments are reviewed before publication.