
Transforming a plain paper gift bag into a personalized birthday presentation is an elegant, budget-friendly way to elevate your gift-giving. With just a few basic stationery supplies, you can turn a simple kraft or white bag into a memorable keepsake that reflects the recipient’s personality. This step-by-step guide will show you how to select the right materials, reinforce the bag’s structure, and apply beautiful ribbons, custom tags, and creative embellishments for a professional finish.
Select Materials and Tools for Bag Decoration
Before starting your project, gather high-quality crafting supplies that ensure a clean and durable finish. Begin with a sturdy base bag made of heavy paper, such as kraft paper or thick cardstock. Look for bags with a paper weight of at least 120 gsm to prevent sagging or tearing when decorations are applied. Pay close attention to the handles; twisted paper or woven cotton cords offer the best durability and aesthetic appeal.
Choosing the right adhesive is crucial for a long-lasting design, especially in warm or humid climates where standard liquid glues can warp paper or dry too slowly. High-tack double-sided tape, dry glue dots, and foam mounting tape are excellent choices because they provide an instant, moisture-free bond. For fabric elements like ribbons, a specialized clear craft glue or a hot glue gun (used sparingly) works best to prevent bleeding through the material.
Products mentioned in this guide
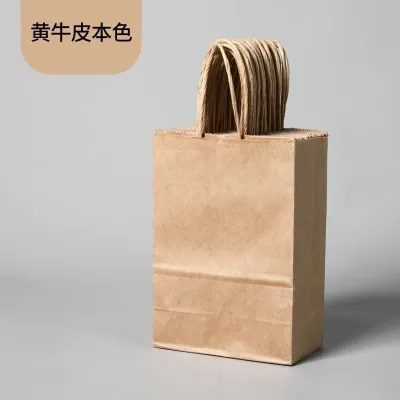
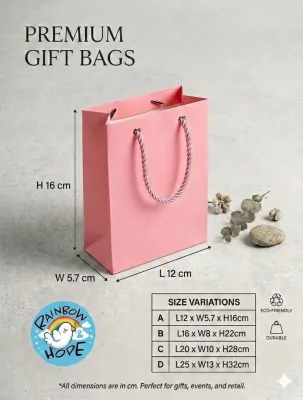
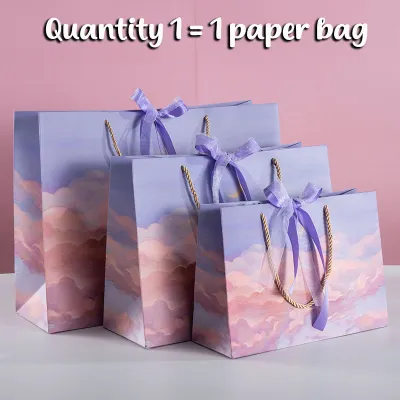

![[SG SELLER] Paper Bag for Birthday Gift Goodies Bag Baby Shower Gift Bag Christmas Gift Bag](https://img.lazcdn.com/g/ff/kf/S615cef17c41c45ccb8e5db27915e7d69c.jpg_400x400q80.jpg_.webp)
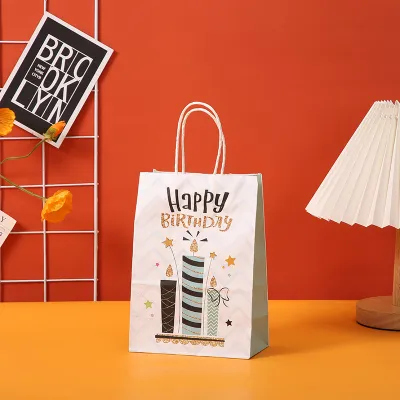
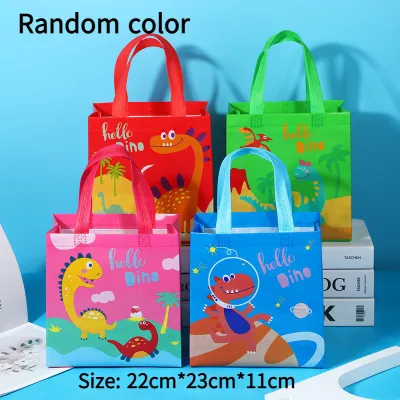
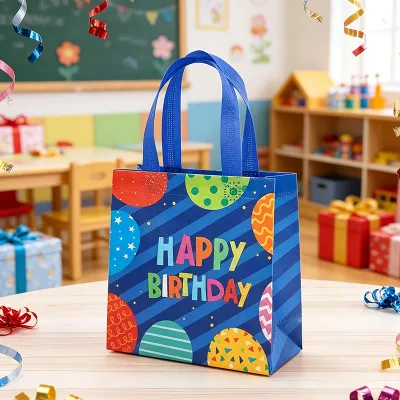
Prices are valid at publication and may change. Please refer to the product page for the latest price.
Next, select your decorative elements to match your desired birthday theme. Keep a selection of ribbons in various textures, blank cardstock tags, themed stickers, and pigment ink stamps on hand. Essential tools for this project include a pair of sharp craft scissors to prevent frayed ribbon edges, a standard single-hole punch for custom tags, and a metal ruler to ensure precise alignment and straight lines.
Prepare and Reinforce the Plain Gift Bag
A beautiful design can quickly lose its appeal if the bag sags or tears under the weight of the gift. If you plan to present heavier items, such as a jar of artisanal treats or a hardback book, take a moment to reinforce the bag’s base. Cut a piece of thick, rigid cardboard slightly smaller than the bottom dimensions of the bag, and slide it flat inside. This simple step distributes the weight evenly and maintains the bag’s crisp, rectangular shape.

Next, prepare the outer surface of the bag to create a flawless canvas. Lay the bag completely flat on a clean, hard work surface and gently smooth out any creases or folding lines. Avoid using steam or moisture to flatten the paper, as this can weaken the cellulose fibers and cause the paper to ripple. If the bag has pre-installed handles, check the interior glue pads or knots to ensure they are secure, adding a strip of strong packing tape over them if necessary.
Before applying any permanent adhesives, perform a dry-fit of your design elements. Arrange your ribbons, tags, and embellishments on the flat bag surface to visualize the final layout. This step allows you to adjust spacing, balance colors, and make design changes without damaging the paper. Once you are satisfied with the arrangement, take a quick photo on your phone to use as a reference during the assembly process.
Integrate Ribbons and Bows for Texture
Ribbons are one of the most effective ways to add texture, color, and a sense of luxury to a plain gift bag. You can integrate them in several ways, such as tying a classic bow around the base of one handle or wrapping the ribbon horizontally around the middle of the bag. For a modern, minimalist look, run a vertical band of ribbon down the center of the bag, securing the ends neatly inside the top collar and under the bottom base with double-sided tape.
When choosing your ribbon, match the width and material to the scale of the bag and the birthday theme. Small bags pair beautifully with delicate 6mm to 10mm ribbons, while larger bags can easily accommodate bold 25mm or 38mm widths. Grosgrain ribbon is highly recommended for its ribbed texture and structural stiffness, which helps bows hold their shape. Satin ribbon offers a classic, glossy sheen, while natural cotton or linen ribbons provide a rustic, organic feel.
To achieve a professional look, pay close attention to how you finish the ribbon ends. Always cut ribbon tails at a sharp 45-degree angle or fold the ribbon in half vertically and cut upward at an angle to create a classic swallowtail “V” shape. To prevent woven synthetic ribbons from fraying over time, you can carefully pass the cut edge near a small flame to seal the fibers, or apply a tiny dot of clear fabric fray check along the edge. Keep all adhesive points hidden beneath the ribbon layers to minimize bulkiness.
Create and Attach Personalized Gift Tags
A personalized gift tag serves as the focal point of your design and carries your heartfelt birthday wishes. Select tag shapes and paper stocks that complement the overall style of your decorated bag. Classic rectangular tags offer a timeless look, while circular, hexagonal, or scalloped tags add a playful, modern touch. Opt for a heavy cardstock of at least 250 gsm so the tag remains flat and rigid when suspended from the handle.
When writing your message, choose writing instruments that resist smudging and bleeding. Pigment-based ink pads paired with clear acrylic stamps deliver crisp, professional lettering, while fade-resistant gel pens or calligraphy markers are ideal for hand-lettering. If you are using a smooth or coated cardstock, allow the ink to dry completely for several minutes before handling the tag to prevent accidental smearing.
Attach your completed tag to the bag using a coordinating material such as natural twine, baker’s twine, or thin satin ribbon. Thread the cord through the punched hole of the tag and loop it securely around the base of one of the bag’s handles. If you want the tag to remain in a specific position on the front of the bag rather than dangling freely, place a small piece of removable adhesive putty or low-tack double-sided tape on the back of the tag to secure it gently to the paper surface.
Apply Embellishments and Themed Accents
Embellishments allow you to tailor the gift bag to the recipient’s specific interests, but moderation is key to achieving an elegant result. Avoid the temptation to cover the entire bag; instead, place your accents strategically to create a clear focal point. Utilizing the visual “rule of thirds” by placing your main decorations in the lower-right or upper-left quadrant of the bag front often yields the most balanced and aesthetically pleasing composition.
To add depth and visual interest, incorporate dimensional elements alongside flat stickers or stamps. Lightweight accents such as mini paper pom-poms, flat-backed sequins, pressed flowers, or layered paper die-cuts work beautifully. Secure these dimensional items using strong, pressure-sensitive glue dots rather than liquid craft glue, as liquid formulas can cause delicate paper embellishments to warp, wrinkle, or slide out of place before drying.
Maintain a cohesive color palette to ensure your decorated bag looks intentional and polished. Limit your design to three primary colors that complement each other, such as kraft brown, pastel sage green, and metallic copper. If you are using a highly patterned ribbon or bold stickers, keep the rest of the bag’s background simple and solid. This balance prevents the design from looking cluttered and ensures that your personalized details stand out.
Perform Final Checks Before Gifting
Before placing your gift inside and heading to the celebration, conduct a quick quality check to ensure the bag is structurally sound and visually balanced. Gently press down on all decorated areas to confirm that the adhesive bonds are secure and flat. Inspect the edges of your stickers, ribbons, and tags for any exposed sticky residue; if you find any, gently rub it away with a clean finger or a specialized rubber glue eraser to prevent the bag from sticking to other surfaces.
Next, test the bag’s functionality to ensure it remains practical to carry. Pick up the bag by its handles and hold it at your side, checking that dangling tags, long ribbon tails, or dimensional embellishments do not catch on your clothing or interfere with a comfortable grip. The handles should move freely without pulling on any of your applied decorations.
Finally, store and transport your decorated bag carefully to preserve your hard work. If you are preparing the bag a few days in advance, store it upright in a cool, dry closet away from direct sunlight, which can fade vibrant paper colors and weaken adhesives. When traveling to the birthday venue, place the filled gift bag upright on a flat surface, such as the floor of your vehicle or inside a spacious, flat-bottomed tote bag, to prevent delicate bows or paper accents from being crushed.
Frequently Asked Questions (FAQ)
How do I prevent heavy embellishments from tearing the paper bag?
To support heavier decorations like wooden shapes, thick acrylic pieces, or dense layers of cardstock, always start with a high-gsm paper bag. Apply strong, pressure-sensitive glue dots directly behind the heaviest parts of the embellishment to distribute the weight evenly across the paper surface. Additionally, you can glue a matching piece of stiff cardstock to the inside front panel of the bag; this acts as a hidden support beam that prevents the outer paper from sagging or tearing under the weight of the decorations.
Can I reuse a decorated gift bag for another occasion?
Yes, you can easily design a reusable gift bag by opting for non-permanent decorating techniques. Instead of gluing ribbons and tags directly to the paper surface, tie them loosely around the handles so they can be slipped off easily without tearing the bag. Use low-tack double-sided tape, removable adhesive dots, or decorative washi tape for paper accents, which peel off cleanly without leaving a residue. Avoid writing names or birthday messages directly on the bag body; keep all personalization confined to a removable hanging tag.
Community discussion
Share your experience or ask a question. Comments are reviewed before publication.