
Transforming a plain birthday bag into a custom, eye-catching gift presentation is an excellent way to elevate a simple present while practicing sustainable crafting. By utilizing leftover wrapping paper scraps and coordinating ribbons, you can design a personalized exterior that rivals premium boutique packaging. This approach allows you to tailor the colors, textures, and themes to the recipient’s unique taste. By reusing materials you already have at home, you can easily save S$5 to S$10 on premium gift packaging while creating a truly memorable look.
Gather Your Materials and Tools
Before beginning your project, gather all the necessary supplies to ensure a smooth crafting process. Having your tools organized beforehand prevents adhesive from drying out mid-application and helps you maintain clean lines.
- The Base Bag: Start with a plain paper birthday bag. Kraft paper bags in natural brown or matte white provide the most versatile canvases. Ensure the bag is clean, unwrinkled, and structurally sound.
- Wrapping Paper Scraps: Collect leftover pieces of wrapping paper. Look for contrasting patterns, metallic foils, or textured papers. Mixing a bold geometric print with a subtle solid color often yields the best results.
- Ribbons: Gather ribbons of various textures and widths, such as satin, grosgrain, organza, or rustic twine. Ensure you have enough length to wrap around the bag or tie onto the handles.
- Essential Tools: You will need sharp craft scissors, a metal ruler, a pencil, and your chosen adhesives.
- Adhesive Selection: For paper-to-paper bonding, a high-quality glue stick or double-sided tape is ideal. Double-sided tape offers an instant, moisture-free hold, which is highly beneficial in humid climates where liquid glues can warp thin paper. For securing heavier ribbons, a strong double-sided craft tape or a low-temperature glue gun is recommended.
- Material Compatibility: Always match the weight of your decorative paper to the thickness of the birthday bag. Lightweight wrapping paper (around 60 to 80 gsm) adheres easily to standard paper bags without adding bulk. If you are using heavier cardstock scraps, ensure the base bag is sturdy enough to support the added weight.
Prepare the Wrapping Paper and Ribbons
Proper preparation of your materials is key to achieving a professional, polished finish. Taking the time to measure and cut precisely prevents a cluttered or uneven appearance.
Products mentioned in this guide

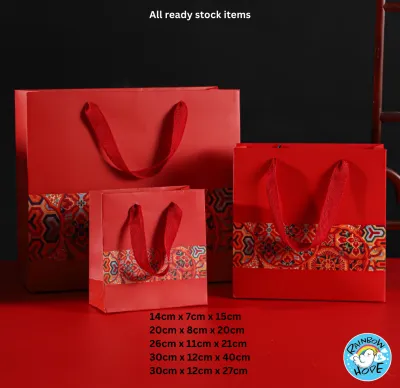
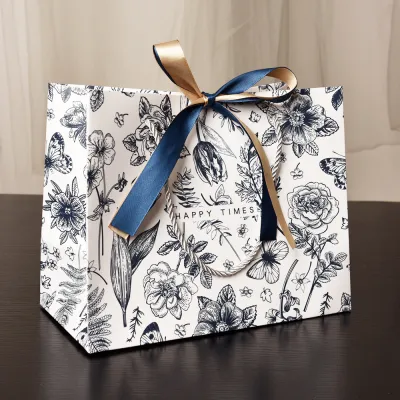
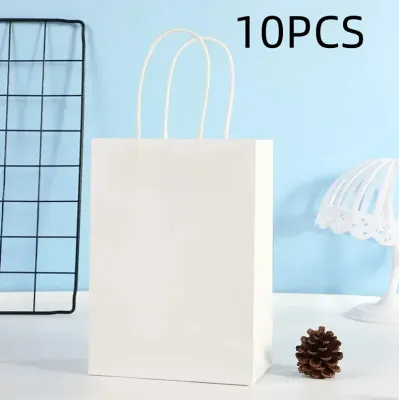
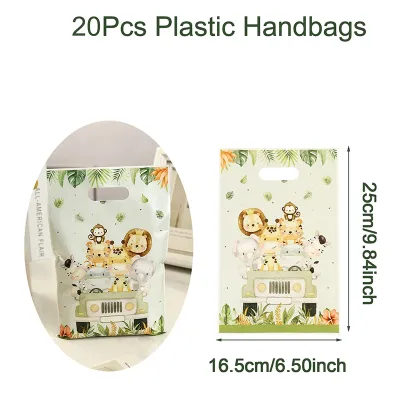
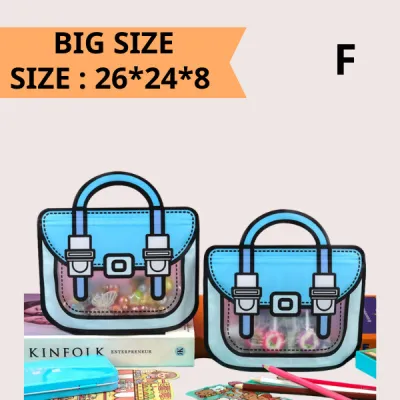
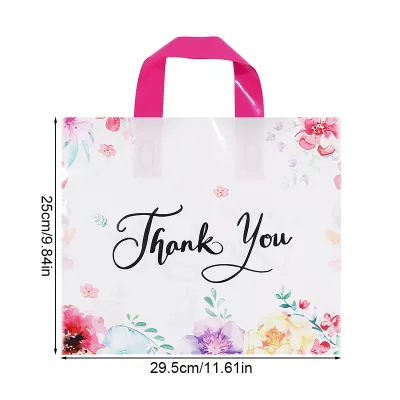
Prices are valid at publication and may change. Please refer to the product page for the latest price.

- Cutting Techniques for Paper: Examine your wrapping paper scraps to determine the best shapes to extract. You can cut clean, straight strips to create elegant bands across the bag, or use geometric templates to cut out triangles for a festive bunting banner. For a playful, textured look, cut wide strips of paper and make closely spaced vertical cuts along one edge to create a fringe effect.
- Ribbon Preparation: Measure the areas of the bag where you plan to apply ribbon. If you want to wrap a ribbon horizontally around the center of the bag, measure the width of the front panel and add an extra 2 centimeters on each side to fold over the edges for a clean seam. If you plan to tie bows around the handles, cut a generous length—typically 30 to 40 centimeters—to allow enough room for tying and trimming.
- Safety and Precision: Always use a sharp pair of scissors dedicated to paper and ribbon crafting. Dull blades can chew through delicate fibers, leaving frayed edges on satin or organza ribbons. When cutting straight lines, align your metal ruler with your pencil marks, hold it firmly against the paper, and cut slowly. Always cut away from your body and keep your fingers clear of the blade path to prevent accidental slips. If you are crafting with children, ensure adult supervision is provided during all cutting steps.
Step-by-Step Decoration Techniques
With your materials prepared, you can now begin the assembly process. The beauty of decorating a plain birthday bag is the flexibility it offers; you can combine different paper and ribbon elements to suit the size of your bag and the scraps you have on hand. Before applying any permanent adhesive, lay the bag flat on a clean workspace and arrange your paper cutouts and ribbons on top. This dry run allows you to adjust the spacing, check the color balance, and ensure the design does not look overcrowded or sparse.
Creating and Attaching Paper Accents
Paper accents add depth and character to the flat surface of a plain bag. By layering different patterns and creating simple dimensional shapes, you can make the packaging look custom-made.
- Layering for a 3D Effect: To create visual depth, layer a smaller patterned paper cutout over a slightly larger solid-colored paper backing. This creates a neat border or "matting" effect that makes the central design pop. For a subtle 3D effect, apply small pieces of foam mounting tape between the layers instead of flat double-sided tape. This lifts the top layer slightly off the bag, casting soft shadows that enhance the design.
- Folding Paper Flowers and Fans: You can easily transform rectangular paper scraps into elegant fans or flowers. To make a simple paper fan, take a strip of wrapping paper (approximately 5 centimeters wide and 20 centimeters long) and make accordion folds every 1 centimeter along the length. Pinch one end tightly and secure it with tape, then let the other end flare out into a fan shape. To make a paper flower, fold two of these fans and join their flat edges together with double-sided tape to form a complete circle.
- Securing Paper Elements Safely: When applying adhesive to your paper accents, focus on the edges and corners to prevent them from curling upward over time. If using a glue stick, apply a thin, even layer to the back of the cutout, place it carefully onto the bag, and smooth it down from the center outward using a clean, dry cloth. This technique prevents air bubbles and ensures a flat, secure bond without tearing the delicate wrapping paper or the bag's surface.
Styling and Securing Ribbons
Ribbons introduce texture, shine, and movement to your gift bag, instantly elevating it from a simple paper sack to an elegant gift presentation.
- Tying Bows on Handles: One of the easiest ways to add a touch of luxury is by tying decorative bows directly onto the bag's existing handles. If the bag has rope or ribbon handles, tie a classic double-loop bow at the base of one handle where it meets the bag. For a more dramatic look, tie a multi-loop bow separately and secure it to the handle base using a thin piece of floral wire or a small dab of low-temperature hot glue.
- Weaving and Edging: If your plain bag has a flat paper top, you can use a standard hole punch to create two clean holes near the top rim, spaced about 5 centimeters apart. Thread a satin ribbon through the holes from the inside out, and tie a neat bow on the front of the bag. Alternatively, run a strip of double-sided tape along the top collar of the bag and press a flat ribbon over it to create a clean, contrasting border that hides the bag's raw edges.
- Trimming Ribbon Tails: The way you finish the ends of your ribbons can make a significant difference in the overall quality of your presentation. Avoid leaving raw, straight-cut ends, which are prone to fraying. Instead, fold the ribbon tail in half vertically and cut upward at a 45-degree angle from the folded edge to the outer edge to create a classic chevron (V-shaped) tail. Alternatively, make a single clean diagonal cut across the ribbon end. For synthetic ribbons like polyester or nylon, you can gently pass the cut edge near a flame for a split second to seal the fibers and prevent fraying, ensuring adult supervision is maintained.
Finishing Touches and Quality Checks
Before placing your gift inside the decorated birthday bag, perform a few quick quality checks to ensure your hard work holds up during transport and presentation.
- Adhesion Check: Gently run your fingertips along the edges of all attached paper accents and ribbon bands. If any corners lift or feel loose, apply a tiny dot of adhesive using a toothpick for precision, then press down firmly for ten seconds. This step is especially important in warm, humid environments where some adhesives may take longer to cure fully.
- Visual Balance Assessment: Stand the bag upright and step back about one meter. Examine the overall composition. Is the design visually balanced? If one side feels too heavy, you can balance it by adding a small ribbon knot or a tiny paper accent to the opposite corner. Ensure there is still enough empty space on the bag to let the decorated elements stand out; a cluttered bag can lose its aesthetic appeal.
- Handling and Weight Test: Lift the bag by its handles and gently swing it back and forth to simulate carrying it to a birthday party. Ensure that none of the hanging ribbon tails drag on the floor or snag on the bag's base. Check that the added decorations do not interfere with the opening of the bag, allowing the recipient to easily access their gift without damaging your beautiful design.
Frequently Asked Questions (FAQ)
How do I prevent the wrapping paper from wrinkling when I glue it?
To prevent wrapping paper from wrinkling, avoid using liquid school glues or heavy craft glues, as their high water content will quickly saturate and warp thin paper fibers. Instead, opt for a high-quality dry glue stick or double-sided tape. When applying a glue stick, rub it evenly across the entire back surface of the paper cutout, paying close attention to the outer edges. Place the paper onto the bag, then immediately place a clean sheet of scrap paper over it. Use the edge of a plastic ruler or a clean cloth to smooth the surface firmly, working from the center outward to push out any trapped air bubbles and ensure a perfectly flat bond.
What can I do if my ribbon is too short for a full bow?
If your ribbon scrap is too short to tie a traditional double-loop bow, you can still create an elegant, minimalist accent. Try tying a simple, clean knot around the base of the bag’s handle, leaving two short, neatly trimmed tails hanging down. Another option is to fold the short ribbon into a single loop (resembling a ribbon bookmark) and secure the raw ends behind a paper cutout on the front of the bag, letting the loop peek out from the top or side. You can also gather three or four very short pieces of different ribbons, tie them together in the middle with a piece of twine, and secure this textured cluster to the corner of the bag for a modern, rustic look.
Community discussion
Share your experience or ask a question. Comments are reviewed before publication.