
Presenting a gift during festive seasons is as much about the visual anticipation as it is about the treat inside. Elevating a standard mooncake container with high-quality wrapping paper and beautifully styled ribbons transforms a simple gesture into a memorable, premium experience. By mastering a few fundamental stationery techniques, you can easily turn metal tins, cardboard boxes, or tiered containers into bespoke gifts that stand out on any reception table.
Achieving a professional finish requires understanding how different paper weights, adhesive types, and ribbon textures interact with the unique shapes of holiday packaging. Whether you are prepping gifts for family members, close friends, or corporate clients, this guide provides the exact steps and techniques needed to wrap, style, and secure your presentations with absolute precision.
Materials and Tools for a Polished Presentation
Selecting the correct materials is the foundation of a flawless wrap. Standard wrapping paper can easily tear on the sharp corners of a metal mooncake container, while paper that is too thick will resist clean folding and spring open at the seams. For the best results, opt for a medium-weight paper between 80 gsm and 120 gsm. Textured metallic paper, premium kraft paper, or high-quality patterned sheets with subtle gold foil accents hold crisp creases exceptionally well without splitting along the edges.
Products mentioned in this guide
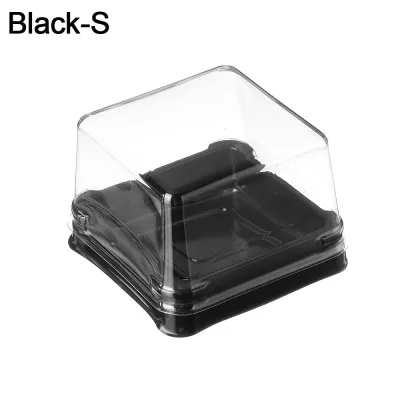
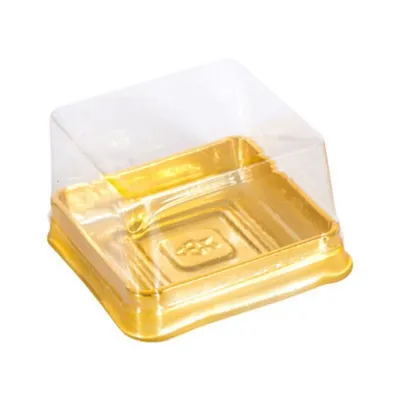
![[LIL BAKER] 50PCS MOONCAKE BOX SNOWSKIN PASTRY PACKAGING BOX](https://img.lazcdn.com/g/ff/kf/Sd2d8b79aa1d74640826f926e3ed66995j.jpg_400x400q80.jpg_.webp)
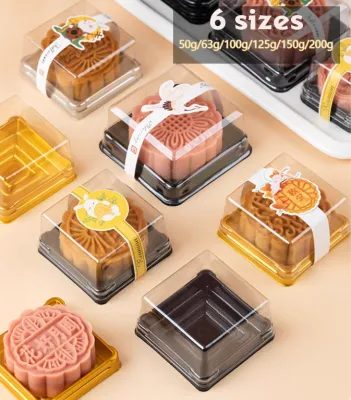
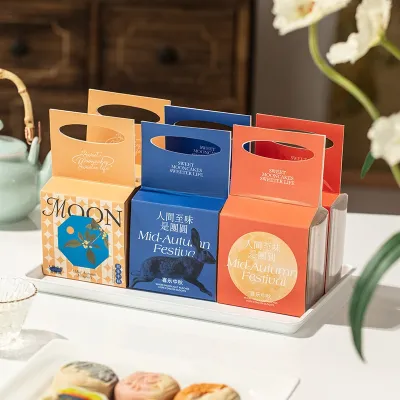
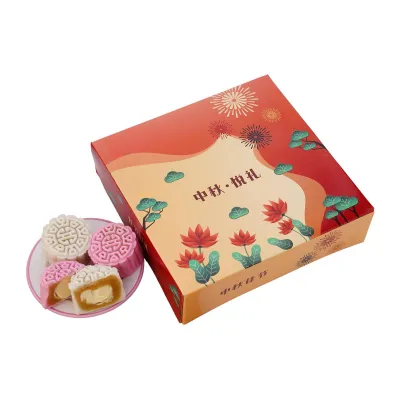
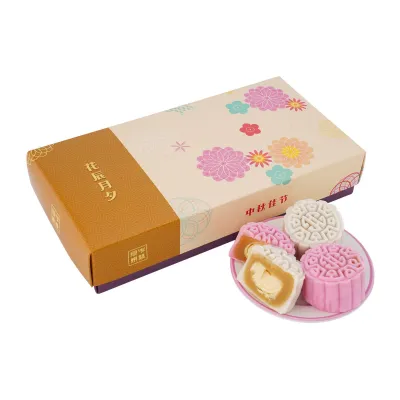
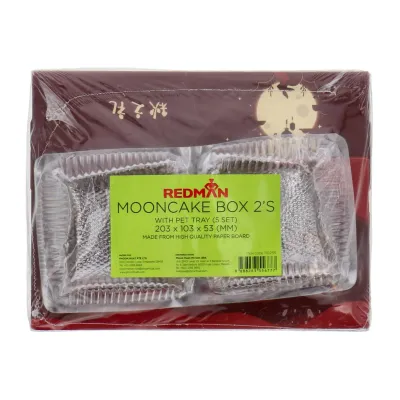
Prices are valid at publication and may change. Please refer to the product page for the latest price.
Your choice of ribbon should complement both the scale of the container and the texture of your paper. Satin ribbons offer a classic, lustrous sheen that catches the light beautifully, making them ideal for elegant, formal presentations. Grosgrain ribbons provide a ribbed texture and excellent structural integrity, which is perfect for creating voluminous bows that will not sag. If you prefer a delicate, airy aesthetic, organza ribbons add a soft layer of color without overpowering the patterns on your wrapping paper. As a general rule, use a 1.5-centimeter ribbon for compact, single-layer boxes, and upgrade to a 3- to 5-centimeter width for larger, multi-tiered containers to maintain visual balance.
To achieve clean, seamless lines, assemble a dedicated set of stationery tools before you begin wrapping:
- Sharp craft scissors: Dull blades will snag and fray both paper and ribbon fibers.
- Bone folder or plastic ruler: Crucial for smoothing down edges and scoring clean, sharp creases.
- Double-sided tape: High-tack, acid-free double-sided tape is the secret to invisible seams. Avoid liquid school glues, which introduce moisture that warps paper and causes metal tins to rust.
- Adhesive glue dots: Excellent for securing heavy ribbon knots and decorative accents instantly without messy residue.
Before purchasing your wrapping materials, always measure the height, width, and depth of your container. Ensure you buy enough paper to cover the entire surface area with at least 5 to 10 centimeters of excess margin for overlapping seams and neat corner folds.
Preparing the Mooncake Container and Measuring the Paper
Proper preparation ensures your adhesives bond securely and your paper lays perfectly flat. Many premium mooncakes come in metal tins or high-gloss laminated cardboard boxes that collect dust, fingerprints, or natural oils during handling. Before applying any paper, wipe down the exterior surfaces of the container with a dry microfiber cloth. If the surface feels oily or slick, lightly dampen the cloth with a small amount of isopropyl alcohol to clean it, then allow it to dry completely. This step prevents your double-sided tape from peeling away later.

To measure your wrapping paper accurately, place the container face down on the reverse side of the paper sheet. To determine the correct width, roll the container along the paper to cover all four sides, adding an extra 3 to 4 centimeters of overlap for the final seam. To find the correct height, measure the depth of the container’s sides; the paper extending past the top and bottom edges should equal slightly more than half of the container’s depth on each side. This ensures the paper covers the top and bottom faces fully when folded inward without creating a bulky, uneven pile of excess material.
Different container shapes require slight adjustments to these measurement rules:
- Square and Rectangular Boxes: Follow standard measurement rules, ensuring the paper is cut straight along the grain to keep patterns aligned.
- Round and Cylindrical Tins: Cut a strip of paper that wraps around the circumference with a 3-centimeter overlap. The top and bottom margins must be carefully snipped into small, even tabs before folding to prevent bunching along the circular curves.
- Tiered Containers: If the container features multiple stacked drawers or compartments, wrap each section individually to preserve the functionality of the sliding mechanisms.
If you are working with thick or specialty handmade papers, use your bone folder and a ruler to score your fold lines lightly before making the actual folds. This weakens the paper fibers just enough to prevent the outer decorative layer from cracking or tearing when folded over sharp 90-degree corners.
Step-by-Step Wrapping Techniques
To create a gift presentation that looks professionally styled, you must wrap the lid and the base of the container separately. Wrapping the entire box as a single unit forces the recipient to tear the beautiful paper to reach the mooncakes inside, destroying your hard work. Separating the pieces preserves the packaging, allowing the recipient to reuse the decorated container long after the festivities are over.
Wrapping the Main Body
Start by securing the wrapping paper to the base section of your container. Lay your pre-cut paper design-side down on a clean, flat work surface, and place the base of the container in the center.
- Secure the primary seam: Pull one side of the paper tightly over the side of the container and temporarily hold it in place. Fold the opposite edge of the paper over by 1 centimeter to create a clean, finished hem. Apply a strip of double-sided tape along this hem, pull the paper taut across the container, and press the taped hem down to seal the main seam.
- Fold the bottom flaps: Turn the container so the open bottom end faces you. Push the top flap of paper down flat against the bottom of the container, creasing the resulting side wings sharply at a 45-degree angle. Fold these two side wings inward toward the center, smoothing them flat with your bone folder.
- Seal the bottom: Apply double-sided tape to the inside edge of the final bottom flap. Fold it firmly upward over the other flaps, pressing down to create a clean, flat base. This ensures your container sits perfectly level on flat surfaces without wobbling.
- Smooth out imperfections: Gently run the flat edge of your bone folder over the wrapped surfaces to press out any trapped air bubbles, working from the center of each panel outward toward the edges.
Handling the Lid
Wrapping the lid requires precision to ensure it still fits snugly over the base without pinching, tearing, or binding the paper when opened.
- Measure the lid paper: Cut a separate piece of wrapping paper that is large enough to cover the top of the lid, extend down all outer sides, and fold over the inner rim by approximately 1 to 1.5 centimeters.
- Adhere the top face: Apply a few small pieces of double-sided tape directly to the flat top surface of the lid. Center the lid face-down on the reverse side of your paper, pressing firmly to secure it.
- Mitre the corners: At each corner of the lid, cut a diagonal slit in the paper extending toward the corner of the box, stopping about 2 millimeters short of the actual corner. This removes excess bulk and allows for clean, flat folds.
- Wrap the sides and rim: Fold the paper over the outer sides of the lid and tuck the excess over the inner rim. Secure the paper inside the rim using thin strips of double-sided tape. Ensure the paper is pulled completely flat against the inside surface; any loose folds or bulky paper layers inside the rim will prevent the lid from closing properly over the base.
Tying and Styling the Ribbon Embellishments
Once your container is cleanly wrapped, adding a styled ribbon provides the ultimate finishing touch. The ribbon should feel secure, look symmetrical, and complement the overall color scheme of your paper choice.
Creating a Classic Bow
A perfectly symmetrical bow elevates any gift presentation. To tie a flawless bow, use the classic “two-loop” method directly on top of your wrapped container.
- Position the ribbon: Cut a length of ribbon approximately five times the width of your container. Center the ribbon under the base of the container, pull both ends up to the top center of the lid, and tie a single, tight knot.
- Form the loops: Create two equal-sized loops (often called "bunny ears") with the remaining ribbon ends. Cross the left loop over the right loop, tuck it under the intersection, and pull both loops horizontally to tighten the knot.
- Adjust for symmetry: Gently pull on the loops to adjust their size, ensuring they are proportional to the container. Hold the center knot firmly while pulling the ribbon tails to tighten the bow without shrinking the loops. The loops should be plump and full, while the tails should drape elegantly down the sides.
- Secure the placement: To prevent the bow from sliding or shifting during transport, place a clear adhesive glue dot directly underneath the center knot, pressing it firmly onto the lid.
- Finish the tails: Fold each ribbon tail in half vertically and cut upward at a 45-degree angle from the open edge to the fold. This creates a clean, professional V-shaped finish (chevron cut) that prevents the ribbon fibers from fraying.
Alternative Ribbon Styles
If you prefer a modern, minimalist look or want to experiment with different textures, try these alternative styling methods:
- The Minimalist Crisscross: Wrap a single piece of wide ribbon horizontally around the container and a second piece vertically, crossing them flat in the center of the lid. Secure the intersection with a thin strip of double-sided tape. Instead of a bow, seal the crossing point with a personalized wax stamp or a metallic sticker for a sleek, contemporary aesthetic.
- Layered Textures: Combine two different ribbon styles to add visual depth. Wrap a wide, structured ribbon (such as a 4-centimeter grosgrain or rustic burlap strip) flat around the center of the box. Layer a thinner, contrasting ribbon (like a 1.5-centimeter metallic satin ribbon) directly over the center of the base ribbon, tying it into a neat bow. This technique works exceptionally well on plain or solid-colored wrapping papers.
- Natural Accents and Gift Tags: Thread a personalized gift tag through your ribbon before tying the final knot. For a touch of seasonal elegance, tuck a small sprig of dried greenery, a dried flower bud, or a preserved cinnamon stick into the knot of the bow. These organic elements pair beautifully with neutral kraft papers and soft cotton ribbons.
Final Touches and Gifting Tips
Before presenting your decorated gift, conduct a quick quality inspection to ensure everything is secure and flawless. Examine the corners of the container to confirm that all paper seams are pressed flat and no double-sided tape is exposed to collect dust. Check that the lid opens and closes smoothly without catching or tearing the wrapped edges. If you notice any fraying on the ribbon ends, make a fresh, clean cut with your sharpest scissors at a sharp angle.
If you are gifting in warm or humid climates, such as Singapore, keep in mind that high humidity can cause lightweight papers to warp, sag, or lose their crispness over time. To preserve your presentation, store your wrapped containers in a cool, dry room away from direct sunlight and air conditioning drafts until the moment of gifting. Avoid storing wrapped boxes in damp areas like kitchens or near open windows.
When transporting your finished gifts, place the decorated container inside a sturdy, flat-bottomed gift bag that matches the color scheme of your wrapping paper. If you are traveling a long distance or carrying multiple gifts, place tissue paper or bubble wrap between the containers to prevent them from sliding, rubbing together, or crushing the delicate bows. Taking these final precautions ensures your beautiful, hand-decorated gift arrives in pristine condition, ready to impress your recipient.

Community discussion
Share your experience or ask a question. Comments are reviewed before publication.