
Crafting a personalized greeting card is a highly rewarding way to express appreciation, celebrate milestones, or share warm wishes with friends and family. By sourcing high-quality crafting supplies and templates from the drom store, you can design custom cards that look professional and feel deeply personal. Whether you are preparing a card for a local festive season in Singapore or sending a heartfelt note to a loved one, the key to success lies in understanding how to pair the right paper weights, adhesives, and decorative elements.
Creating your own cards allows you to break away from generic, mass-produced designs and tailor every detail to the recipient’s tastes. From choosing the perfect color palette to adding dimensional layers and interactive elements, handcrafting turns a simple message into a cherished keepsake. This guide walks you through selecting the best materials, assembling your design step-by-step, avoiding common crafting pitfalls, and upgrading your cards with professional finishing touches.
Choosing Your Crafting Supplies at the Drom Store
Before starting your DIY project, gathering the correct foundational materials and specialized tools from the drom store is essential for a clean, durable result. The base of any great card is the cardstock itself. For a sturdy structure that stands upright without sagging, select blank cardstocks or pre-scored card bases with a weight of at least 220 GSM (grams per square meter) to 300 GSM. If you prefer a curated starting point, look for DIY kit boxes that bundle coordinating bases, envelopes, and decorative elements.
Products mentioned in this guide
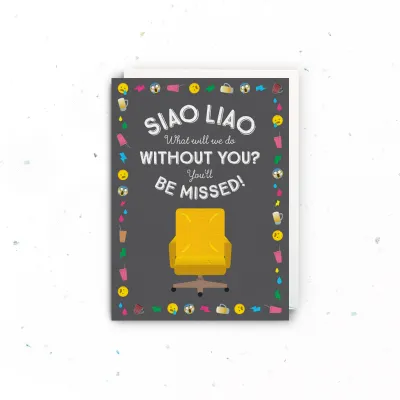
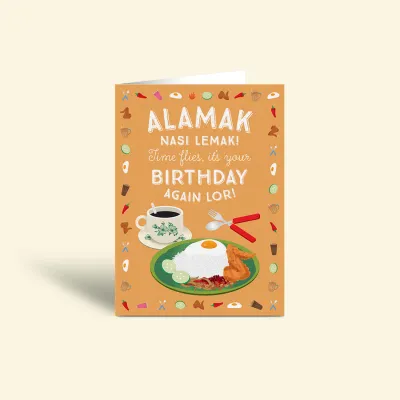
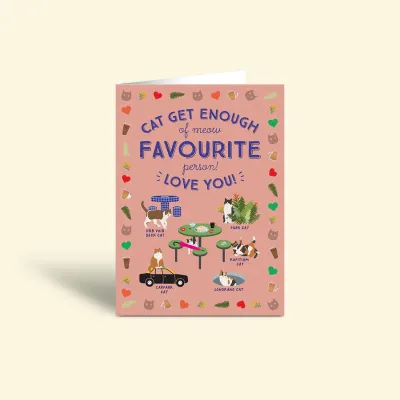
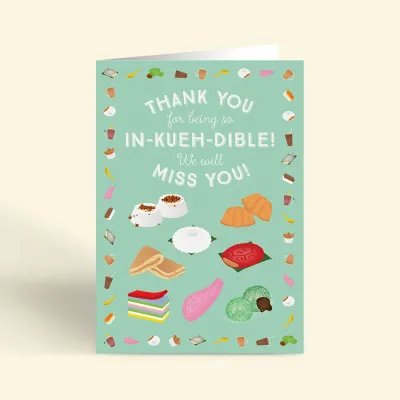
Prices are valid at publication and may change. Please refer to the product page for the latest price.
To bring your design to life, you will want a variety of decorative elements to build visual interest. Patterned paper pads, usually ranging from 120 GSM to 160 GSM, are perfect for background panels and layering. You can complement these with die-cuts, themed stickers, and decorative washi tape to establish a cohesive color palette and style. Having a mix of textures—such as matte, metallic, or textured papers—adds immediate visual depth to your card front.
The assembly process requires specific adhesives and precision tools to ensure everything stays in place without warping. Double-sided tape runners are ideal for securing flat background panels quickly and cleanly. For intricate die-cuts, delicate paper filigree, or fine lettering, a precision glue pen provides targeted adhesive application. Essential hand tools include a pair of sharp precision scissors for clean cuts, a metal-edged ruler for accurate alignment, and a bone folder to create crisp, professional folds.
Always check the product labels at the drom store for paper weight (GSM) and adhesive compatibility before purchasing. Using an adhesive that is too wet on lightweight paper will cause the fibers to expand and warp, while an adhesive that is too weak will fail to hold heavy cardstock layers together, especially in Singapore’s humid climate. Always verify the manufacturer’s instructions on both your paper and adhesive packaging to ensure they are designed to work together. If the product instructions conflict with your materials, the item is unidentified, or the intended use is not covered, stop and consult the manufacturer or a qualified crafting professional before proceeding.
Step-by-Step Guide to Assembling Your DIY Greeting Card
Assembling a greeting card requires a methodical approach to ensure clean edges, balanced proportions, and structural integrity. By following a structured sequence, you can avoid alignment mistakes and ensure your card looks polished from the outside in.

Preparing the Base and Layout
The foundation of a professional-looking card is a clean, crisp fold. Start by placing your blank cardstock on a flat self-healing cutting mat. Align your metal ruler along the center line where you want the fold to be, and firmly run a bone folder along the edge of the ruler to score the paper. Scoring compresses the paper fibers along a precise path, allowing you to fold the cardstock cleanly without cracking or tearing the outer surface. Once scored, fold the card and run the flat edge of the bone folder over the crease to lock it in place.
Before applying any adhesive, it is crucial to plan your layout. Arrange your main focal point—such as a large die-cut, a stamped sentiment, or a template printout—on the front of the card. Surround it with secondary elements like washi tape borders, smaller stickers, or paper layers to find a pleasing visual balance. Taking a quick photo of your temporary layout with your phone can serve as an excellent reference point once you begin gluing the pieces down.
To give your card a polished, framed look, trim your patterned background paper so it is slightly smaller than the front panel of the card base. For example, if your card base is standard A6 size (105mm by 148mm), trim your background panel to 95mm by 138mm. This leaves a neat, uniform 5mm border of the base cardstock exposed around the edges, framing your artwork beautifully and adding an instant layer of professionalism.
Adding Personalized Elements and Templates
Once your layout is planned, you can begin integrating templates and decorative pieces from the drom store to build your card’s visual theme. If you are using pre-printed templates or stencils to add background patterns or elegant typography, secure them to your workspace with low-tack masking tape. This prevents the template from shifting while you apply ink, chalk, or markers, ensuring clean lines and a smudge-free print.
To make your card visually dynamic, incorporate dimension by layering your paper elements. Instead of gluing every piece flat against the background, use double-sided foam tape or foam dots behind your main focal points or sentiment banners. This physical separation lifts the elements off the page, casting soft, natural shadows that give your card a striking three-dimensional appearance.
Apply your chosen stickers, stamps, or die-cuts to reinforce the specific occasion, whether it is a birthday, anniversary, or seasonal holiday. If you are using rubber or clear stamps, apply even, downward pressure without rocking the stamp block, which can cause ink to smudge or create blurry double-images. Ensure all stamped images and liquid adhesives are fully dry or set before moving to the next layer to prevent any accidental shifting or smearing.
Final Assembly and Finishing Touches
With the front of your card fully decorated, it is time to focus on the interior and final presentation. Open the card flat to write your personal message. Before writing directly on the cardstock, always check pen compatibility on a scrap piece of the same paper. Since smoothness, bleed resistance, drying speed, water resistance, and erasability depend heavily on your exact paper and ink combination, performing an observable trial on a scrap piece is the best way to verify performance. Coated, metallic, or glossy cardstocks require quick-drying gel pens, fine-liners, or pigment-based markers, as standard water-based inks may bead up, feather, or take hours to dry, leading to accidental smudges.
Do not leave the interior of the card completely plain. You can add subtle, coordinating decorations inside to tie the entire design together. Consider gluing a thin, leftover strip of your front panel’s patterned paper along the bottom edge of the inside page, or stamping a small, matching icon in the bottom corner. This shows an extra level of care and attention to detail that makes the card feel cohesive.
Once the writing and interior decorations are complete, close the card and inspect all the edges. Look for any excess glue residue or slightly misaligned paper borders. You can use a specialized adhesive eraser to gently roll away dried rubber cement or tape runner residue without damaging the paper surface, and use a craft knife to trim away any tiny paper fibers or uneven edges.
The final step is selecting the perfect envelope from the wrapping section at the drom store. Ensure the envelope is slightly larger than your finished card, especially if you used dimensional foam tape or added thick embellishments like ribbons or wax seals. A standard rule of thumb is to have at least 3mm to 5mm of clearance on all sides so the card slides in and out easily without bending or catching on the envelope opening.
Common Mistakes to Avoid When Crafting Your Card
Even experienced crafters can run into issues that compromise the quality of their handmade cards. Understanding these common pitfalls and knowing how to troubleshoot them will save you time and materials.
Using the wrong adhesive is one of the most frequent mistakes in papercrafting. Liquid school glues contain a high water content, which naturally expands paper fibers. When applied to thin decorative papers or lightweight cardstock, this moisture causes the paper to buckle, warp, and wrinkle as it dries. To maintain a flat, clean finish, rely on dry adhesives like double-sided tape runners for large surfaces, and reserve specialized, low-moisture fine-tip glue pens strictly for tiny, intricate die-cuts.
Another common error is overcrowding the design. When you have an abundance of beautiful stickers, ribbons, and patterned papers, it is tempting to use them all on a single project. However, a cluttered card loses its visual focus and can look messy. Embrace the concept of negative space—the empty areas around your main elements. Negative space acts as visual breathing room, drawing the recipient’s eye directly to your central template or message and making the overall design feel balanced and elegant.
Ignoring paper grain and weight can lead to structural failures, such as cracking along the fold line. Heavy cardstock (above 200 GSM) has a distinct grain direction determined during manufacturing. If you attempt to fold thick paper against its grain without scoring it first, the stiff fibers will break unevenly, resulting in a jagged, unprofessional crease. Always use a scoring tool and bone folder to prep the paper fibers before making any folds, ensuring a smooth, clean spine.
Ink smudging can quickly ruin hours of careful work. Different paper finishes absorb ink at different rates; smooth, coated, or pearlescent papers do not absorb ink as quickly as matte, uncoated cardstock. If you write your message or stamp an image and immediately touch it or close the card, the ink will smear. Always test your writing instruments on a scrap piece of the identical cardstock to verify drying times, and allow ample drying time—sometimes up to several minutes for heavy gel pens or metallic markers—before handling the card.
How to Personalize and Upgrade Your Design
Once you have mastered the basic assembly techniques, you can elevate your card designs by incorporating advanced personalization methods and unique material combinations.
Integrating mixed media is an excellent way to add texture and luxury to your paper crafts. Try combining your paper elements with natural materials, such as pressed flowers or leaves secured with a thin layer of clear-drying matte glaze. You can also wrap a delicate satin, organza, or baker’s twine ribbon around the card fold, or melt a custom wax seal onto the front panel or the envelope flap for an elegant, vintage-inspired aesthetic.
Do not limit yourself to using pre-made templates exactly as they are printed. You can customize templates by cutting them into non-traditional shapes, or using them as stencils for ink blending. By securing a template over your blank card base and using a blending brush to gently apply ink over the edges, you can create a beautiful, soft “reverse shadow” effect that makes the design look hand-painted.
Creating interactive elements adds a delightful element of surprise for the recipient. You can construct a simple pop-up mechanism inside the card by cutting two short, parallel slits across the center fold to create a step that pushes forward when the card opens. Alternatively, build a “shaker card” by using double-sided foam tape to create a sealed border, filling the cavity with sequins, glitter, or small seed beads, and sealing it with a clear acetate sheet before mounting it behind a cut-out window on your card front.
Finally, matching the envelope to the card design creates a cohesive, high-end presentation. Cut a piece of coordinating patterned paper to fit inside the envelope, trimming it to sit just below the adhesive line on the flap to create a custom envelope liner. This simple addition ensures that the moment the recipient opens the envelope, they are greeted with a beautiful burst of color and pattern that perfectly matches the handmade card inside.
Frequently Asked Questions (FAQ)
What type of pen should I use on DIY cardstock to prevent smudging?
For smooth, coated, or glossy cardstocks, quick-drying gel pens, fine-liners, or pigment-based markers are highly recommended as they resist smearing. If you are writing on textured or highly porous cardstock, choose high-quality ballpoint pens or felt-tip pens. Regardless of the paper type, always perform a quick test on a scrap piece of the same cardstock to verify drying speed and ensure the ink does not bleed through to the other side.
Can I use regular printer paper for DIY greeting card templates?
Regular printer paper (typically 70 to 80 GSM) is too thin and lacks the structural rigidity required to support a greeting card base, causing it to sag, bend, or warp under the weight of embellishments. While printer paper is excellent for printing out layout templates, tracing designs, or writing delicate interior inserts, you should always use a heavier cardstock of 200 GSM or higher for the structural base of your card to ensure it stands upright and feels premium.

Community discussion
Share your experience or ask a question. Comments are reviewed before publication.