
Combining a wall whiteboard with magnetic letters creates a dynamic, tactile learning station that bridges physical play and early literacy. By transforming a static wall into an interactive canvas, children can physically manipulate letters while seeing them paired with drawings, lines, and written words. This multi-sensory approach reinforces letter shapes, phonics, and early spelling in a way that paper and screens cannot replicate. To make this setup successful, you need to ensure the physical components are compatible, safe, and positioned at the correct height for your child’s developmental stage.
Using a vertical surface also offers unique developmental benefits. Writing and playing on a vertical plane helps young children develop shoulder stability, core strength, and bilateral coordination. It encourages larger arm movements and keeps children physically active while they learn, which can improve focus and retention compared to sitting at a desk.
Setting Up Your Wall Whiteboard for Magnetic Play
Before mounting your board, verify that the whiteboard surface is inherently magnetic. Many standard whiteboards are made of non-magnetic melamine or glass, which will not hold magnetic letters. Look for boards labeled as magnetic dry-erase boards, which typically feature a painted steel or porcelain-on-steel surface. If you already have a non-magnetic board, you can apply a magnetic receptive sheet over the surface to make it compatible with magnets.
Products mentioned in this guide
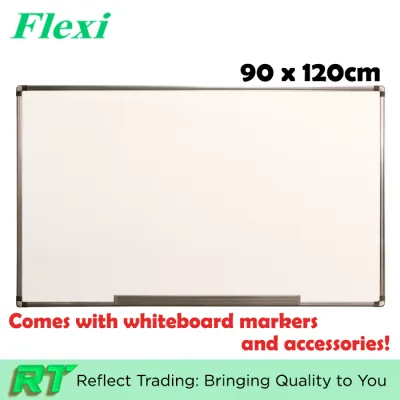
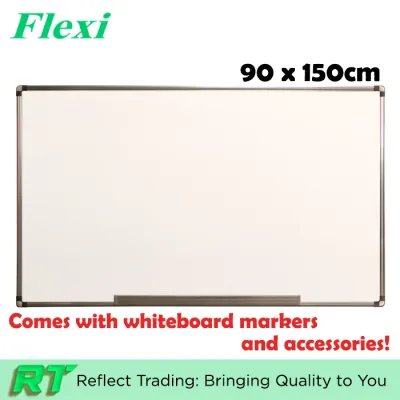
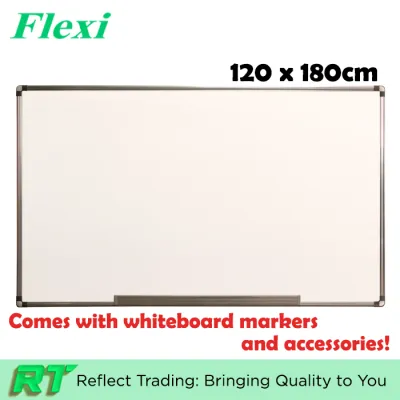
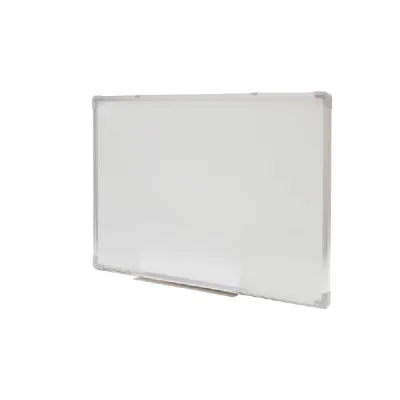
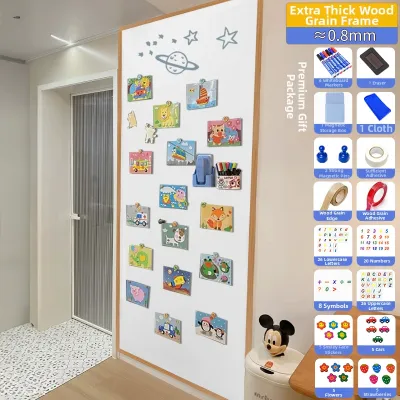
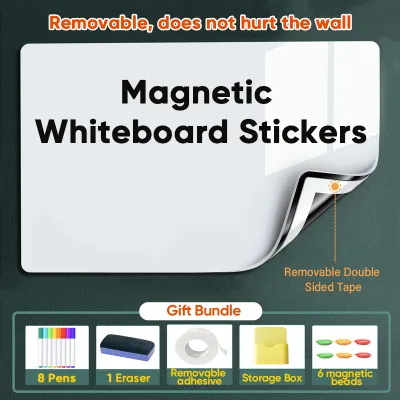
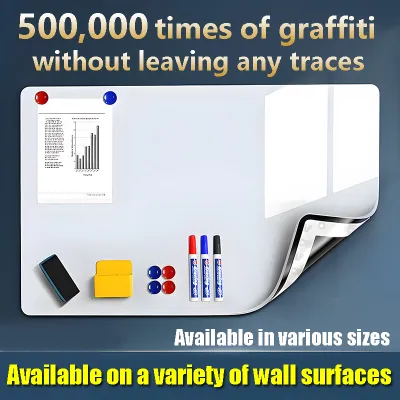
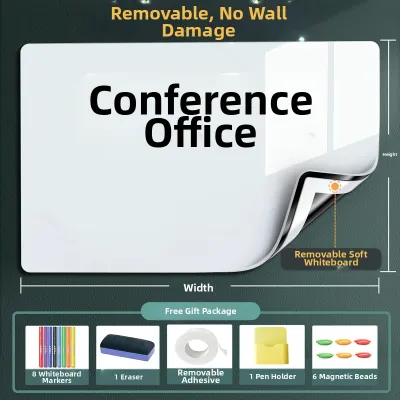
Prices are valid at publication and may change. Please refer to the product page for the latest price.
Mounting height is critical for ensuring the board is accessible and comfortable for a child to use. Position the board so that the lower edge is roughly at your child’s knee height and the center is at chest level. This placement allows toddlers to reach the bottom half while standing or kneeling, and gives older preschoolers full access to the entire surface without needing to stretch or use a step stool.
You must also verify the strength of your magnetic letters against the specific finish of your whiteboard. Some educational letters have small, weak button magnets that easily slide down smooth whiteboard surfaces. Look for letters with full-backed magnetic sheets or stronger, lightweight magnetic backings that stay firmly in place when positioned on a vertical steel surface.
Core Learning Activities Using Whiteboards and Magnetic Letters
Interactive matching games are excellent for early letter recognition. Use a dry-erase marker to draw simple outlines of uppercase letters directly on the board, then ask your child to find the corresponding magnetic letter and place it inside the outline. You can also write uppercase letters on the board and have your child place the lowercase magnetic equivalent next to each one, helping them connect the two forms.

To build vocabulary and phonics skills, draw simple objects on the board, such as a cat, a tree, or a sun. Ask your child to identify the starting sound of the object and place the correct magnetic letter next to your drawing. This visual and physical connection helps solidify letter-sound correspondence in a highly engaging way.
For children ready to build words, use the board to practice simple consonant-vowel-consonant (CVC) words. Write the ending of a word family, such as “-at”, on the board with a dry-erase marker. Have your child place different magnetic letters at the beginning to create new words like “cat”, “hat”, “mat”, and “sat”, reading each new word aloud as they build it.
Older preschoolers can use the setup for interactive storytelling and basic sentence structure. Draw a simple scene on the board, such as a house with a garden, and use magnetic letters to label the different parts. You can also write simple sentence frames on the board, leaving blank spaces for your child to fill in with magnetic letters, which teaches word order and spacing.
Adapting Activities for Different Learning Stages
During the toddler stage, focus entirely on tactile exploration, color sorting, and basic letter familiarity. Avoid any pressure to read or spell. Encourage your toddler to pull the letters off the board, stack them, or sort them into groups by color. This simple play builds hand-eye coordination, fine motor strength, and visual discrimination skills.
As children transition into the early preschool stage, introduce phonetic sounds and name spelling. Start with the letters of their own name, which is highly personal and motivating. Place the magnetic letters of their name on the board in a scrambled order and guide them to arrange the letters correctly, tracing the letters with their fingers as they say each sound.
For older preschoolers preparing for primary school, combine magnetic letter placement with writing practice. Have your child spell a simple word using the magnetic letters, and then use a dry-erase marker to copy or trace the word directly underneath. This transition from physical manipulation to writing helps build the fine motor control and muscle memory needed for independent writing.
Safety, Cleaning, and Storage for Magnetic Learning Tools
Safety is the most important consideration when using magnetic letters with young children. Small magnets can pose severe choking and internal injury hazards if swallowed. Regularly inspect every magnetic letter to ensure the backing magnets are securely attached and show no signs of cracking or peeling. Always supervise play closely, especially with children under three years of age or those who still put objects in their mouths.
To keep the whiteboard surface in optimal condition, clean it regularly to remove marker residue and finger oils, which can make the surface sticky and reduce magnetic grip. Wipe the board with a microfiber cloth and a dedicated whiteboard cleaner or isopropyl alcohol. Avoid using abrasive sponges, scouring pads, or harsh household chemicals, as these can scratch the smooth dry-erase coating and permanently ruin the board.
Organized storage is essential for keeping the play area tidy and ensuring letters do not go missing. Use a clear, compartmentalized plastic organizer or a series of small, labeled bins mounted near the whiteboard. Sorting the letters alphabetically or by color makes it easy for children to find the pieces they need, reducing frustration and keeping them focused on their learning activities.
Frequently Asked Questions (FAQ)
Can I use regular fridge magnets on a wall whiteboard?
Regular fridge magnets can sometimes be used on a wall whiteboard, but their performance depends on the board’s steel thickness. Whiteboards generally have a thinner magnetic receptive layer than refrigerator doors, meaning heavy or weak household magnets may slide down. Lightweight educational magnets with flat, broad backings are specifically designed to stick securely to vertical whiteboards.
How do I remove dry-erase marker stains left by tracing over magnetic letters?
To remove stubborn dry-erase marker stains or ghosting left on the board, scribble directly over the stains with a fresh black dry-erase marker. Let it sit for a few seconds, then wipe it away with a soft cloth. The solvents in the wet ink will dissolve the old, dried residue. For persistent stains, use a microfiber cloth dampened with isopropyl alcohol.
What is the best way to organize magnetic letters for quick access during lessons?
The most effective way to organize magnetic letters is to use a clear, multi-compartment craft storage box where each letter of the alphabet has its own designated slot. Alternatively, you can mount a shallow metal tray or a magnetic strip next to the whiteboard, allowing you to line up the letters in alphabetical order so they are fully visible and easy to grab.

Community discussion
Share your experience or ask a question. Comments are reviewed before publication.