
Selecting your first sewing machine is the most critical decision when assembling your beginner sewing kit. The ideal machine for a novice is not the one with the most complex features, but one that offers intuitive controls, reliable tension management, and a gentle learning curve. By focusing on mechanical simplicity, clear threading guides, and essential stitch patterns, you can avoid early frustration and build your sewing confidence step by step.
Define Your Sewing Goals Before Building Your Kit
Before browsing different models or purchasing a comprehensive sewing kit, you must identify what you actually want to make. A beginner who intends to repair torn hems and adjust waistlines requires a very different setup than someone who dreams of piecing together large-scale quilts or crafting custom garments from scratch. Defining your primary sewing path determines the physical capabilities your machine must possess.
For instance, basic garment construction and simple repairs require a machine with consistent motor strength to handle typical apparel fabrics like linen, cotton, and light knits. If your goals lean toward quilting, you will need a machine with a wider throat space—the physical distance between the needle and the main body of the machine—to accommodate rolled-up layers of fabric and batting. You will also need specialized presser feet, such as a walking foot or a darning foot, which may not come standard with basic entry-level models.
Products mentioned in this guide
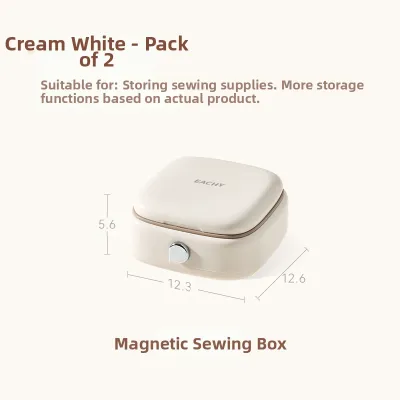
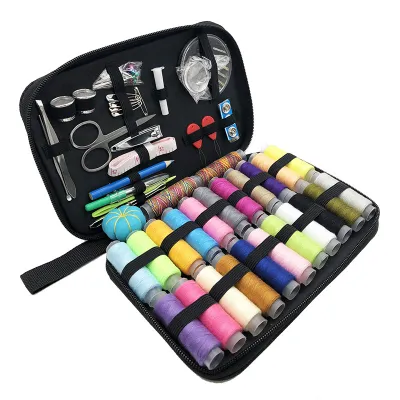
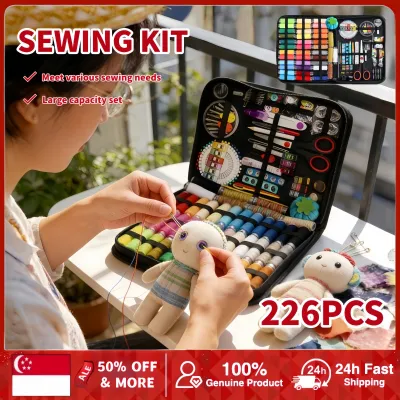
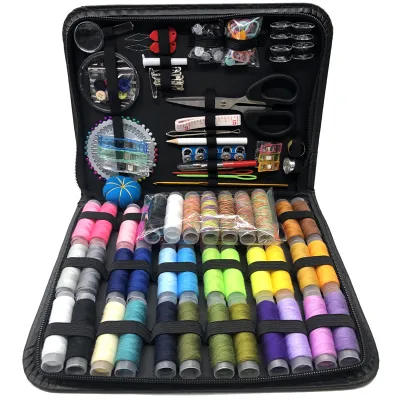
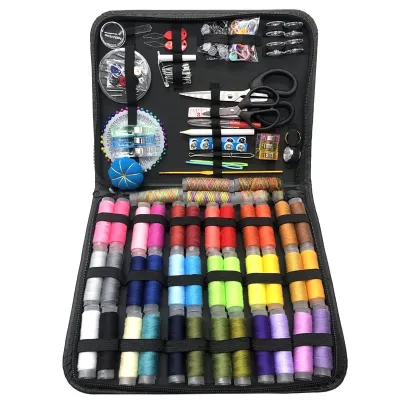
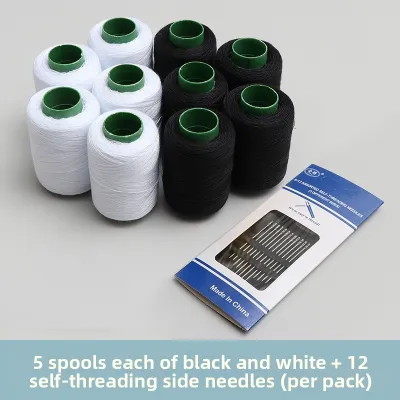
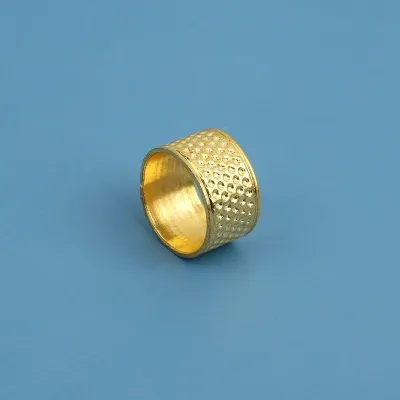
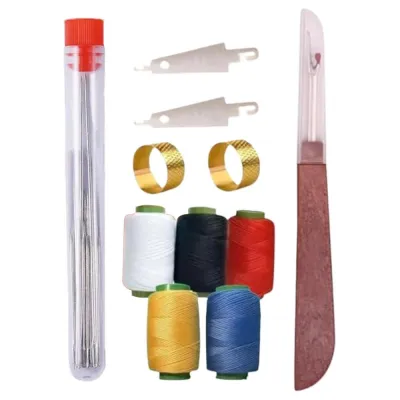
Prices are valid at publication and may change. Please refer to the product page for the latest price.
Conversely, if your focus is on small crafts, home decor, or occasional repairs, a compact and straightforward machine is much more suitable. Understanding these goals early prevents you from overspending on advanced features like hundreds of decorative stitches or high-speed industrial motors that you may never use. This targeted approach allows you to allocate your budget more effectively, ensuring you can invest in high-quality scissors, marking tools, and measuring instruments for your sewing kit rather than ending up with a cluttered workspace filled with redundant accessories.
Essential Sewing Machine Features for Beginners
To build a reliable setup, you must understand the core mechanical and functional specifications that make a sewing machine forgiving and efficient for a complete novice.

Mechanical vs. Computerized Controls
Mechanical sewing machines rely on physical dials, levers, and knobs to select stitches, adjust stitch length, and set thread tension. These machines are highly favored by beginners because they offer a tactile learning experience, helping you understand the direct relationship between physical adjustments and the resulting stitch. They tend to have fewer electronic components, which often translates to long-term durability, straightforward maintenance, and easier, more affordable repairs at local workshops.
Computerized sewing machines, on the other hand, feature digital screens, push-button controls, and microprocessors that automatically adjust tension and needle position based on the selected stitch. These models offer extreme precision, consistent stitch quality, and convenient features like automatic thread cutting, needle-up/needle-down programming, and precise speed-control sliders. For beginners who find manual adjustments intimidating, a computerized machine can significantly shorten the initial learning curve.
When deciding between the two, consider your comfort with technology and your long-term aspirations. If you prefer a hands-on, mechanical feel and want a machine that is easy to maintain independently, a mechanical model is an excellent starting point. If you want a machine that automates tedious tasks, provides error messages when something is wrong, and can grow with you as you tackle complex embroidery or decorative projects, investing in a computerized model is highly beneficial.
Bobbin System and Threading
One of the most common sources of frustration for beginners is the bobbin system, which holds the lower thread. Traditional front-loading bobbin systems require you to remove the accessory tray, open a metal latch, and insert a metal bobbin case into an oscillating hook mechanism. This system can be difficult to monitor, making it hard to see when your bobbin thread is running low, and it is more prone to tangling if not inserted perfectly.
A top drop-in bobbin system is highly recommended for beginners because it features a clear plastic cover directly under the needle plate. You simply drop the bobbin in, follow a simple channel, and slide the cover closed. This design allows you to monitor your remaining thread at a glance and is significantly less prone to jamming, which keeps your projects moving smoothly.
Additionally, look for machines that feature clear, numbered threading paths printed directly on the machine casing. These visual guides walk you through the upper threading process step-by-step, minimizing setup mistakes. An automatic needle threader is another invaluable feature that saves time and prevents eye strain, allowing you to pass the thread through the needle eye with the simple push of a lever.
Stitch Options and Presser Feet
While manufacturers often advertise machines with hundreds of built-in stitches, a beginner only needs a few fundamental options to complete almost any project. The essential stitches are the straight stitch (for standard seams), the zigzag stitch (for finishing raw edges and sewing stretchy fabrics), and a dedicated buttonhole stitch. A machine that offers a 1-step automatic buttonhole is vastly superior to a 4-step manual buttonhole, as it measures the button and sews the entire opening in one smooth operation.
Having hundreds of decorative stitches—such as flowers, stars, or complex geometric patterns—often adds unnecessary cost and complexity to a first machine. Most sewists find that they use the basic straight and zigzag stitches for over 90% of their work. Instead of paying a premium for decorative variety, focus on finding a machine that executes basic stitches with perfect tension and consistency.
The presser feet included with your machine are just as important as the stitches themselves. Ensure your machine comes with a standard zigzag foot, a zipper foot, and a buttonhole foot. A snap-on presser foot system is highly recommended, as it allows you to swap these attachments instantly by pressing a small release lever behind the ankle, rather than using a screwdriver to manually loosen and tighten the entire foot assembly every time you change tasks.
Matching the Machine with Your Basic Sewing Kit Tools
A sewing machine does not work in isolation; it must integrate seamlessly with the tools and materials in your sewing kit. When choosing a machine, verify that it uses standard, flat-shank needles (often designated as 130/705H or HAx1). These needles are universally available in local craft stores and are standard inclusions in any quality sewing kit. Using a machine that requires proprietary needle styles will severely limit your project choices and make finding replacements difficult.
Thread compatibility is another crucial factor. A beginner-friendly machine should handle standard, all-purpose polyester thread (typically 40-weight or 50-weight) without constant tension adjustments or frequent thread breakage. Avoid ultra-sensitive or specialty machines that demand specific, high-end thread brands or exact luxury fibers just to perform basic stitches. Your machine should work reliably with the standard spools found in a typical home sewing kit.
You must also consider the physical footprint of the machine in relation to your home environment. In Singapore, where living spaces can be compact, a machine that is easy to store and set up is essential. Ensure the machine has a comfortable carrying handle and fits neatly on a standard desk or dining table alongside your physical sewing kit tools, such as fabric shears, pins, cutting mats, and measuring tapes. A heavy, bulky machine that is difficult to move can become a barrier to practicing your new hobby.
Additionally, look for a machine that features a removable accessory compartment to reveal a “free arm.” The free arm is a narrow, cylindrical sewing surface that allows you to slip sleeves, cuffs, and trouser legs directly under the needle. This is an indispensable feature for garment construction and basic alterations, which are the primary tasks for anyone utilizing a garment repair sewing kit.
Common Pitfalls to Avoid When Buying Your First Machine
One of the most frequent mistakes beginners make is purchasing extremely cheap, ultra-miniature, or “toy” sewing machines. While these tiny machines are often marketed as portable and beginner-friendly, they lack standard flat-shank needles, proper metal tension discs, and adjustable presser foot pressure. They are highly prone to jam, skip stitches, and break threads, which can quickly discourage a new hobbyist. Furthermore, these machines are rarely repairable, meaning a minor mechanical issue often renders the entire unit useless.
At the other extreme, avoid overbuying advanced modules or specialized features before you have mastered basic sewing techniques. High-end machines with computerized embroidery units, dual-feed systems, or massive quilting extension tables can cost thousands of Singapore dollars (S$). These complex systems have steep learning curves and can overwhelm a beginner, diverting your attention away from mastering straight seams, fabric handling, and basic pattern cutting.
Another critical pitfall is ignoring local after-sales support and warranty terms. In Singapore’s humid climate, mechanical parts can occasionally require professional calibration, oiling, or tension adjustments. Before buying, verify that the brand has an authorized service center in Singapore and offers a valid local warranty. Purchasing a grey-market machine online might save a small amount upfront, but it can leave you without professional repair options if the machine develops a mechanical fault.
Finally, remember to factor in the cost of essential safety, cleaning, and maintenance items. To keep your machine running smoothly, you will need a small lint brush to clean out fiber build-up from the bobbin area and high-quality sewing machine oil for mechanical parts. If these maintenance tools are not included in the manufacturer’s box, you will need to add them to your initial sewing kit purchases to prevent premature wear on your machine’s internal gears.
How to Test and Verify Your Choice Before Purchase
Before finalizing your purchase, take the time to verify that the machine aligns with your expectations and practical needs. Start by checking the list of included accessories against your essential sewing kit checklist. A good beginner package should include a seam ripper, several bobbins, a set of universal needles, and a small screwdriver for removing the needle plate. Knowing exactly what is in the box helps you avoid immediate secondary purchases.
If you are purchasing from a physical retail store or showroom, ask for a demonstration or the opportunity to test the machine yourself. Manually turn the handwheel toward you to feel for smooth, fluid movement without any grinding or resistance. Pay close attention to the noise level of the motor when sewing at different speeds; an excessively loud or rattling machine can make sewing unpleasant, especially if you live in a quiet apartment building.
If you are buying online, download and review the digital version of the user manual beforehand. Ensure that the instructions are written in clear, easy-to-follow language with detailed diagrams showing how to thread the machine, adjust tension, and troubleshoot common issues. A poorly translated or vague manual can make resolving simple setup errors incredibly difficult for a beginner.
Lastly, always verify the retailer’s return policy and unboxing conditions. Inspect the package immediately upon arrival to ensure there are no signs of physical damage, missing parts, or factory defects. Knowing that you can easily exchange a faulty unit within a specified window provides peace of mind and ensures that your journey into sewing starts on a positive, stress-free note.
Frequently Asked Questions (FAQ)
Do I need to buy a separate sewing kit if the machine comes with accessories?
Yes, you will still need a separate sewing kit. While most sewing machines come with machine-specific accessories—such as specialized presser feet, extra bobbins, a small screwdriver, and a basic seam ripper—they do not include the essential hand tools required for fabric preparation and finishing. To complete your projects, you must invest in high-quality fabric shears, straight pins, a flexible measuring tape, tailor’s chalk or fabric markers, and hand-sewing needles for basting, hand-finishing, and detail work.
Can a beginner sewing machine handle heavy fabrics like denim?
Standard beginner sewing machines can handle occasional light denim hemming, provided you use the correct needle and sew at a slow, controlled speed. You must install a dedicated denim or jeans needle (typically size 90/14 or 100/16) and use high-quality polyester thread. However, entry-level domestic machines are not designed for continuous heavy-duty sewing. Frequently sewing multiple layers of thick denim, heavy canvas, or leather can strain a standard motor and misalign the internal plastic gears, which requires a specialized heavy-duty machine with a metal interior frame.
Community discussion
Share your experience or ask a question. Comments are reviewed before publication.