
Punch needle crafting is a highly rewarding, tactile textile art that allows you to create textured rugs, wall hangings, and embroidered patches. Unlike traditional embroidery, which requires complex stitching patterns, punch needle relies on a simple, repetitive pushing motion to loop yarn through a foundation fabric. However, the simplicity of the craft depends heavily on using the correct tools. Selecting the wrong punch needle tool for your first project can lead to skipped loops, frayed yarn, and immense frustration. To ensure a smooth start, you must understand how needle size, handle design, and material compatibility interact to create a successful piece.
Understanding Punch Needle Types and Sizes
Adjustable needles feature a mechanism—such as a sliding gauge, twist-lock, or interchangeable plastic rings—that allows you to alter the length of the exposed metal shaft. This adjustment directly controls the height of the yarn loops on the front of your work, enabling you to create multi-dimensional textures within a single design. Fixed-length needles, on the other hand, feature a solid shaft permanently set into a handle. While they limit you to a single loop height, fixed needles offer superior stability, eliminating the risk of the needle slipping or collapsing mid-punch under heavy pressure.
The diameter of the needle shaft and the size of its eye must match your chosen yarn weight. Fine punch needles, typically measuring 1.0mm to 2.0mm in diameter, are designed for delicate embroidery floss, pearl cotton, or sewing threads. Medium needles, ranging from 2.5mm to 3.5mm, accommodate sport or DK weight yarns. Large or rug punch needles, measuring 4.0mm to 5.5mm or more, are built for bulky wool yarns and thick acrylics. If the needle eye is too small for the yarn, the fiber will jam and fail to form loops; if the eye is too large, the yarn will slip out of the needle constantly.
Products mentioned in this guide
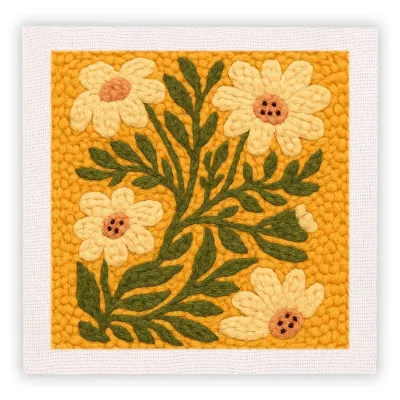
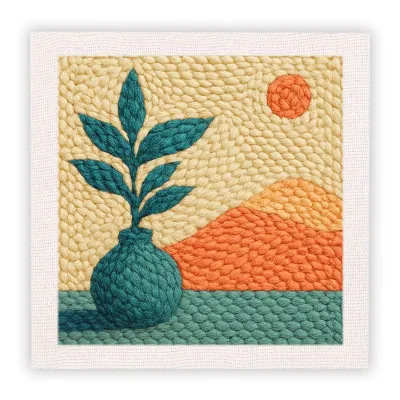
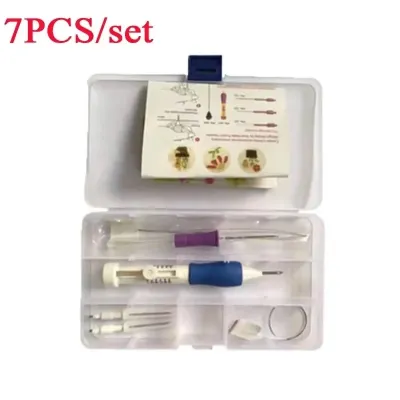
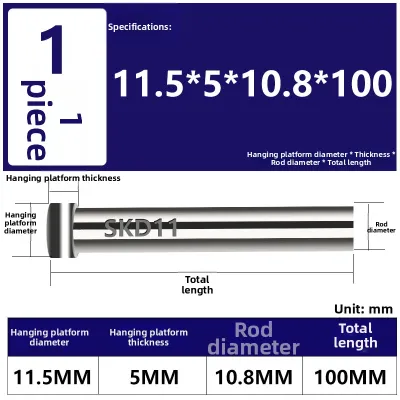
Prices are valid at publication and may change. Please refer to the product page for the latest price.
The physical size of your needle must also align with the weave of your foundation fabric. A thick rug needle forced through a tightly woven cotton fabric will tear the threads, permanently damaging the backing. Conversely, a fine embroidery punch needle used on a loose, open-weave fabric like monk’s cloth will not create enough friction to hold the tiny loops in place, causing your stitches to unravel instantly. Always verify the manufacturer’s recommended fabric pairing before starting your project.
Evaluating Handle Ergonomics and Grip
Because punch needle crafting involves a repetitive, downward pushing motion, the design of the handle plays a critical role in your comfort and endurance. Wooden handles are a classic choice, favored for their warm, natural feel and smooth finish. High-quality wooden tools are often turned from single pieces of hardwood, providing a solid weight that helps drive the needle through dense fabrics. Plastic handles are exceptionally lightweight and budget-friendly, making them highly accessible for beginners, though some crafters find that lightweight plastic requires more physical effort to push through heavy backings. Contoured ergonomic handles, often featuring rubberized grips or molded finger rests, are designed to distribute pressure evenly across your hand.

Your punching style will dictate which handle shape feels most natural. Pen-style handles are thin and held close to the tip, mimicking the grip of a writing instrument. This style is ideal for fine, detailed work using embroidery threads, as it allows for precise control over small curves and tight corners. For larger projects using bulky yarn, a thicker, bulbous handle—often referred to as a palm or pistol grip—is more suitable. This design allows you to wrap your entire hand around the tool, shifting the physical effort from your fingers and wrist to your larger arm and shoulder muscles, which significantly reduces localized fatigue.
A well-balanced tool should not feel top-heavy or bottom-heavy when held in the punching position. If the weight is poorly distributed, your hand will constantly fight to keep the needle perpendicular to the fabric, leading to rapid wrist strain. When evaluating a tool, consider how its physical weight aligns with the scale of your project; a heavy, solid-metal adjustable tool may be perfect for a small, quick coaster but could prove exhausting to use for a large wall hanging.
Checking Yarn and Fabric Compatibility
The secret to successful punch needle crafting lies in the effortless flow of yarn through the tool. The yarn must slide completely freely through the hollow metal shaft and out of the needle eye. Before purchasing, examine the design of the threading path. Some tools feature a fully enclosed tube that requires a long wire threader to pull the yarn through, while others feature an open-slot design where the yarn is simply pressed into a groove along the side of the handle. Regardless of the style, the internal surfaces must be perfectly smooth; any microscopic burrs, rough metal seams, or sharp plastic edges inside the shaft will snag the yarn fibers, disrupting your tension and causing the loops to fail.
Matching your tool to the correct foundation fabric is the single most important factor in preventing skipped stitches. Monk’s cloth, a 100% cotton fabric woven with a distinct double-thread grid (usually 12 to 14 holes per inch), is the industry standard for medium and large punch needles because its flexible weave grips the yarn loops securely without tearing. For fine embroidery punch needles, a tightly woven cotton fabric, often sold as weaver’s cloth, provides the necessary density to hold thin threads. Primitive linen is another excellent, highly durable option for traditional rug hooking and punching, offering a rustic texture and exceptional strength.
You can easily diagnose compatibility issues during a quick test run on a scrap piece of fabric. If you observe the yarn fraying or shredding as you punch, the needle eye is likely too small or has a sharp edge. If the needle leaves large, permanent holes in the fabric that do not close up when you wiggle the fibers, the needle is too thick for that specific weave. If your loops immediately pull out of the fabric as you lift the needle, the fabric weave is either too loose to grip the yarn, or your yarn is catching on something inside the needle shaft.
Essential Accessories and Starter Kit Components
A punch needle tool cannot function without a proper frame to hold the foundation fabric. Unlike standard hand embroidery, where loose fabric is acceptable, punch needle requires the backing fabric to be stretched drum-tight. Standard wooden embroidery hoops often fail under the constant downward pressure of the needle, allowing the fabric to sag and slip. To prevent this, look for non-slip plastic hoops featuring interlocking ridges, or invest in a dedicated gripper strip frame or carpet tack frame. These specialized frames use tiny, angled teeth to hold the fabric securely in place without slipping.
Many beginners opt for starter kits, which bundle the punch needle tool with essential accessories. A high-quality bundle should include at least two long wire threaders, as these thin wires are easily misplaced or bent. Useful additions include sharp, curved snipping scissors for trimming yarn tails close to the fabric surface, and water-soluble or heat-erasable fabric markers for transferring your designs onto the backing. Avoid kits that substitute essential tools with low-quality plastic alternatives that bend or break during their first use.
Deciding between a standalone tool and a complete kit depends on your existing craft inventory. If you already own embroidery hoops, fabric scissors, and a collection of yarn, purchasing a high-quality standalone needle is often the most cost-effective route, allowing you to allocate your budget toward a premium tool. However, if you are starting entirely from scratch, a curated beginner kit provides the exact material combinations needed for a successful first project, saving you the trial and error of sourcing compatible fabrics and yarns individually.
Building Your Shortlist: What to Verify Before Buying
When browsing online craft stores or local suppliers, read the product specifications carefully. Look for explicit details regarding the maximum and minimum yarn weights the tool can handle. Reliable manufacturers will specify compatibility using standard yarn weight numbering (such as Size 4 Medium or Size 6 Super Bulky) or precise millimeter measurements for the needle diameter. Avoid products with vague descriptions that simply claim to work with “all yarns,” as no single needle can accommodate every fiber thickness.
Customer reviews on online marketplaces can reveal critical mechanical issues that are not apparent from product photos. Pay close attention to recurring complaints about the needle’s locking mechanism; on adjustable tools, a weak twist-lock or loose screw can cause the needle to collapse back into the handle mid-punch. Look for feedback regarding the durability of the metal tip, noting if users report issues with rust, bending, or the needle tip detaching from the handle under pressure.
A high-quality punch needle tool is an investment that should last through many projects. Before making your final selection, confirm whether the manufacturer offers replacement parts. Check if you can easily purchase extra threading wires, as these are consumable items that naturally wear out over time. Additionally, verify if the brand sells individual replacement needle tips in different sizes, which allows you to expand your tool’s capabilities without needing to buy an entirely new handle system in the future.
Frequently Asked Questions (FAQ)
Can I use a regular sewing needle instead of a punch needle tool?
No, a regular sewing needle cannot replicate the unique looping mechanism of a punch needle. A punch needle tool is specifically designed as a hollow tube with an eye at the very tip. This hollow construction allows the yarn to feed continuously from the spool, through the handle, and out of the needle tip. When you push the tool through the fabric, it carries a loop of yarn to the back; when you pull the needle out, the yarn remains behind, held in place by the tension of the fabric fibers. A solid sewing needle requires you to pull the entire length of thread through the fabric with each stitch, making it impossible to form the continuous, uniform pile loops characteristic of punch needle art.
Do I need an adjustable punch needle for my first project?
While an adjustable punch needle offers excellent versatility, it is not strictly necessary for your first project. Fixed-length needles are highly recommended for absolute beginners because they eliminate a major variable: maintaining consistent loop height. With a fixed needle, you can focus entirely on mastering your punching technique, hand positioning, and movement speed without worrying about the needle slipping or changing lengths. Once you are comfortable with the basic mechanics of the craft and wish to experiment with advanced textures, dimensional shading, or sculpted pile heights, upgrading to an adjustable tool is a logical next step.
How do I clean and maintain my punch needle tool?
Proper maintenance ensures your punch needle glides smoothly through fabric and prevents damage to your yarn. After every crafting session, use a thin cleaning wire or a soft-bristled brush to clear out any accumulated yarn lint, dust, or loose fibers from the hollow shaft and the eye of the needle. Store your tool in a dry, dust-free environment, preferably in a protective case or pouch, to prevent the metal tip from becoming scratched or nicked. If you notice the metal tip dragging or catching on the fabric, wipe it gently with a soft microfiber cloth; avoid using harsh chemical cleaners or water, which can promote rust on carbon steel needles.
Community discussion
Share your experience or ask a question. Comments are reviewed before publication.