
Embarking on your embroidery journey begins with a single, crucial decision: choosing the right tools. While it is tempting to grab any standard sewing kit off the shelf, embroidery is a distinct craft that demands specialized equipment. A beginner embroidery kit must provide the precise tools required to manage fabric tension, accommodate thick, multi-strand threads, and execute delicate decorative stitches without damaging your base material. Selecting a kit with the correct specifications ensures that your initial learning experience is smooth, satisfying, and free from the unnecessary frustration caused by inadequate tools.
Understanding the Difference: Basic Sewing Kits vs. Embroidery Kits
A common mistake for beginners is assuming that a standard household mending kit can double as an embroidery starter set. Standard sewing kits are designed for utilitarian repairs, such as sewing on buttons, fixing torn hems, or patching seams. Consequently, they contain thin, highly tensioned polyester threads, small hand-sewing needles with tiny eyes, and basic utility scissors. These tools are optimized for structural strength and invisibility within a seam, rather than decorative expression.
In contrast, embroidery requires tools that allow you to build texture, color, and dimension on the surface of a fabric. Standard sewing needles are often too thin or have eyes too small to accommodate embroidery floss, forcing you to struggle when threading. If you attempt to use a thick standard needle, it can leave permanent, unsightly holes in delicate embroidery fabrics like linen or cotton. Furthermore, standard sewing thread lacks the luster, thickness, and strand-separability of embroidery floss, resulting in flat, sparse stitches that fail to cover the fabric properly. A dedicated embroidery kit is curated specifically to support decorative stitching, providing the structural foundation needed to master various techniques.
Products mentioned in this guide
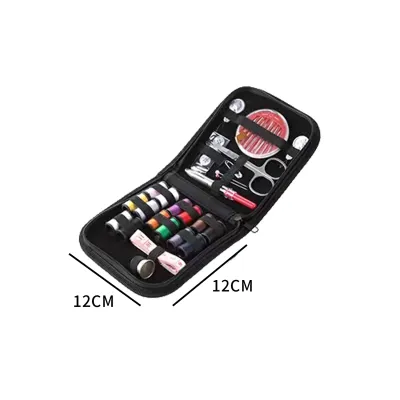
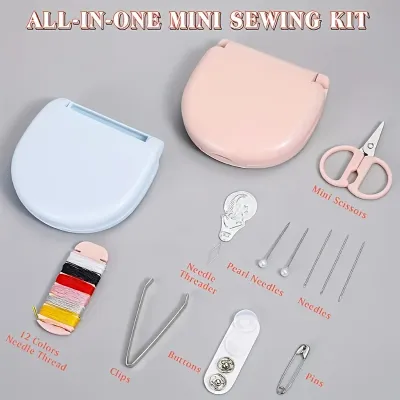
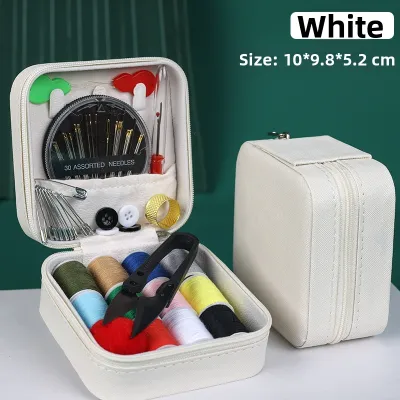
![🧵[3-In-1 Portable]Magnetic Needle Thread Box DIY Portable Magnetic Sewing Box Set Anti-Lost Home Sewing Accessories Sewing Hand Embroidery Tool](https://img.lazcdn.com/g/p/5595ee8b7863eb63bcf609b3adfbdeb1.jpg_400x400q80.jpg_.webp)
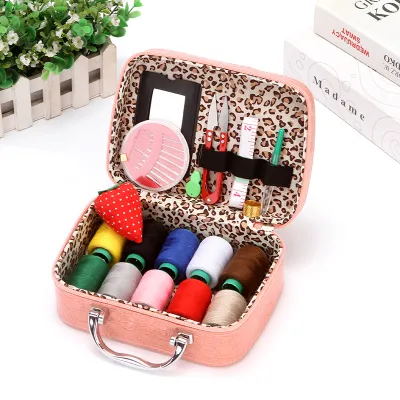
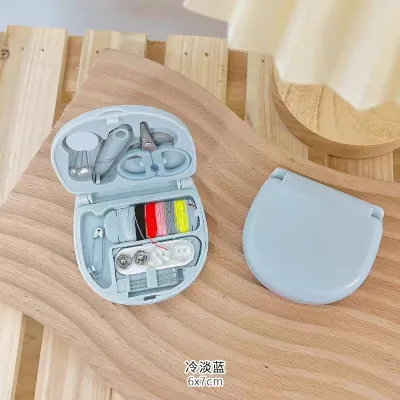
Prices are valid at publication and may change. Please refer to the product page for the latest price.
Essential Tools to Prioritize in an Embroidery Kit
When evaluating a beginner embroidery kit, it is easy to get overwhelmed by the sheer variety of options available online and in local craft stores. Many kits attempt to attract buyers by packing dozens of low-quality items into a single box. However, a successful start in needlework relies on the quality and correct specifications of a few core tools rather than an abundance of filler accessories.

Before making a purchase, you should systematically verify the contents of the kit. The primary components to prioritize are specialized embroidery needles, a reliable tension-holding hoop, high-quality cotton threads, and precise cutting tools. Ensuring these four elements meet basic craft standards will directly impact the neatness of your stitches and the overall enjoyment of your new hobby.
Needles and Embroidery Hoops
The needle is the direct link between your hand and the fabric, making its design critical to your success. In an embroidery kit, look specifically for crewel needles, which are also commonly referred to as embroidery needles. These needles feature a sharp point to easily pierce closely woven fabrics and a medium-to-long eye designed to accommodate multiple strands of embroidery floss. A high-quality kit should offer a variety pack of crewel needles, typically ranging from size 5 to size 10. Having multiple sizes allows you to experiment with different thread thicknesses, from a delicate single strand for fine details to a full six strands for bold, textured outlines.
Equally important is the embroidery hoop, which acts as the frame that keeps your fabric taut while you work. Look for hoops made from sturdy, smooth materials such as polished bamboo, hardwood, or high-quality molded plastic. The inner ring must fit snugly inside the outer ring without any visible gaps, as uneven contact will cause the fabric to slip and sag. Pay close attention to the tightening mechanism: a reliable hoop features a heavy-duty metal screw that can be tightened securely by hand or with a small screwdriver. Avoid flimsy plastic hoops with weak, shallow-threaded screws that strip easily under pressure, as they will fail to maintain the drum-like tension required for even, puck-free stitching. For your first projects, a medium-sized hoop measuring approximately 15 cm to 20 cm (6 to 8 inches) is highly recommended, as it fits comfortably in most hands and accommodates a wide range of beginner patterns.
Threads, Scissors, and Accessories
The visual appeal of your embroidery depends heavily on the quality of the thread included in your kit. Prioritize kits that feature 100% cotton embroidery floss, which typically consists of six individual strands twisted together. This multi-strand construction is essential because it allows you to separate the thread to achieve different line weights and textures. Ensure the thread is described as colorfast, meaning the dyes will not bleed or run when the finished piece is washed or exposed to moisture. You can verify this at home by wetting a small thread sample and pressing it against a white scrap fabric; if color transfers, the thread is of low quality. Avoid kits that supply unlabeled synthetic thread blends, as these tend to fray, knot easily, and lack the soft, satin-like sheen of high-quality cotton.
Cutting tools in a beginner kit should also be highly specialized. Standard household scissors are too bulky and dull for the precise snips required in embroidery. Your kit should include small, sharp embroidery snips or classic stork scissors with fine, pointed blades. These allow you to cut threads extremely close to the fabric surface without accidentally nicking your stitches.
Finally, look for a few practical accessories that genuinely improve the crafting experience. A sturdy metal needle threader is incredibly helpful for pulling thick floss through narrow needle eyes. A water-soluble fabric pen is another invaluable tool, allowing you to trace patterns directly onto your fabric and wash the lines away completely with cold water once your stitching is complete. A simple pincushion or a magnetic needle minder will also keep your needles secure and prevent them from getting lost in your workspace.
Evaluating Storage, Compartments, and Portability
An often-overlooked aspect of choosing an embroidery kit is the design of the storage box itself. Embroidery involves many small, sharp, and easily misplaced items, making organization crucial for both safety and convenience. A well-designed storage container should feature dedicated compartments that keep your tools separated and protected.
Look for a box with secure slots or a magnetic strip specifically for needles, preventing them from rolling loose and causing accidental injuries. Threads should have their own designated sections, ideally wound onto plastic or cardboard bobbins, to prevent them from tangling into an unusable knot. If the kit includes multiple colors of floss, separate compartments will help you organize them by shade, saving you time during color selection.
The material of the outer case also plays a significant role in protecting your investment. Hard plastic cases with secure latches offer excellent protection against physical damage, preventing your embroidery hoops from warping under weight and keeping your sharp scissors from puncturing other items. Sturdy canvas rolls or zippered pouches are highly portable and lightweight, making them excellent for stitching on the go, though they offer less structural protection. If you live in a humid climate like Singapore, wooden or bamboo storage boxes are highly aesthetic but require proper ventilation; storing your wooden hoops and cotton threads with a small silica gel pack inside a sealed container can prevent moisture damage and mold.
When deciding on the size of your storage box, balance portability with future capacity. While a compact, pocket-sized kit is convenient for travel, your collection of threads, fabric scraps, and patterns will inevitably grow as you master new stitches. Choosing a medium-sized box with adjustable dividers allows you to expand your toolkit without needing to purchase an entirely new storage system immediately.
Red Flags: What to Avoid in Beginner Kits
As you shop for your first embroidery kit, being able to identify low-quality products will save you both money and frustration. Many mass-produced kits rely on misleading marketing to attract beginners who may not yet know how to evaluate needlework tools.
The most common trap is the “everything included” illusion. These kits often boast piece counts in the hundreds, but a closer inspection reveals that the vast majority of the items are cheap, filler accessories—such as dozens of flimsy plastic safety pins, low-grade plastic needle threaders that break on the first pull, and extremely short, pre-cut thread lengths that limit your project size. A high-quality kit focuses on the durability of its core tools rather than inflating its piece count with unusable plastic waste.
Another major red flag is poor hoop construction. Avoid kits that include hoops with rough, unsanded wooden edges, as these splinters can snag and ruin delicate embroidery fabrics. If a hoop feels light, flexible, or warped when you squeeze it, it will not hold fabric tension. Without consistent tension, your fabric will sag every time the needle passes through, leading to even stitches and puckered fabric once the hoop is removed.
Lastly, steer clear of kits with completely unlabeled materials. If the packaging does not specify the fiber content of the thread, the sizes of the needles, or the type of fabric provided, it is highly likely the manufacturer has used cheap, synthetic materials. Unlabeled threads are prone to severe tangling and color bleeding, which can ruin hours of hard work during the final washing phase.
Your Step-by-Step Selection Checklist
To make an informed purchase, follow this practical step-by-step checklist when comparing embroidery kits online or at your local craft store:
- Step 1: Define your immediate project goals. Decide whether you want to focus on learning basic line stitches, creating dense floral patterns, or practicing monogramming. This will help you determine the ideal hoop size and the specific color palette of threads you will need.
- Step 2: Verify the technical specifications. Read the product description carefully to ensure the kit includes "crewel" or "embroidery" needles rather than tapestry or standard sewing needles. Confirm that the thread is 100% cotton and six-stranded, and that the hoop features a metal adjustment screw.
- Step 3: Analyze user feedback for structural quality. Look past the overall star rating and search reviews specifically for keywords like "tension," "thread quality," "sharpness," and "bleeding." If multiple users complain that the hoop slips or the scissors are too dull to cut thread cleanly, look for an alternative kit.
- Step 4: Calculate the genuine value. Compare the price of the kit against the cost of purchasing the core items individually. In many cases, buying a high-quality hoop, a pack of reputable crewel needles, and a few select skeins of branded cotton floss individually costs around S$15 to S$25, which may be comparable to a mid-range kit but offers significantly better tool performance and longevity.
Frequently Asked Questions (FAQ)
Can I use regular sewing thread for embroidery?
Regular sewing thread is not recommended for embroidery because it is too thin and tightly spun. It is designed to hold seams together invisibly rather than stand out decoratively. Embroidery floss is thicker and consists of six easily separable strands, allowing you to adjust the thickness of your lines. Using regular sewing thread will result in flat, sparse designs that lack texture, requiring an excessive number of stitches to fill even a small area.
How do I maintain the tension of my embroidery hoop?
To maintain proper tension, place your fabric over the inner ring, press the outer ring down, and tighten the screw slightly. Gently pull the edges of the fabric outward until it is taut like a drum, then tighten the screw fully. To prevent the hoop from warping and to keep the fabric from permanently stretching or developing stubborn creases, always remove your fabric from the hoop when you are not actively stitching.
What should I add to my kit after mastering basic stitches?
Once you master the basics, consider upgrading your kit with specialized needles, such as milliner needles for bullion knots or chenille needles for working with thick wool threads. You can also add a laying tool to help keep satin stitches perfectly flat and aligned. Instead of buying another beginner kit, expand your color palette by purchasing individual skeins of high-quality cotton floss as needed for specific projects, and invest in plastic bobbins to keep your growing thread collection organized.
Community discussion
Share your experience or ask a question. Comments are reviewed before publication.