
Starting your journey into needlework can be incredibly rewarding, but walking into a craft store or browsing online marketplaces can quickly lead to overwhelm. You will find aisles filled with various threads, fabrics, hoops, and tools, leaving you wondering what is truly necessary to begin. Choosing your first embroidery kit requires looking for a complete package containing a sturdy 4-to-6-inch adjustable hoop, high-quality non-stretch fabric (like cotton or linen), stranded cotton threads, sharp crewel needles, and comprehensive step-by-step instructions. While it is tempting to grab a standard household sewing kit and try to make do, specialized embroidery tools are essential to prevent frustrating mistakes, uneven tension, and broken threads.
By selecting a dedicated starter kit rather than assembling loose supplies, you ensure that all components are pre-matched for compatibility. The fabric weight will suit the thread thickness, and the needles will feature eyes large enough to accommodate multiple strands of floss. Investing in a well-curated kit allows you to focus entirely on learning the fundamental stitches without worrying about material mismatches. Here is how to evaluate the components of a starter kit to ensure your first stitching experience is smooth, successful, and deeply satisfying.
Why an Embroidery Kit Differs from a Standard Sewing Kit
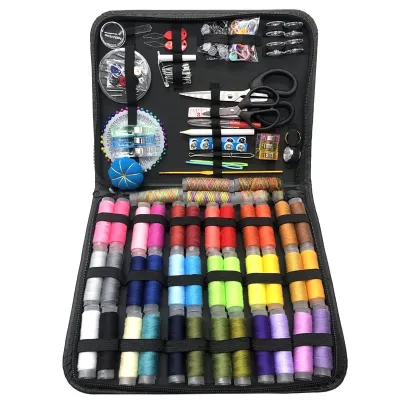
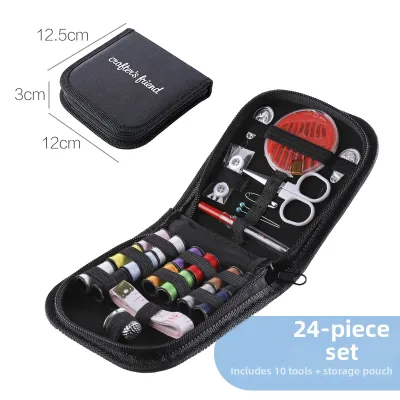
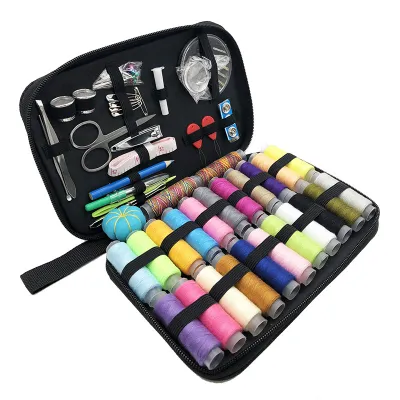
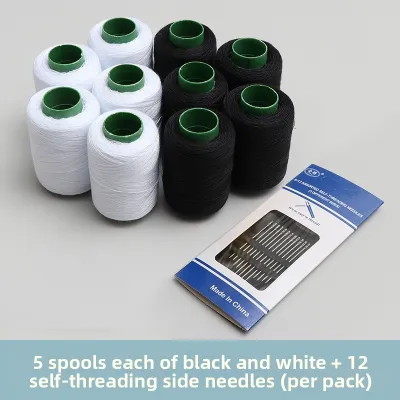
It is common for beginners to assume that any basic sewing kit can be used for decorative embroidery. After all, both crafts involve needles, thread, and fabric. However, a standard sewing kit is designed for utility, garment construction, and quick repairs. It typically contains fine, straight needles, thin polyester thread designed to blend into seams, safety pins, and a soft tape measure. These tools are engineered to join pieces of fabric together invisibly and securely, rather than to create raised, decorative patterns on the surface of a textile.
Products mentioned in this guide
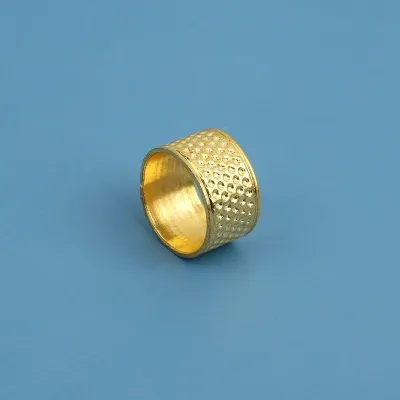
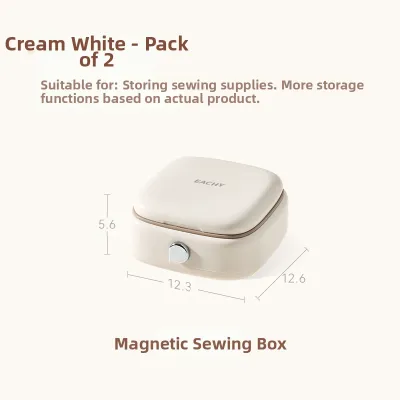
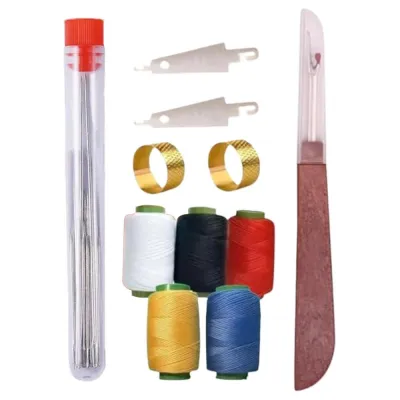
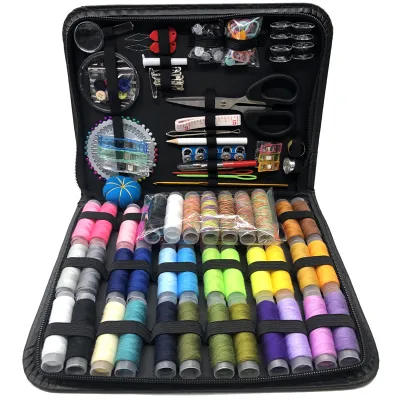
Prices are valid at publication and may change. Please refer to the product page for the latest price.
In contrast, an embroidery kit is curated specifically for surface embellishment and artistic expression. Instead of thin polyester thread, embroidery utilizes stranded cotton floss, which can be split into different thicknesses to create varied textures and line weights. The needles in these kits feature elongated eyes to hold multiple strands of floss simultaneously, along with sharp tips designed to pierce woven ground fabrics cleanly. Furthermore, embroidery requires specialized tension tools to keep the fabric perfectly flat while you stitch.
Attempting to embroider using the tools from a basic household sewing kit often leads to immediate frustration. Thin sewing thread lacks the volume to cover fabric surfaces, resulting in sparse, flat, and lifeless lines. Standard sewing needles have tiny eyes that will shred thick embroidery floss if you try to force it through. Most importantly, stitching without a hoop causes the fabric to pucker and warp under the tension of your stitches, turning what should be a relaxing craft into a stressful battle with distorted fabric.
Essential Components to Look for in a Beginner Embroidery Kit
When evaluating a starter kit, you must look closely at the individual physical components included in the package. A high-quality kit should feel substantial and contain tools that you can reuse on future projects. Understanding what makes each component functional will help you spot premium kits and avoid cheap, frustrating alternatives.

Embroidery Hoops and Frames
The embroidery hoop is your primary structural tool, responsible for holding the fabric taut while you work. For beginners, a hoop measuring between 4 and 6 inches (approximately 10 to 15 centimeters) in diameter is the most manageable starting point. This size fits comfortably in one hand, does not require significant physical strength to hold for long periods, and keeps the stitching area small enough to feel achievable.
Hoops are generally made from wood, bamboo, or plastic, each offering distinct characteristics:
- Beechwood Hoops: These are premium wooden hoops with a smooth, sanded finish. They offer excellent natural friction to grip fabric securely without slipping.
- Bamboo Hoops: Highly common in budget-friendly kits, bamboo is lightweight and affordable, though you should check for splinters or uneven surfaces along the inner ring.
- Plastic Hoops: These are durable and easy to clean, but they can be slippery unless they feature a molded tongue-and-groove ridge along the interlocking rims to lock the fabric in place.
Regardless of the material, pay close attention to the tension screw mechanism at the top of the hoop. A high-quality hoop will feature a sturdy metal screw (usually brass or steel) with a clean slot that allows you to use a screwdriver for extra tightening. Avoid hoops with flimsy, thin plastic screws that warp or strip when you attempt to tighten them, as they will fail to maintain the necessary “drum-tight” fabric tension.
Needles and Threads
The needle and thread are the direct conduits of your creativity, making their quality paramount to your stitching experience. A beginner kit must include crewel needles, which are specifically designed for hand embroidery. Crewel needles feature medium-length shafts, sharp points to pierce woven fabric easily, and elongated eyes that accommodate multiple strands of cotton floss without friction.
Ensure the kit includes a variety of needle sizes, typically ranging from size 3 (thickest) to size 9 (thinnest). Having multiple sizes allows you to match your needle to the number of thread strands you are using, preventing large holes in your fabric when using thin threads, or thread shredding when using thick threads.
For thread, the gold standard is six-strand mercerized cotton floss. Mercerization is a chemical treatment that increases the thread’s luster, tensile strength, and dye affinity. High-quality floss should feel smooth, display a subtle sheen, and split easily into individual strands without tangling.
In tropical, humid climates like Singapore, thread quality is especially critical. Lower-grade synthetic threads or poorly dyed cotton can bleed color when exposed to ambient moisture or when washed, potentially ruining hours of hard work. Always look for kits that utilize reputable, colorfast thread brands to guarantee your colors stay exactly where they belong.
Fabric and Transfer Methods
The base fabric serves as the canvas for your stitches. For your first project, look for non-stretch, medium-weight, tightly woven natural fabrics. Cotton calico, linen, and light cotton canvas are highly forgiving materials that support heavy stitch patterns without sagging, tearing, or puckering.
Avoid stretchy materials like jersey, or overly loose weaves like burlap, which require advanced tension control and can easily distort your design. A good test of fabric quality in a kit is its opacity; if you can see your hand clearly through the fabric, it is likely too thin to support embroidery stitches without puckering.
How the pattern is transferred onto this fabric also plays a massive role in your success. Beginner kits generally use one of three transfer methods:
- Pre-printed Water-Soluble Ink: The design is printed directly onto the fabric using ink that dissolves completely when exposed to cold water. This is the most beginner-friendly option as it eliminates transfer errors, but you must keep the fabric dry while stitching.
- Permanent Print: The design is printed permanently on the fabric. While convenient, this method requires your stitches to cover the printed lines perfectly, leaving very little room for mistakes or minor design adjustments.
- Traceable Patterns: The kit includes blank fabric and a paper template. You must transfer the design yourself using a light source (like a window or a tablet screen) and a water-soluble transfer pen. This method takes more preparation but teaches you a valuable skill for future independent projects.
Features That Make a Kit Truly Beginner-Friendly
Beyond the basic physical tools, the overall user experience of an embroidery kit depends heavily on its instructional design and helper tools. A kit can contain beautiful threads, but if you cannot understand how to execute the stitches, the project will quickly find its way into a drawer.
Instruction Quality is the single most important educational feature of a starter kit. Avoid kits that only provide a finished picture and a basic stitch layout. Instead, look for kits that include detailed, step-by-step booklets featuring clear illustrations, diagrams, or high-resolution photographs of each individual stitch. A visual stitch dictionary explaining how to execute a backstitch, satin stitch, or French knot is invaluable for a novice.
Thread Organization saves hours of preparation and prevents confusing mistakes. Premium kits feature pre-sorted thread organizers—usually cardboard or plastic cards with labeled holes holding each color. These labels should correspond directly to the color codes in your instruction manual. Kits that provide loose, tangled skeins of thread force you to guess which shade of blue matches the sky in the pattern, leading to mistakes and frustration.
Finishing Tools round out a complete package. While you can use household scissors, a dedicated kit should ideally include a small pair of sharp embroidery snips with fine, pointed tips. These allow you to cut threads close to the fabric surface without damaging your stitches. A wire needle threader is another essential helper tool, making it simple to thread multiple strands of cotton floss through the needle eye, especially for those with limited hand dexterity or vision.
Digital Support bridges the gap between static print and real-time execution. Many modern, high-quality kits now include QR codes that link directly to video tutorials. Watching a professional stitcher execute a complex stitch in real-time, showing exactly how to wrap the thread and pull the needle, is incredibly helpful for visual learners who find written diagrams difficult to follow.
What to Avoid When Buying Your First Kit
To ensure your first embroidery experience is positive, you must learn to identify red flags and low-quality materials. Many cheap kits flooded onto online marketplaces look appealing in photos but are poorly manufactured and frustrating to use.
First, avoid overly complex designs. It is easy to fall in love with intricate, highly detailed patterns featuring elaborate landscapes or heavy realistic shading. However, these designs often require advanced techniques like stumpwork (three-dimensional embroidery), goldwork (using metallic wires), or massive areas of dense satin stitch. These techniques require precise, consistent tension that takes months of practice to master. Instead, choose simple, open designs featuring a variety of line-based stitches to build your muscle memory.
Second, steer clear of flimsy hardware. Many budget kits cut costs by including thin, flexible plastic hoops. These hoops bend easily under hand pressure, fail to grip the fabric edges evenly, and allow the fabric to sag constantly while you stitch. A sagging fabric ruins stitch consistency and makes it nearly impossible to maintain even tension.
Third, watch out for missing finishing steps. Some low-cost kits provide no guidance or materials for how to finish the back of your hoop once the stitching is complete. A truly beginner-friendly kit should explain how to gather the excess fabric on the reverse side and secure it, or include a pre-cut piece of backing felt to cover the messy underside of your work, allowing you to hang your finished piece immediately.
Finally, avoid unbranded, low-quality synthetic threads. These threads are often overly shiny, rough to the touch, and highly prone to static electricity. They tangle and knot easily while you stitch, fray quickly as they pass through the fabric, and are highly susceptible to color bleeding if they come into contact with water.
Step-by-Step: How to Evaluate and Select Your Kit
When you are ready to make your purchase, follow this systematic evaluation process to ensure you select a kit that matches your needs and budget.
Step 1: Define Your Primary Goal
Determine whether your primary objective is to learn a wide variety of basic embroidery stitches or to create a specific decorative piece for your home. If you want to learn the craft systematically, look for a “stitch sampler” kit, which features rows of different stitches designed specifically for practice. If you want a decorative finished product, choose a simple floral or geometric pattern that uses three to five basic stitch types.
Step 2: Audit the Component List
Read the product description carefully and cross-reference it against the essential requirements. Ensure the kit explicitly lists a wooden or high-quality plastic hoop, stranded cotton floss, crewel needles, and pre-printed fabric. If the listing is vague about what is included, or if it does not mention instructions or needles, move on to a different option.
Step 3: Analyze User Reviews
When shopping on ecommerce platforms, look past the overall star rating and read the detailed user reviews. Search specifically for feedback regarding thread quality, hoop durability, and instruction clarity. Look for comments like “the instructions were easy to follow” or warnings like “the thread kept breaking” or “the hoop wouldn’t tighten.” These real-world experiences are highly accurate indicators of kit quality.
Step 4: Assess Long-Term Support and Refills
Check if the kit uses standard thread color numbering (such as DMC color codes) or if the brand offers replacement materials. If you run out of a specific color due to a mistake, or if you lose your needle, knowing you can easily source matching materials from a local Singapore craft store or online retailer makes the hobby much more sustainable in the long run.
Frequently Asked Questions (FAQ)
Can I use regular sewing thread for embroidery?
No, regular sewing thread is not suitable for hand embroidery. Sewing thread is very thin, highly twisted, and designed to slide through fabric seams smoothly without friction. It lacks the volume, soft texture, and luster of stranded cotton floss. If you attempt to use regular sewing thread for embroidery, you will find it incredibly difficult to cover the fabric surface, and your stitches will look thin, flat, and sparse. Furthermore, sewing thread cannot be split into variable thicknesses, preventing you from creating the textured line weights that give hand embroidery its unique, tactile character.
Do I need to wash the fabric before starting my embroidery kit?
As a general rule, do not wash the fabric of a pre-printed embroidery kit before you start stitching. Many modern beginner kits use water-soluble ink to print the pattern lines directly onto the fabric. If you wash the fabric beforehand, you will erase the entire design before you even have a chance to thread your needle. Only wash your fabric after all the stitching is completely finished, and only if the kit instructions explicitly state that the ink used is water-soluble. If your kit uses a blank fabric with a separate transfer paper, you may pre-wash the fabric to prevent future shrinkage, but for the vast majority of pre-printed starter kits, keep the fabric completely dry until the project is finished.
Community discussion
Share your experience or ask a question. Comments are reviewed before publication.