
Embroidery and needlework crafts offer a wonderful way to slow down, focus your mind, and create something beautiful with your hands. For beginners looking to explore this hobby, a complete cross stitching kit is the most convenient entry point. These kits bundle all the necessary materials into a single package, saving you the hassle of sourcing individual items. However, not all kits are created equal. To ensure a smooth and frustrating-free introduction to the craft, a beginner should look for a kit that features a manageable design size, clear pattern instructions, pre-sorted threads, and high-quality 14-count Aida fabric. By verifying these essential components before making a purchase, you can set yourself up for a successful and relaxing stitching experience.
In Singapore, where indoor crafting is a popular way to unwind in air-conditioned comfort, finding the right kit can make the difference between a lifelong hobby and a discarded project. Whether you are browsing a local craft shop or scrolling through online marketplaces, understanding what goes into a high-quality kit will help you spend your money wisely. A good beginner kit typically ranges from S$10 to S$30, making it an affordable way to try out a new creative outlet. By focusing on clear quality indicators and avoiding overly complex patterns, you can build your confidence step-by-step.
Essential Components to Verify Before Buying
Before making a purchase, it is vital to confirm that your chosen cross stitching kit is truly comprehensive. A complete kit should allow you to open the packaging and start stitching immediately without requiring a sudden trip to a specialty craft store for missing supplies. The first component to verify is the fabric. Most beginner kits include Aida fabric, which is a specially woven cotton fabric with distinct, open grid squares. You must ensure that the fabric piece is pre-cut to a size that is significantly larger than the final design dimensions. Ideally, there should be at least 5 to 10 centimeters of extra fabric on all sides of the pattern. This extra margin is crucial because it allows you to secure the fabric tightly in an embroidery hoop and leaves enough room for framing or finishing your completed piece.
Products mentioned in this guide
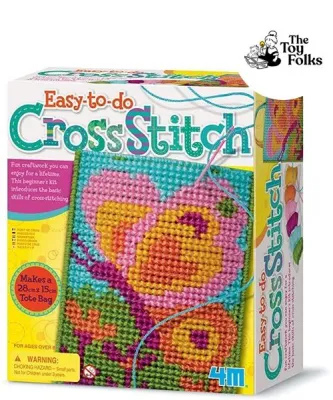
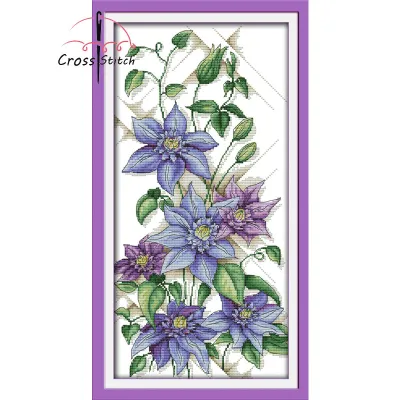
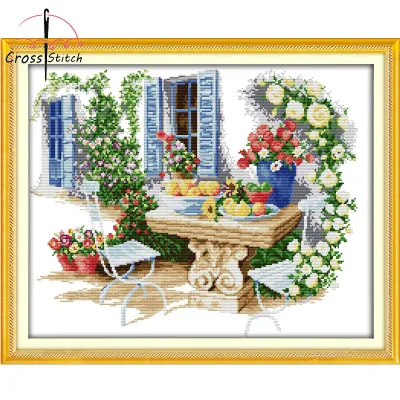
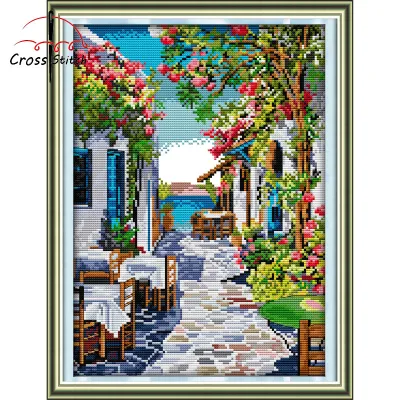
Prices are valid at publication and may change. Please refer to the product page for the latest price.
Next, inspect the thread situation. Cross stitch uses embroidery floss, which is a six-strand cotton thread. A high-quality kit will provide pre-sorted threads, often organized on a cardboard thread holder with numbered slots that correspond directly to the pattern’s color key. This pre-sorting is an immense time-saver; without it, you will find yourself sorting through a tangled nest of similar shades of red, pink, or blue, trying to guess which thread matches which symbol. The kit should also explicitly state that it includes enough thread to complete the project, with most reputable manufacturers providing 20% to 30% extra floss to account for mistakes or tension variations.
The tools included in the kit are just as important as the materials. Ensure that the kit includes at least one tapestry needle. Tapestry needles differ from standard sewing needles because they have a blunt tip and a much larger eye. The blunt tip is essential because it allows the needle to glide smoothly through the pre-existing holes in the Aida fabric without piercing or splitting the fabric fibers. A size 24 or 26 needle is standard for beginner fabric counts. Additionally, look for a kit that includes an embroidery hoop. While some advanced stitchers work without a hoop, beginners will find it much easier to maintain even stitch tension if the fabric is held taut in a sturdy plastic or wooden hoop. Finally, the kit must include a printed pattern chart and a basic instruction guide that explains how to start, stitch, and finish your project.
How to Evaluate Pattern Clarity and Difficulty
Choosing a design that matches your current skill level is the key to enjoying your first cross stitch project. It is easy to be drawn to large, intricate landscapes or highly detailed portraits, but these complex designs can quickly become overwhelming for a beginner. When evaluating a kit’s pattern, your primary goal is to look for simplicity in both the design structure and the stitching techniques required.

First, examine the types of stitches used in the pattern. A beginner-friendly pattern should rely almost exclusively on full cross stitches, which are simple “X” shapes. Avoid kits that feature a high volume of fractional stitches—such as half, quarter, or three-quarter stitches—as these require you to pierce the middle of the fabric squares, which can be frustrating on stiff Aida fabric. Similarly, minimize patterns that require extensive backstitching. Backstitching is a straight-stitch technique used to outline shapes and add fine detail. While a small amount of backstitching is manageable, a pattern that relies heavily on complex outlines can be tedious and difficult to align correctly for a first-time stitcher.
Second, evaluate the clarity of the pattern chart itself. The chart is the map you will follow to complete your project. A high-quality chart should be printed in a large, easily readable format with highly contrasting symbols. Each color of thread should be represented by a distinct symbol (such as a star, square, or cross) rather than just color blocks. Color-only charts can be incredibly difficult to read, especially when trying to distinguish between subtle shades of green or cream under standard home lighting. If you are purchasing a stamped cross stitch kit—where the pattern is printed directly onto the fabric—ensure that the printing is perfectly aligned with the grid holes. If the ink is shifted even slightly to one side, it becomes highly confusing to determine which square you are supposed to stitch.
Finally, consider the physical size of the design and the total color count. For your very first project, aim for a design size that is no larger than 10 to 15 centimeters in diameter. A smaller project can be completed in a few hours or days, providing a quick sense of accomplishment. Additionally, look for a pattern with a limited color palette, ideally between 5 and 12 colors. Managing dozens of different thread colors requires constant stopping, starting, and thread switching, which increases the likelihood of making counting mistakes on your fabric grid.
Checking Fabric, Thread, and Tool Quality
Once you have verified that all components are present and the pattern is suitable, the next step is to assess the quality of the materials. High-quality materials not only make the stitching process much smoother but also ensure that your finished piece looks beautiful and lasts for years without fading or deteriorating.
Start by inspecting the fabric specifications. For complete beginners, 14-count Aida fabric is the absolute gold standard. The “count” refers to the number of holes or squares per inch of fabric. A 14-count fabric means there are 14 squares per inch, which provides holes that are large enough to see clearly without straining your eyes, yet small enough to produce a detailed, cohesive image. Avoid kits that use 16-count, 18-count, or evenweave fabrics like linen for your first project, as these require much smaller, more precise stitches and can be highly challenging to count accurately. The Aida fabric should feel relatively stiff; this stiffness is actually a sign of quality, as it helps the fabric maintain its shape and grid structure while you work.
Next, evaluate the quality of the embroidery floss. The thread should feel smooth, soft, and slightly glossy, rather than rough, fuzzy, or dry. High-quality cotton floss glides effortlessly through the fabric holes without snagging or fraying. Fraying is a common issue with cheap, unbranded threads, which can snap mid-stitch and cause significant frustration. Furthermore, colorfastness is a critical quality indicator, particularly in warm and humid climates. If you need to wash your finished piece to remove hand oils or water-soluble pattern ink, cheap threads may bleed, causing dark colors like red or black to run into the surrounding white fabric and ruin your hard work. Look for kits that specify the use of colorfast cotton threads.
Finally, assess the quality of the included hoop and needle. The embroidery hoop must be able to hold the fabric drum-tight without slipping. Plastic hoops with a built-in ridge or “tongue-and-groove” design on the inner ring generally offer a much tighter, more secure grip than cheap, smooth wooden hoops. If the kit includes a wooden hoop, check that the wood is smooth and free of splinters that could snag your fabric or thread, and ensure the metal adjustment screw turns smoothly. The needle should have a smooth, polished eye; a rough eye can shred the embroidery floss as you pull it through the fabric, leading to weak spots and broken threads.
Creating Your Final Selection Checklist
To make your purchasing decision as straightforward as possible, it is helpful to synthesize these quality indicators into a practical checklist. When comparing different cross stitching kits on online marketplaces or in local craft stores, you can quickly run through these red flags and green lights to identify the best option for your needs.
First, watch out for common red flags that indicate a low-quality or frustrating kit. A major red flag is a kit advertised as “complete” that does not actually include an embroidery hoop, forcing you to make an extra purchase before you can start. Another warning sign is a pattern that features “confetti stitching,” which refers to isolated single stitches of a specific color scattered randomly across the design. Confetti stitching requires constant starting and stopping, which is highly tedious for beginners. You should also avoid kits with unlabelled thread bundles, tiny or blurry printed charts, or instruction manuals that lack clear, step-by-step diagrams.
Conversely, look for green lights that signal a high-quality, beginner-friendly product. A top-tier kit will feature pre-sorted threads on a numbered organizer, high-quality 14-count cotton Aida fabric with finished or taped edges to prevent fraying, and a clear, color-coded chart with distinct symbols. The instructions should include clear illustrations of how to perform a basic cross stitch, how to secure your thread at the beginning and end of a session, and how to wash and frame your finished piece.
Before making your final purchase, take a moment to cross-reference the seller’s product description with the actual customer reviews. Look for feedback from other buyers regarding whether the kit truly included all listed items, whether the instructions were easy to follow, and whether there was sufficient thread provided to complete the design. Taking these final verification steps will ensure that your first step into the world of cross stitching is a positive, creative, and relaxing journey.
Frequently Asked Questions (FAQ)
Do I need to buy extra tools if the kit includes a hoop and needle?
While a comprehensive cross stitching kit will provide the essential items—such as the fabric, thread, needle, hoop, and pattern—there are a few basic household tools and minor upgrades that can enhance your stitching experience. The most important tool you will need to supply yourself is a sharp pair of scissors. While you can use standard household scissors, a small pair of dedicated embroidery scissors or thread snips with fine, sharp tips will allow you to cut your floss cleanly and close to the fabric without fraying the ends. Additionally, you may want to use a small piece of masking tape or painter’s tape to wrap around the raw edges of your Aida fabric before you start stitching; this simple step prevents the edges from fraying as you handle the project. For working in the evening, ensuring you have a bright, direct light source, such as a desk lamp, will also make counting your stitches much easier.
Should a beginner choose stamped or counted cross stitch kits?
Both stamped and counted cross stitch kits are excellent options for beginners, but they offer different learning curves and benefits. Stamped cross stitch kits feature the pattern printed directly onto the Aida fabric using water-soluble ink. This makes the stitching process highly visual and straightforward, as you simply stitch directly over the printed colors without needing to count squares or refer to a separate paper chart. Stamped kits are highly recommended for very young crafters or those who want a highly relaxed, low-effort stitching experience. However, counted cross stitch kits, which require you to look at a separate printed chart and count the squares on blank Aida fabric, build the foundational skills used in almost all advanced needlework. While counted cross stitch has a slightly steeper initial learning curve, it is highly rewarding and opens up a much wider variety of patterns and designs for future projects.
Community discussion
Share your experience or ask a question. Comments are reviewed before publication.