
To choose the right waist-cinching buttons for your garments, you must match the button’s material, weight, and structural design to the thickness and drape of your fabric. Selecting the wrong button can lead to sagging waistlines, torn fabric, or awkward gathers. By evaluating the horizontal tension your garment will face and pairing it with the correct button shank height and size, you can achieve both a secure fit and a polished aesthetic.
In Singapore’s warm and humid tropical climate, lightweight garments made of linen, cotton lawn, and silk are highly popular. When designing or altering waist-cinching features for local wear, balancing breathability with structural support is crucial. Heavy metal buttons on a breezy linen dress will cause the fabric to sag and cling uncomfortably. Therefore, understanding how to pair the right lightweight notions with appropriate reinforcement is key to creating comfortable, long-lasting garments that hold their shape.
What Makes Waist-Cinching Buttons Different?
Standard buttons simply close a gap, keeping two flat panels of fabric aligned. In contrast, waist-cinching buttons act as structural anchors. They gather excess fabric to create a tailored silhouette, meaning they constantly bear horizontal tension and lateral stress. When you sit, move, or breathe, this tension increases. The stress is concentrated on three points: the sewing thread, the button’s attachment point (the shank or holes), and the surrounding fabric fibers. Without proper support, the fabric can stretch, distort, or tear over time.
Products mentioned in this guide
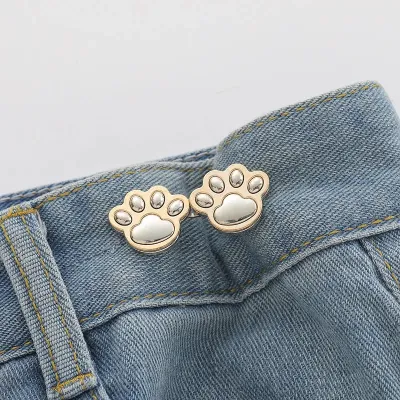
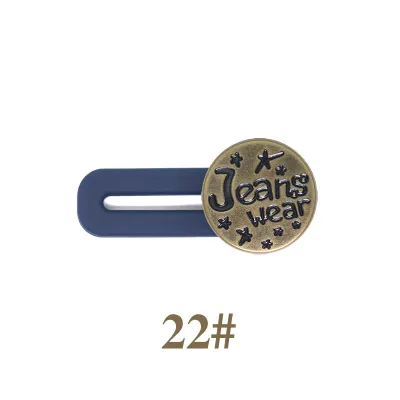
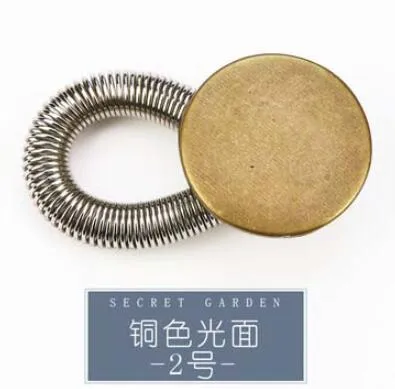
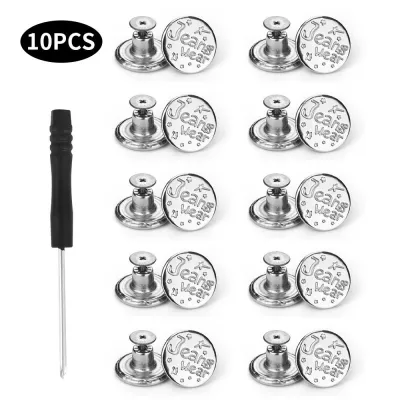
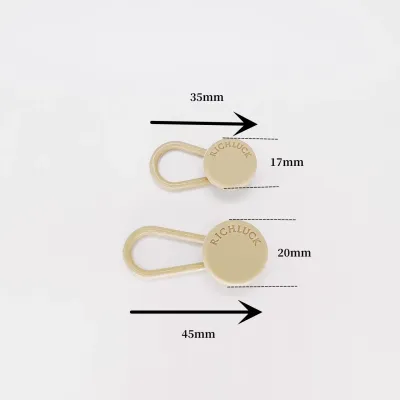
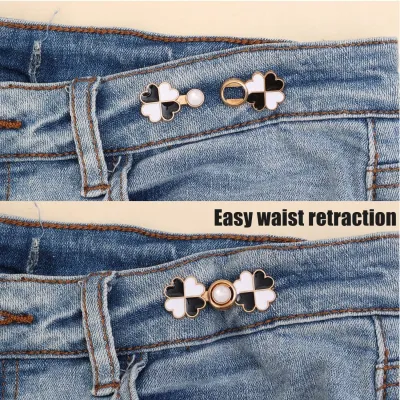
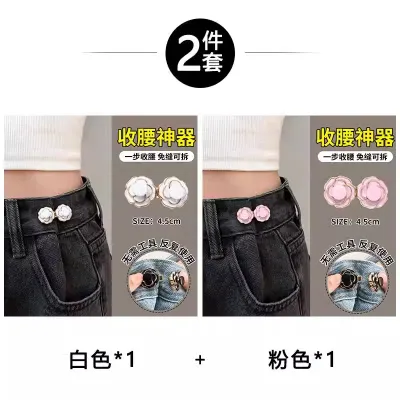
Prices are valid at publication and may change. Please refer to the product page for the latest price.
Unlike decorative closures, waist-cinching buttons must endure dynamic forces. When the wearer transitions from standing to sitting, the waist circumference naturally expands. This expansion exerts a sudden, high-tension outward force. If the button material is brittle or the attachment is weak, the button can snap or shear away from the fabric.
This is why shank height is critical. A shank is the small loop or protrusion on the back of a button that raises it off the fabric surface. For waist cinching, the shank must be tall enough to accommodate the thickness of the gathered or pleated fabric. If the shank is too shallow, the button will press too tightly against the fabric, causing puckering, restricted movement, and premature wear on the thread. Before purchasing, verify the button’s dimensions and compatibility with your fabric weight to ensure a proper fit.
The button’s durability, water resistance during washing, and friction resistance depend on the exact material combination (such as natural wood versus treated resin). Without manufacturer specifications, perform a simple water-immersion and friction test on a spare button to verify it won’t bleed dye or degrade when washed.
Matching Button Materials to Fabric Weight
To ensure a balanced drape, the weight of the button must correspond to the weight of the fabric.

Lightweight and Delicate Fabrics
Delicate materials such as silk, chiffon, georgette, and lightweight cotton voiles are highly susceptible to pulling and tearing. For these fabrics, select lightweight buttons like fabric-covered options, small resin, or thin natural shell. These materials provide a delicate touch without dragging down the waistline.
Avoid heavy solid metals, thick horn, or chunky glass buttons. The weight of these notions will pull the delicate fabric downward, distorting the drape and creating unsightly vertical sag lines.
To protect the fabric, always apply a small, lightweight interfacing patch on the wrong side of the garment where the button is attached. For tropical climates, a small patch of silk organza can act as an excellent natural sew-in stabilizer, preserving the breathability of the garment without adding synthetic bulk.
Medium-Weight and Everyday Fabrics
For everyday garments made of linen, medium-weight denim, chambray, and worsted wool, you have more flexibility. Excellent choices include wood, horn, standard metal alloys, and high-density resin.
These materials offer a reliable balance of durability and weight, allowing the garment to maintain its natural hang while withstanding daily wear.
When choosing, match the button’s finish to the fabric’s texture. For example, a matte, natural wood button beautifully complements the rustic texture of linen, while polished resin or smooth horn works well with worsted wool or structured cotton twill.
Heavy and Structured Fabrics
Heavyweight materials like coat wool, canvas, denim, and heavy tweed require robust, substantial buttons. Choose solid metal, thick horn, or large-molded shank buttons that can anchor heavy gathers securely.
A wider shank base is highly recommended for thick fabrics. The wider base distributes the horizontal tension across a larger surface area of the fabric, preventing the button from tilting or pulling loose.
Before sewing, check the overall weight of the button. It should complement the structured drape of heavy outerwear without making the front of the garment feel front-heavy or saggy.
Choosing the Right Style and Finish for Your Garment
The visual style of the button should align with the design language of the garment.
Formal and Tailored Garments
For tailored trousers, blazers, and formal dresses, the goal is a clean, seamless, and sophisticated appearance. Self-covered buttons (buttons wrapped in the same fabric as the garment) offer an elegant, cohesive look. Alternatively, subtle matte metals or smooth, high-grade shell buttons add a touch of luxury without drawing too much attention.
To maintain a polished silhouette, match the button color exactly to the fabric, or select a subtle tonal contrast that complements the overall color palette of the outfit.
Casual and Everyday Wear
Casual skirts, utility trousers, and everyday dresses can benefit from more visible, textured options. Textured resin, classic tortoiseshell patterns, and natural wood buttons add a relaxed, organic aesthetic to your sewing projects.
For these garments, you can use contrasting colors or buttons with visible branding or unique textures to create a stylish focal point at the waistline. This highlights the cinched design and adds visual interest to an otherwise simple garment.
Vintage and Decorative Styles
If you are working on historical reproductions, evening wear, or statement pieces, look for ornate buttons. Options include enamel-painted buttons, molded glass, intricate cast metal, or fabric-wrapped styles adorned with beadwork.
Keep in mind that highly decorative buttons often require extra care. They may be sensitive to heat, moisture, or friction, requiring hand-washing or dry cleaning to preserve their finish. Always check the manufacturer’s care instructions for decorative buttons before washing the finished garment.
Sizing and Proportion: Getting the Fit Right
Selecting the correct button diameter and shank height is essential for both functionality and visual balance.
If a button is too small, it will struggle to hold the gathered fabric in place, potentially slipping through the buttonhole or cutting into the fabric under tension. Conversely, an overly large button can look clumsy, feel heavy, and restrict your natural movement at the waist.
As a general guideline, use buttons with a diameter of 20mm to 30mm for standard dresses, skirts, and light trousers. For heavy coats, jackets, and intense cinching applications, opt for larger buttons ranging from 30mm to 45mm.
To measure the required shank height, fold your fabric to replicate the thickness of the fully cinched waist gather. The button’s shank must be slightly taller than this folded thickness to ensure the button can sit comfortably on top of the gather without squeezing or distorting it.
When selecting a buttonhole style, remember that the buttonhole must be slightly larger than the button’s total diameter plus its thickness. For example, a thick 25mm horn button may require a 28mm buttonhole to pass through smoothly without straining the fabric edges. Always sew a test buttonhole on a scrap piece of your project fabric before cutting into your actual garment.
Before cutting your fabric or sewing the final buttons, use a button gauge or create a physical mock-up. Pin a temporary button to your basted garment to test the proportion, drape, and ease of movement.
Step-by-Step: Attaching Waist-Cinching Buttons Securely
To ensure your waist-cinching buttons can withstand daily stress without tearing your fabric, follow this secure attachment method.
Tools and Materials Gather your necessary tools: heavy-duty thread (such as buttonhole twist or waxed polyester thread), hand-sewing needles appropriate for your fabric weight, a small piece of fusible or sew-in interfacing, a spacer (like a toothpick or matchstick), and optional small backing buttons.
Fabric Reinforcement Before sewing, apply a small square (about 2cm by 2cm) of fusible or sew-in interfacing to the wrong side of the fabric at the exact button placement spot. This stabilizes the fabric fibers and prevents the tension of the button from pulling a hole through your garment.
Using a Backing Button For heavy fabrics or garments subject to extreme tension, use a backing button. Place a small, flat, clear plastic button on the inside (wrong side) of the garment, directly behind the main button. As you sew, pass your needle through both the main button on the outside and the backing button on the inside. This sandwiches the fabric between the two buttons, distributing the horizontal pull across a wider surface area and protecting the garment fabric from stress tears.
Sewing Technique The method depends on the button type:
- For shank buttons: Thread your needle with a double strand of heavy-duty thread. Pass the needle through the interfacing-reinforced fabric, then through the shank loop. Repeat this process 6 to 8 times. Keep the thread tension firm but avoid pulling so tight that the fabric puckers around the shank.
- For flat buttons: If you must use a flat button, you must build a thread shank. Place a spacer (such as a toothpick or a thick pin) between the button and the fabric. Sew through the button holes 6 to 8 times over the spacer. Remove the spacer, pull the button away from the fabric to expose the loose threads underneath, and wrap your thread tightly around these threads 5 to 6 times to form a solid "thread column" or shank. Bring the needle to the back of the fabric.
Securing the Thread Tie off the thread securely on the wrong side of the fabric using a double knot or a secure lockstitch. For added durability, you may apply a tiny drop of fabric glue or fray check to the knot. Always check the label of your fabric glue or fray check to ensure compatibility with your fabric type, and test it on a scrap piece first. When using fabric glues or solvents to secure thread knots, always check the product’s safety label and the fabric manufacturer’s care instructions to prevent chemical damage or skin irritation from prolonged body contact.
Verification Once the glue is dry, perform a gentle “tug test.” Pull the button firmly away from the fabric to verify that it holds securely and does not distort the surrounding weave. Check the drape of the cinched area to ensure the fabric sits smoothly under the button without puckering.
Frequently Asked Questions (FAQ)
Can I use regular flat buttons for waist cinching?
Yes, but they require a modification. Standard flat buttons sit flush against the fabric, which can crush and pucker the gathered or pleated fabric underneath. If you choose to use flat buttons, you must sew them with a thread shank using a spacer (like a toothpick). This creates the necessary clearance for the gathered fabric to sit comfortably beneath the button without distorting the garment’s line.
How do I prevent a heavy button from drooping on lightweight fabric?
To stop a heavy button from drooping on delicate or lightweight fabric, you must reinforce the attachment point. Apply a small patch of firm, lightweight fusible interfacing to the inside of the garment. Additionally, sew a small, flat backing button or a lightweight fabric stay on the wrong side. This distributes the button’s weight across a larger area, keeping the button upright and preventing it from pulling the fabric downward.
Community discussion
Share your experience or ask a question. Comments are reviewed before publication.