
Selecting the ideal zipper for a sewing project is critical to ensuring both functional durability and a professional aesthetic finish. The process requires matching the zipper’s tooth material and gauge size directly to the weight of your fabric, while choosing a functional mechanism that aligns with how the item opens and closes. Making an incorrect choice can lead to fabric puckering, premature wear, or structural failure of the garment or accessory.
By evaluating the structural demands of your fabric and the physical stress points of the finished item, you can systematically identify the correct zipper type. This guide outlines the essential technical specifications, measurement techniques, and material characteristics needed to make an informed decision for your next sewing project.
Understanding Zipper Anatomy and Sizing Standards
To select and install a zipper successfully, you must first understand its structural anatomy. A zipper is not a single component but an assembly of parts working in unison.
Products mentioned in this guide
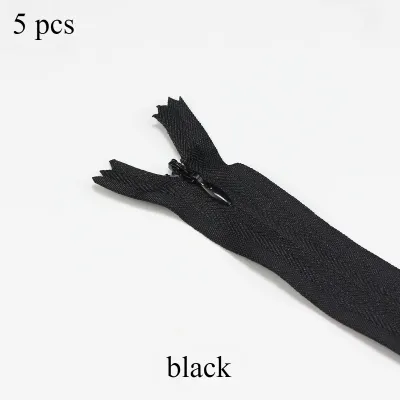
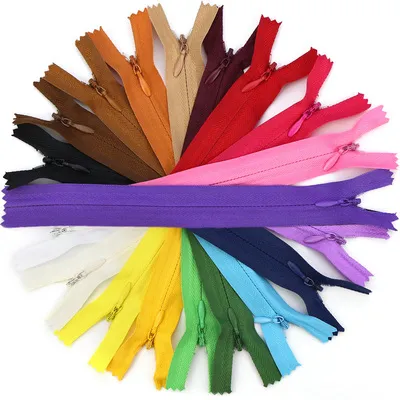

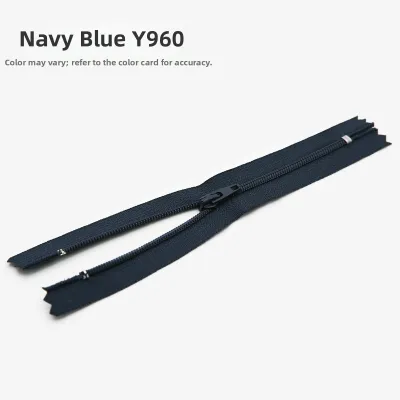
Prices are valid at publication and may change. Please refer to the product page for the latest price.
- Tape: The fabric strips on either side of the zipper that are stitched to the project. These are typically made of polyester, though cotton tapes are available for vintage restorations or specialty dye projects.
- Teeth or Elements: The individual interlocking parts that mesh together to close the zipper. They can be made of metal, molded plastic, or coiled nylon.
- Slider: The mechanism that moves up and down the track to engage or disengage the teeth.
- Stops: The metal or plastic barriers at the top and bottom of the zipper track that prevent the slider from sliding off the tape.
Zipper sizes are standardized globally using a numbering system, commonly referred to as the gauge. You will frequently see designations such as #3, #5, or #8 on product labels. This number represents the physical width of the interlocking teeth in millimeters when the zipper is closed. For example, a #5 zipper has teeth that measure approximately 5 millimeters across. It is a common misconception that the gauge number refers to the width of the fabric tape; the tape width is scaled separately by the manufacturer to accommodate the tooth size.
Before purchasing or beginning installation, always verify the product packaging or the manufacturer’s specification label. Ensure that any replacement slider matches the exact tooth gauge of the zipper chain. Attempting to use a #5 slider on a #3 track will cause the mechanism to fail, resulting in misaligned teeth or a jammed slider.
How to Determine the Correct Zipper Length
Determining the correct zipper length is vital to maintaining the structural integrity and drape of your project. An incorrectly sized zipper can cause the fabric to bulge or pull uncomfortably.

The official length of a zipper is measured strictly from the top stop to the bottom stop. This measurement represents the functional opening capacity of the zipper. The excess fabric tape extending beyond the top and bottom stops is not included in the official length measurement. When purchasing a zipper, always measure the physical opening of your fabric project and match it to this functional stop-to-stop distance.
Zippers are sold in two primary formats: fixed-length and continuous (cut-to-size). Fixed-length zippers feature permanent metal or plastic stops at both ends and are designed for specific applications where the opening size is predetermined. Continuous zipper chains, typically made of nylon coil, are sold by the meter and allow you to cut the exact length required. These are highly versatile for bags, cushions, and custom upholstery projects, as you can slide on one or more custom sliders and create your own stops.
When calculating the required zipper length, you must account for both seam allowances and project ease. For a clean finish, the zipper should end slightly before the seam edge to allow space for waistbands, facings, or hems.
If you have a fixed-length zipper that is slightly too long for your project, you can safely shorten it depending on the material. For nylon coil zippers, you can sew a new bottom stop by hand-stitching a secure bar tack across the teeth using heavy-duty thread, then trimming the excess tape 1.5 centimeters below the new stop. For metal or molded plastic zippers, shortening is more complex; it requires physically removing individual teeth with pliers and crimping a new metal stop onto the tape. If you do not have the specialized tools to modify rigid teeth, it is highly recommended to purchase the exact length required to avoid damaging the zipper or your sewing machine needle.
Choosing the Right Tooth Material and Size for Your Fabric
The material and size of the zipper teeth must be carefully matched to the weight, drape, and care requirements of your fabric. A zipper that is too heavy will drag down a delicate fabric, while a zipper that is too light will burst under the tension of heavyweight materials.
Nylon Coil Zippers
Nylon coil zippers are constructed from a continuous spiral of synthetic monofilament coiled and stitched onto the fabric tape. These zippers are highly flexible, lightweight, and engineered to bend easily with the natural movement of garments.
They are the industry standard for lightweight to medium-weight garments, including skirts, dresses, blouses, knitwear, and lightweight craft items. Because the coil is soft and pliable, it does not add unnecessary rigidity to delicate drapes.
When purchasing a nylon coil zipper, inspect the coil closely for physical uniformity. Run your fingers along the track to check for any twisted or crushed coils, and test the slider to ensure it glides smoothly without catching or snagging the fabric tape.
Molded Plastic and Resin Zippers
Molded plastic zippers, often made of polyacetal resin, feature distinct, individually molded teeth fused directly onto the zipper tape. This construction makes them highly durable, chemical-resistant, and significantly lighter than metal alternatives.
These zippers are recommended for medium to heavy fabrics used in activewear, fleece jackets, sportswear, canvas bags, and outdoor gear. Their physical design allows them to withstand moderate tension and exposure to moisture without losing structural integrity.
Before installation, check the tightness of the tooth interlock by gently pulling the closed zipper tape horizontally. Review the product label or manufacturer specifications to verify the washability and temperature resistance limits, ensuring the resin can withstand your planned laundering or ironing settings.
Metal Zippers
Metal zippers feature individual metal teeth clamped onto the fabric tape. They are highly durable, rigid, and provide a classic, high-contrast aesthetic that can serve as a decorative design element.
These heavy-duty fasteners are best suited for thick, structural fabrics such as denim, leather, heavy canvas, and rugged workwear. They are engineered to endure high levels of physical stress and repeated laundering cycles.
However, metal zippers come with specific limitations. They can react chemically with highly acidic fabrics or harsh industrial detergents. In humid climates like Singapore’s, unprotected metal zippers are susceptible to oxidation and corrosion over time. Always verify that the manufacturer’s label specifies an anti-rust or anti-corrosion finish before purchasing. Additionally, never force a metal slider if the teeth become misaligned, as this can permanently warp the metal elements and ruin the track.
Selecting the Zipper Type by Function and Application
Beyond tooth material, zippers are categorized by how they open and close. Selecting the correct functional type ensures your finished project operates as intended.
- Closed-End (Non-Separating): These zippers feature a permanent bottom stop that holds both sides of the zipper tape together at the base. The slider can open the track but cannot separate the two halves completely. This type is best suited for pockets, trousers, skirts, sleeve cuffs, and cushion covers where a permanent connection at one end is required.
- Open-End (Separating): Equipped with a specialized box and pin mechanism at the bottom, these zippers allow the two halves of the tape to detach completely. This function is essential for outerwear such as jackets, cardigans, coats, and removable liners where the garment must open fully to be put on or taken off.
- Invisible: Designed with the nylon coils folded toward the back of the tape, invisible zippers are virtually hidden within the seam allowance once installed. Only the small, teardrop-shaped slider pull remains visible on the right side of the fabric. This is the standard choice for formal wear, evening gowns, and side-seam closures on skirts. Installing an invisible zipper requires a specialized invisible zipper presser foot to uncurl the coils as you stitch.
- Two-Way (Double Slider): These zippers feature two separate sliders on a single track, allowing the zipper to be opened from either the top or the bottom. They are highly practical for long winter coats, heavy sleeping bags, and large luggage pieces, allowing the user to release tension at the bottom hem for easier movement or sitting.
Matching Zippers to Common Sewing Projects
To simplify your selection process, use the following quick-reference decision matrix to match your project type with the appropriate zipper specifications.
| Project Type | Recommended Tooth Material | Typical Gauge/Size | Zipper Type |
|---|---|---|---|
| Lightweight Garments (Dresses, Blouses, Skirts) | Nylon Coil | #3 | Invisible or Closed-End |
| Heavyweight Outerwear (Jackets, Parkas, Coats) | Molded Plastic or Metal | #5 to #8 | Open-End (Separating) or Two-Way |
| Bags and Pouches (Tote Bags, Pencil Cases) | Nylon Coil or Molded Plastic | #5 | Closed-End or Continuous Coil |
| Home Decor (Cushion Covers, Pillowcases) | Nylon Coil | #3 to #5 | Closed-End |
Disclaimer: The specifications provided in this table are general industry guidelines. Final selections must always be verified against your specific fabric thickness, expected project stress points, and the zipper manufacturer’s care and installation labels.
Step-by-Step Preparation and Installation Checks
To achieve a clean, professional finish and prevent damage to your sewing machine or fabric, perform these essential preparation and installation checks before sewing.
Pre-shrinking and Pressing
Because zipper tapes are often made of polyester and fabrics are frequently cotton or linen, they may shrink at different rates when washed. To prevent the zipper tape from puckering the fabric after the first wash, pre-shrink the zipper tape by soaking it in warm water and letting it air dry. Before applying an iron to press the tape flat, check the heat tolerance labels of both the zipper and your fabric to avoid melting synthetic nylon coils or molded plastic teeth.
Stabilization and Basting
Zipper tapes can easily shift or stretch under the feed dogs of a sewing machine, leading to uneven alignment or puckered seams. Secure the zipper tape in place before machine stitching by using hand-basting stitches, sewing clips, or specialized double-sided wash-away sewing tape. This step ensures the fabric remains perfectly flat and aligned with the zipper teeth throughout the sewing process.
Equipment Compatibility
Ensure your sewing machine needle is appropriate for the job. Match the needle size and type to the combined thickness of your fabric and the zipper tape (for example, a size 90/14 needle is typically suitable for medium-weight fabrics and standard zipper tapes). Always switch to the correct presser foot—such as a standard zipper foot or an invisible zipper foot—to allow the needle to stitch closely and cleanly next to the zipper teeth without striking them.
Post-Installation Verification
Once the zipper is stitched in place, perform a final quality check. Test the slider’s movement across the entire length of the track to ensure it glides smoothly without catching on the fabric or thread tails. Inspect the surrounding fabric for any signs of puckering or stretching, and verify that both the top and bottom stops are securely positioned to prevent the slider from coming off the track during daily use.
Frequently Asked Questions (FAQ)
Can I shorten a zipper that is too long?
Yes, but the method depends on the zipper material. Nylon coil zippers can be shortened easily by sewing a secure bar tack across the teeth at the desired length to create a new bottom stop, then trimming the excess tape 1.5 centimeters below the stitches. Metal or molded plastic zippers are more rigid and generally require specialized pliers to physically remove individual teeth from the top of the tape and crimp new metal stops in place. If you do not have these tools, it is best to purchase the correct length.
Why does my zipper keep splitting open after I close it?
This issue is typically caused by a loose or worn slider that can no longer apply enough pressure to interlock the teeth properly. It can also occur if the teeth are worn down, bent, or if the slider does not match the exact tooth gauge of the zipper track. Inspect the slider’s internal clearance; if the metal has spread open, you can sometimes gently squeeze it back into shape with pliers. If the teeth are permanently deformed or missing, the entire zipper must be replaced.
How do I care for garments with metal zippers in humid weather?
To prevent metal zippers from oxidizing or corroding in humid climates, always zip the garment fully closed and turn it inside out before washing. Avoid using chlorine bleach or strong alkaline detergents, which can degrade the metal’s protective finish. After washing, ensure the garment is dried thoroughly in a well-ventilated area. Always refer to the specific care instructions provided on both the garment and the zipper labels to maintain smooth operation.
Community discussion
Share your experience or ask a question. Comments are reviewed before publication.