
Choosing the right thread for sewing on your first machine is the foundation of a successful project. For beginners, stepping into a craft store can feel overwhelming when faced with rows of colorful spools in varying thicknesses, materials, and brands. Using the wrong thread can lead to skipped stitches, frequent thread breakage, or even damage to your sewing machine’s internal tension mechanisms. By understanding how thread interacts with your machine, fabric, and needle, you can avoid common frustrations and ensure smooth, professional-looking stitches from your very first project.
To get started, the most reliable choice for almost any beginner-level machine project is an all-purpose polyester thread. This versatile option provides the necessary strength, elasticity, and smooth finish required to feed through modern machine tension discs without causing jams. As you gain confidence, learning how to match specific thread materials and weights to your fabric will unlock better results and expand the variety of projects you can confidently tackle.
Understanding Thread Weights and Materials for Beginners
Before purchasing thread, it is essential to understand that sewing threads are engineered from different fibers, each serving a distinct purpose. The two most common materials you will encounter are polyester and cotton. Polyester thread is synthetic, highly durable, and possesses a slight amount of stretch. This elasticity makes it incredibly forgiving for beginners, as it can absorb the sudden tugs and high speeds of a sewing machine without snapping. Additionally, polyester does not shrink when washed and resists mildew, making it highly suitable for everyday garments, home decor, and humid climates.
Products mentioned in this guide
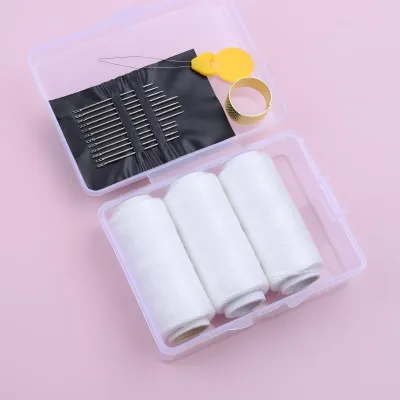
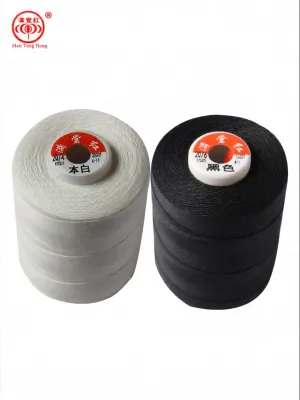
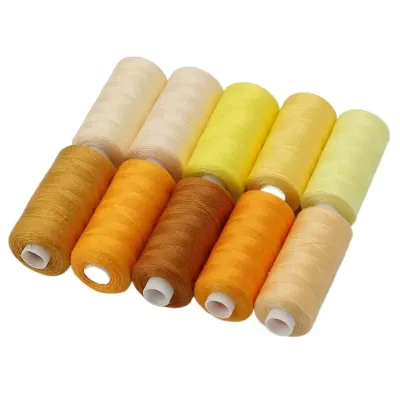
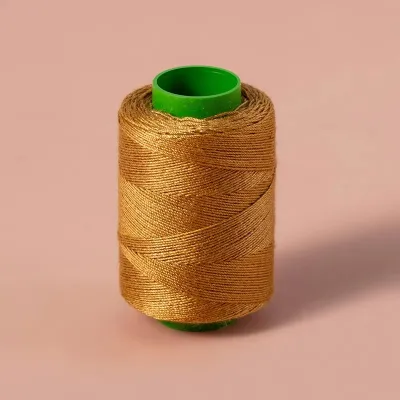
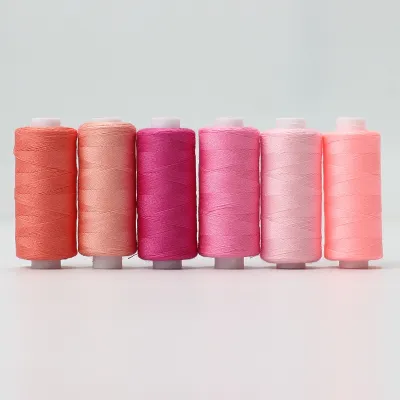
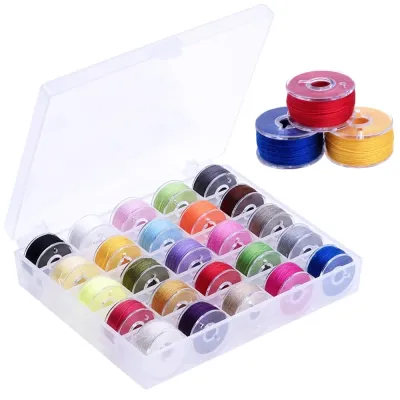
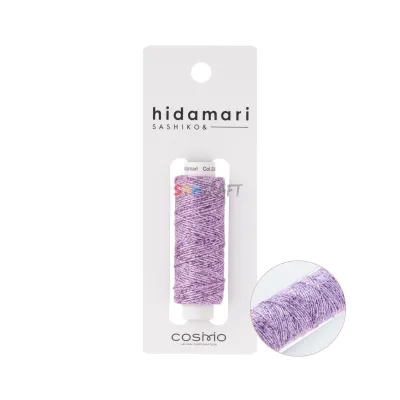
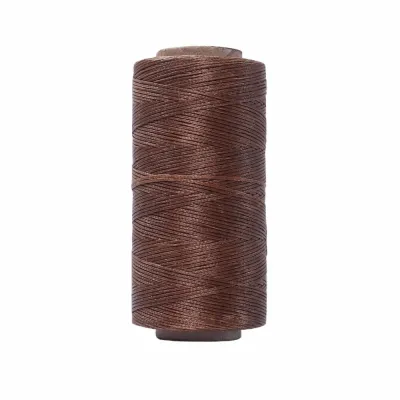
Prices are valid at publication and may change. Please refer to the product page for the latest price.
Cotton thread, on the other hand, is made from natural fibers and has virtually no stretch. It offers a soft, matte finish that blends beautifully with natural fabrics like quilting cotton, linen, and heirloom textiles. However, because cotton lacks elasticity, it can snap more easily under high tension if your machine is not adjusted correctly. Cotton also tends to shed more lint than polyester, which can quickly accumulate in your machine’s bobbin case and feed dogs, requiring more frequent cleaning.
To select the correct thickness, you must learn to read the thread weight numbers printed on the spool labels. The most common system is the weight (wt) system, where a higher number indicates a finer, thinner thread, while a lower number indicates a thicker, heavier thread. For example, a 50-weight (50 wt) thread is much finer than a 30-weight (30 wt) thread. This counterintuitive numbering system is crucial to remember when shopping. Some brands may also use the Tex system, where a higher number represents a thicker thread, so always check which standard is displayed on the label.
For almost all entry-level sewing machine projects, all-purpose polyester thread (usually rated around 40 wt or 50 wt) is the standard recommendation. It is designed to glide smoothly through standard machine paths, works well with both synthetic and natural fabrics, and is strong enough to hold seams together through regular wear and laundering. Starting with all-purpose polyester minimizes variables, allowing you to focus on mastering your machine’s basic operations.
Matching Thread to Your Fabric and Machine Needle
Successful machine sewing relies on a balanced relationship between three elements: the fabric weight, the thread thickness, and the size of the machine needle. The sewing machine needle has a small groove along its shaft and an eye at the tip. As the needle pierces the fabric, the thread must fit comfortably within this groove and eye to slide up and down without friction. If the thread is too thick for the needle eye, it will shred, bunch up, or snap. Conversely, if the needle is too large for a fine thread, the needle will leave unsightly holes in the fabric, and the loose thread may cause skipped stitches.

To achieve perfect harmony, categorize your projects by fabric weight and pair them with the appropriate thread and needle sizes:
- Lightweight Fabrics: Materials such as voile, organza, chiffon, and lightweight silk require a fine thread (60 wt or higher) paired with a small needle (size 60/8 to 70/10). This combination prevents the delicate fabric from puckering along the seam line.
- Medium-Weight Fabrics: Standard quilting cotton, linen, chambray, and light canvas are best paired with all-purpose thread (40 wt to 50 wt) and a medium needle (size 80/12). This is the most common setup for beginner projects like tote bags, pillowcases, and simple apparel.
- Heavyweight Fabrics: Denim, heavy canvas, corduroy, and upholstery fabrics demand a thick, heavy-duty thread (30 wt or lower) and a large needle (size 90/14 to 100/16). The larger needle eye accommodates the thick thread, while the sturdy needle shaft easily pierces the dense fabric layers.
Always consult your specific sewing machine manual before starting a new project. Manufacturers include detailed needle and thread compatibility charts tailored to your machine’s motor strength and tension system. Keeping a copy of this chart near your sewing workspace serves as an excellent quick-reference guide when preparing new projects.
Step-by-Step Guide to Selecting and Testing Your Thread
To ensure a frustration-free sewing experience, develop a habit of inspecting and testing your materials before sewing your actual project pieces. Follow this step-by-step process to set up your machine for success.
First, inspect the quality of your thread spool before winding it onto your machine. Pull out a length of about 30 centimeters and hold it up to the light. Look closely for excessive fuzziness, uneven lumps, or visible weak spots. High-quality thread should look smooth and uniform. Next, perform a gentle tug test by holding the thread between your hands and pulling slightly; it should offer reasonable resistance and stretch slightly before breaking. Avoid using old, inherited wooden spools or cheap, unbranded thread sets often found in budget variety shops, as these are frequently brittle and shed excessive lint that can clog your machine.
Second, thread your machine and wind the bobbin with care. When winding the bobbin, ensure the thread winds evenly from top to bottom without forming loose loops or overlapping tangles. An unevenly wound bobbin is a primary cause of tension issues. When threading the upper path of your machine, always raise the presser foot. Raising the presser foot opens the internal tension discs, allowing the thread to seat itself deeply and correctly between them. Once threaded, lower the presser foot before pulling the thread through the needle eye.
Third, always sew a test swatch using scraps of the exact fabric you plan to use for your project. Cut a small piece of scrap fabric, fold it to replicate the number of layers in your final seam, and sew a straight line of stitches. Inspect both the top and bottom of the seam. The stitches should look identical on both sides, with the lockstitch interlocking perfectly within the middle of the fabric layers. If you see loops of thread on the underside of the fabric, the upper tension is too loose; if you see loops on the top, the upper tension is too tight. Adjust your machine’s tension dial incrementally by half-steps and test again until the stitches are balanced.
Troubleshooting Common Thread Issues on Beginner Machines
Even with careful preparation, minor thread issues can occur as you learn the nuances of your sewing machine. Knowing how to diagnose these problems quickly will save you time and prevent fabric damage.
One of the most common issues beginners face is “bird-nesting,” which is a massive, tangled clump of thread that forms on the underside of the fabric, often jamming the machine. While it is tempting to blame the bobbin for this issue, bird-nesting is almost always caused by incorrect upper threading. If the upper thread is not seated correctly within the tension discs, or if the thread missed the take-up lever, there is no tension on the top thread. This allows the bobbin hook to pull massive loops of top thread down into the bobbin area. To fix this, lift the presser foot, completely remove the upper thread, and re-thread the machine carefully from scratch.
If your thread is constantly breaking or shredding at the needle eye, check for physical obstructions or mismatches. Ensure the needle is inserted correctly with the flat side facing the direction specified in your manual, and verify that the needle is not bent or dull. A dull needle will struggle to pierce the fabric, causing the thread to rub excessively against the needle eye and shred. Additionally, check the spool cap on your thread pin; if the cap is too small or too large for the spool, the thread can catch on the edge of the spool, causing a sudden spike in tension that snaps the thread.
When troubleshooting, always follow a systematic order of operations. Stop sewing immediately if you hear an unusual clicking sound or feel resistance. Cut the fabric free carefully, clean out any loose threads from the bobbin area, and re-thread both the top and bottom of the machine. If the issue persists after re-threading, replace the needle with a fresh one of the correct size. Only adjust the tension dial as a last resort, and always document your original settings so you can easily return to them if needed.
Frequently Asked Questions (FAQ)
Can I use hand-sewing thread in my sewing machine?
No, you should avoid using hand-sewing thread in a sewing machine. Hand-sewing threads are often coated with a wax, glaze, or starch finish designed to reduce tangling and friction during manual stitching. When run through a sewing machine, this coating can rub off and quickly clog the tension discs, needle eye, and bobbin case. Furthermore, hand-sewing thread is typically thicker and lacks the uniform twist required to withstand the high speeds and mechanical tension of machine sewing, which frequently results in severe machine jams, skipped stitches, or needle damage.
Does the bobbin thread need to match the top thread?
For most beginner projects, it is highly recommended to use the exact same thread type, weight, and color for both the top thread and the bobbin. This ensures that the machine’s tension remains perfectly balanced, as both threads will behave identically under tension. If you use different thread weights, the stronger thread may pull the weaker thread through the fabric, resulting in uneven stitches. While you can occasionally use a different color in the bobbin for decorative purposes, keeping the material and weight identical prevents tension discrepancies and ensures a clean, professional finish on both sides of your work.
How should I store my sewing thread to keep it in good condition?
To preserve the strength and color of your sewing thread, store your spools in a cool, dry place away from direct sunlight, dust, and high humidity. Direct sunlight and ultraviolet rays degrade synthetic and natural fibers over time, making the thread brittle and prone to snapping during sewing. Dust accumulation on spools can travel into your machine’s tension discs, causing friction and tension issues. In humid environments, such as Singapore, storing your thread in airtight plastic containers with small silica gel packets helps prevent mold growth and moisture absorption, keeping your thread in optimal condition for years.
Community discussion
Share your experience or ask a question. Comments are reviewed before publication.