
Selecting the ideal sticker paper for your label maker is the difference between a crisp, long-lasting label and a jammed machine or a peeling mess. While it is tempting to purchase the first roll or sheet of adhesive paper you find online, compatibility is highly specific. To make the right choice, you must align three critical pillars: your label maker’s printing technology, the physical dimensions your machine supports, and the environmental conditions the label will face.
Whether you are organizing a home kitchen pantry in Singapore’s humid climate, managing office files, or shipping high volumes of packages, understanding these variables ensures your prints remain legible and securely attached. This guide breaks down the technical limits, material options, and adhesive types so you can confidently select the best sticker paper for your specific setup.
Understand Your Label Maker's Technology and Physical Limits
Before evaluating materials or finishes, you must identify the printing technology your label maker uses. The most common dedicated label makers rely on direct thermal printing. Direct thermal printers use heat-sensitive paper that darkens when it passes over the heated print head. Because this technology requires no ink, toner, or ribbon, you must buy specialized direct thermal sticker paper. Standard paper will not react to the heat, resulting in blank labels, while using incorrect synthetic materials can melt onto the print head and cause permanent damage.
Products mentioned in this guide
![[SG In Stock]A4 Printable Sticker Paper Self Adhesive Label Sheets Glossy Matte Kraft for Inkjet Laser Printer Copier](https://img.lazcdn.com/g/p/54714a44925eadb264407a2fa3034f4b.jpg_400x400q80.jpg_.webp)
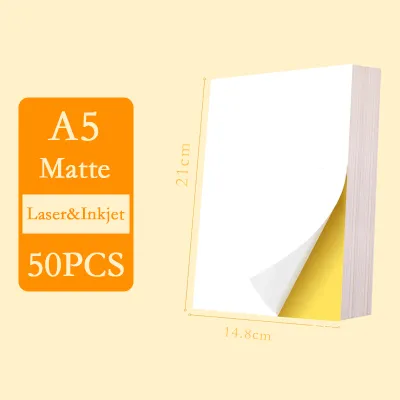
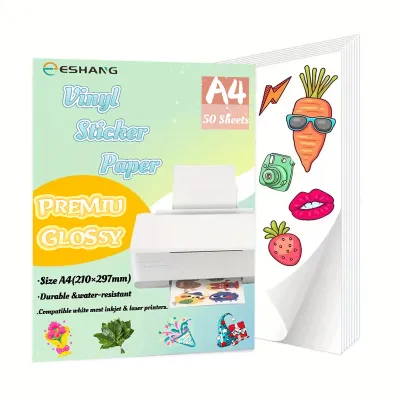
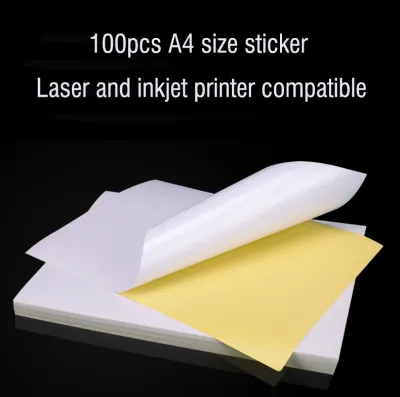
![A4 Matt White Sticker Label Paper for Inkjet & Laser Printer for Address Packaging Shipping Label [theinksupply]](https://img.lazcdn.com/g/p/d4103fe5816b8e93f798c571177b5412.jpg_400x400q80.jpg_.webp)
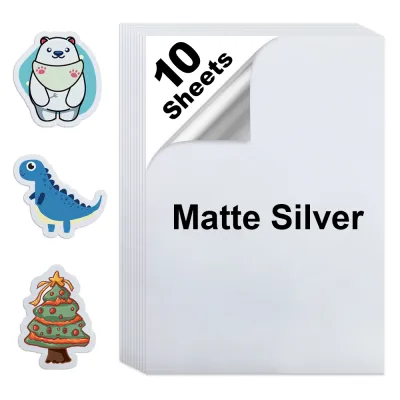
![[SG]50/100Pcs A4 Sticker Paper Glossy/Matte Self Adhesive Airwaybill Printing Papers Laserjet Inkjet Printable Label](https://img.lazcdn.com/g/p/d9fe2a38d255e065319a082796f4a120.png_400x400q80.png_.webp)
Prices are valid at publication and may change. Please refer to the product page for the latest price.
In contrast, thermal transfer printers use a heated ribbon to transfer ink onto the label material. This technology is highly versatile, allowing you to print on a wide range of synthetic materials, including polyester and vinyl, which offer exceptional durability. If you are not using a dedicated label printer but are instead printing labels on a standard desktop inkjet or laser printer, your media options change entirely. Inkjet printers require absorbent, coated paper or specially treated synthetic sheets to prevent ink from smudging. Laser printers use heat to fuse dry toner powder onto the page, meaning any synthetic sticker paper you use must be rated as “laser-safe” to prevent the plastic from melting inside the fuser unit.
Physical dimensions represent the next compatibility filter. Every label maker has strict physical limits regarding the media it can accept. If you use a roll-based label maker, you must verify the maximum label width, the maximum outer roll diameter, and the inner core size. For instance, desktop shipping label printers typically accept rolls with a 1-inch core and a maximum width of 4 inches (approximately 104mm), whereas smaller handheld organizer models might only accept proprietary cartridges or rolls up to 12mm or 24mm wide.
Additionally, you must determine how your printer detects the beginning and end of each label. Label makers use optical sensors to align prints correctly. These sensors look for specific markers on the backing paper: a “gap” (the space between die-cut labels), a “notch” (a physical cutout on the edge of the roll), or a “black mark” (a dark line printed on the back of the liner). Continuous label rolls, which allow you to cut labels to any length, require a printer that supports continuous media. Always consult your label maker’s user manual to verify these supported dimensions, thickness limits, and sensor requirements before making a purchase.
Match Sticker Paper Material to Your Environment and Durability Needs
Once you have established your printer’s technical compatibility, you can select the label material that matches your application’s environment. Standard paper labels are the most economical choice. They are excellent for indoor, short-term, and low-wear applications, such as sorting office files, labeling dry pantry jars, or printing standard shipping labels. However, standard paper has low resistance to moisture, oils, and physical abrasion. If exposed to water or high humidity, paper labels will warp, tear, and degrade quickly.

For demanding environments, synthetic materials offer the durability paper lacks. Vinyl, polyester (PET), and polypropylene (BOPP) are highly resistant to water, tearing, and chemical exposure. If you are labeling items for outdoor use, industrial workspaces, cold storage, or high-humidity environments like bathrooms, synthetic sticker paper is essential. For example, labeling bottles that contain oils or cosmetics requires a synthetic material that will not smudge or peel when exposed to liquids. When selecting these materials, always check the product specifications to confirm their water resistance, tear strength, and UV stability.
The finish of your sticker paper also impacts both aesthetics and functionality. Glossy finishes provide vibrant colors and a premium, high-contrast look, making them popular for product packaging and branding. However, glossy surfaces reflect light easily, which can cause glare that interferes with barcode scanners or makes text difficult to read under bright overhead lighting. Matte finishes, on the other hand, offer excellent readability from all angles, reduce glare, and are much easier to write on with standard pens or stamps.
Finally, you must verify that the material’s surface coating is compatible with your printing technology. Inkjet sticker paper features a microscopic porous coating designed to lock in liquid ink instantly. If you run this same paper through a laser printer, the high heat of the fuser can damage the coating and cause the toner to flake off. Conversely, trying to print on non-absorbent laser-safe synthetics with an inkjet printer will result in pooled, wet ink that smudges at the slightest touch.
Select the Appropriate Adhesive for Your Target Surface
The adhesive backing on your sticker paper determines how well the label bonds to your target surface and whether it can be removed without causing damage. Permanent adhesives are engineered to create a strong, long-lasting bond. They are ideal for shipping boxes, storage bins, and assets that require permanent identification. However, permanent adhesives are difficult to remove. Attempting to peel them off can tear paper surfaces, leave behind a sticky, stubborn residue, or even damage delicate plastics and painted surfaces.
If you need to label temporary items, rental equipment, retail products, or delicate surfaces like glass, books, and finished wood, look for removable adhesives. Removable sticker paper is designed to peel away cleanly without tearing the label or leaving residue behind. This is particularly useful for organizing seasonal inventory or labeling glass jars where you may want to change the contents and the label in the future. Keep in mind that removable adhesives can lose their grip over time if exposed to dust, moisture, or extreme temperatures.
Specialty adhesives are required for extreme or unusual conditions. For example, standard adhesives can crystallize and lose their stickiness in cold environments, causing labels to fall off. If you are labeling items for the freezer or cold storage, you must use freezer-grade adhesives designed to remain flexible and sticky at sub-zero temperatures. Similarly, textured, uneven, or highly porous surfaces—such as corrugated cardboard, raw wood, or molded plastics—require high-tack adhesives that can flow into the surface crevices to establish a secure bond.
When evaluating adhesive specifications, consider both the target surface material and the local climate. In tropical regions like Singapore, high ambient humidity and temperatures can soften standard acrylic adhesives, causing them to slide, ooze, or lose adhesion. Ensure the sticker paper you choose is rated to withstand the specific temperature and humidity fluctuations of its final destination.
Step-by-Step Selection and Testing Process
To avoid wasting time and materials, follow this structured workflow when selecting and testing new sticker paper:
- Step 1: Gather Machine Specifications
Locate your label maker's exact model number. Refer to the manufacturer's manual or official website to write down the required media format (roll, fanfold, or sheet), the maximum roll outer diameter, the core size, the maximum supported media width and thickness, and the sensor type (gap, notch, or black mark). - Step 2: Define the Use Case
Identify where the label will live. Note the environmental conditions, including exposure to water, sunlight, oils, or extreme temperatures. Also, document the texture, shape, and material of the surface you are labeling (e.g., curved glass, flat cardboard, or textured plastic). - Step 3: Filter and Select
Use your gathered specifications to filter your sticker paper options. Eliminate any materials that do not match your printer's technology (such as using direct thermal paper in a standard laser printer). Prioritize brands and products that explicitly state compatibility with your specific label maker model or printer type. - Step 4: Order a Trial Batch
Before buying rolls or sheets in bulk, purchase a single roll or a small sample pack. This prevents costly waste if the material turns out to be incompatible with your printer's sensors or fails to adhere to your target surface. - Step 5: Test Print and Apply
Load the trial media and run a test print. Check for print alignment, image clarity, and any signs of smudging. If the print looks good, apply the label to your target surface. Let the adhesive cure for 24 hours—most adhesives require this time to reach their full bonding strength. After 24 hours, inspect the label to ensure it has not peeled at the corners, and test its resistance to moisture or abrasion if your use case requires it.
Common Mistakes and Troubleshooting Tips
A common error is a technology mismatch, such as loading direct thermal paper into a laser printer. Because laser printers use intense heat to fuse toner, running heat-sensitive direct thermal paper through them will turn the entire sheet black, ruin the fuser, and potentially release harmful chemical fumes or cause a fire hazard. Conversely, attempting to use standard, non-thermal paper in a direct thermal printer will result in blank labels because there is no chemical coating to react to the print head’s heat.
Ignoring media thickness is another frequent mistake. Thick synthetic labels can exceed your printer’s maximum media path clearance. This extra thickness increases friction, causing frequent paper jams, feed errors, or premature wear on the delicate thermal print head. Always check the maximum media thickness specification in your printer’s manual before purchasing heavy-duty vinyl or polyester labels.
If your printer skips labels, prints off-center, or displays an error light after you load new sticker paper, it is likely a sensor calibration failure. Most label makers need to be recalibrated whenever you change the label size, material, or backing paper. Refer to your manual to run the printer’s automatic calibration routine, which typically involves holding down a specific button sequence until the machine feeds a few labels to detect the gaps or black marks.
For safety and equipment longevity, establish clear boundaries when troubleshooting. If your label maker jams, stalls, or begins making loud grinding noises, stop immediately. Turn off the device and unplug it from the power source. Never use sharp metal objects like scissors, screwdrivers, or tweezers to pry jammed labels out of the media path, as these can easily scratch the print head, slice rubber rollers, or damage delicate internal sensors. Instead, consult your manufacturer’s manual for the approved method to open the housing and clear the path safely.
Frequently Asked Questions (FAQ)
Can I use third-party sticker paper in a branded label maker?
Yes, many label makers are compatible with third-party sticker paper, which can be a cost-effective alternative to branded media. However, you must ensure that the physical dimensions, core size, and sensor markings of the third-party roll match your machine’s exact requirements. Be aware that some modern label makers use proprietary cartridges or rolls equipped with RFID chips or specific physical notches to enforce the use of branded consumables. Check your user manual before purchasing third-party options, as using non-approved media in some proprietary systems may void your warranty or cause feed errors.
How can I test if my sticker paper is direct thermal?
You can easily identify unmarked direct thermal sticker paper by performing a quick scratch test. Place the label on a flat, hard surface and firmly drag your fingernail or a blunt plastic object across the printable side. If a dark grey or black streak appears where you scratched, the paper is direct thermal and contains heat-sensitive chemicals. If no mark appears, the material is either standard paper or a synthetic media that requires an ink cartridge, toner, or a thermal transfer ribbon to print.

Community discussion
Share your experience or ask a question. Comments are reviewed before publication.