
Selecting the right rivet button is a critical step in ensuring both the structural integrity and aesthetic appeal of your sewing, leatherworking, or haberdashery projects. Unlike traditional sew-on buttons, a rivet button relies on a mechanical lock that permanently deforms metal components to grip fabric layers. Choosing the wrong size or type can lead to loose fasteners, ruined fabric, or buttons that pull completely through the material under tension. To make the correct choice, you must systematically evaluate the button’s structural design, match the post length to your compressed fabric thickness, and select a cap diameter that balances the physical load.
Understanding Rivet Button Types and Structures
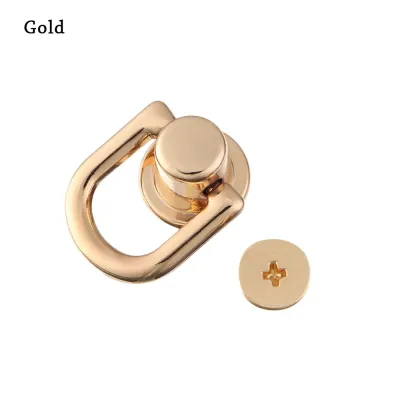
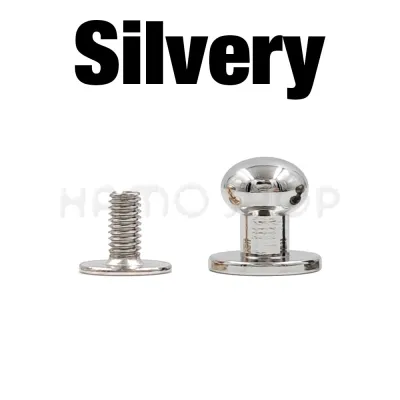
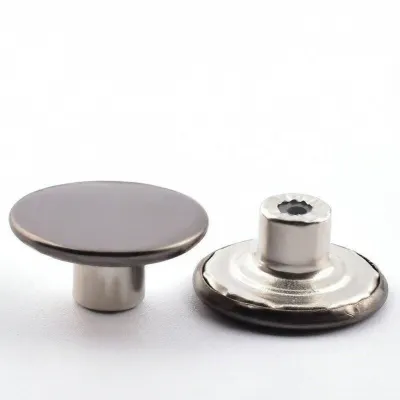
To select the right fastener, you must first understand the anatomy of a rivet button. A standard assembly consists of three primary components: the decorative outer cap, the central post or prong that pierces the material, and the backing piece (often a tack or washer) that secures the post from the underside. How these components interact determines the strength and flexibility of the connection.
The choice between open-back and closed-back designs significantly impacts how the button grips your fabric. Open-back rivet buttons feature a hollow core within the cap, allowing the tip of the tack to roll or expand inside the cavity. This design offers slight flexibility during installation, making it easier to achieve a flush fit even if your fabric thickness varies slightly. Closed-back designs, on the other hand, feature a solid metal shell that completely encloses the locking mechanism. This provides a clean, premium appearance on both sides of the garment and prevents the tack from snagging on skin or undergarments, but it demands highly precise post-length measurements because there is no room for an over-extended post.
Products mentioned in this guide
Prices are valid at publication and may change. Please refer to the product page for the latest price.
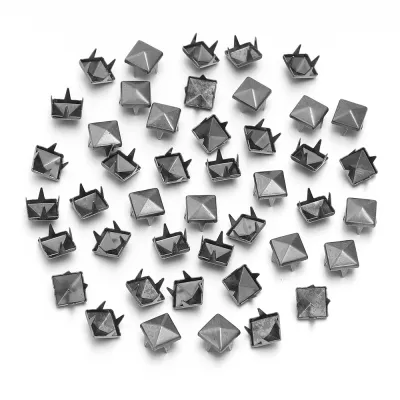
You must also choose between single-prong and multi-prong configurations. Single-prong buttons utilize a single, sturdy central post that pierces a pre-punched hole in the fabric. This configuration is the standard choice for heavy, dense materials like denim, canvas, or leather, where a single robust anchor point can withstand significant lateral pull. Multi-prong configurations feature two or more smaller prongs arranged around the rim of the backing. These prongs pierce the fabric at multiple points, distributing the physical stress across a wider area. This makes multi-prong buttons ideal for delicate, stretchy, or loosely woven fabrics, as they prevent the fibers from separating and sliding past a single central post.
Matching Post Length to Fabric Thickness
The most common cause of rivet button failure is an incorrect match between the post length and the total thickness of the fabric layers. If the post is too short, the backing piece cannot reach the locking mechanism inside the cap, resulting in a button that detaches under the slightest pressure. If the post is too long, the button will wobble, spin, or bend during installation, leaving an unsightly gap that catches on threads and weakens the joint.

To avoid these issues, you must accurately measure your compressed fabric thickness rather than its loose state. When a rivet button is installed, the setting tool compresses the fabric layers tightly. To replicate this, pinch your project’s fabric layers—including any interfacing, linings, or pocket bags—firmly between the jaws of a caliper or press them flat against a rigid ruler. This compressed measurement represents the actual space the button post must span.
Once you have this measurement, apply the general calculation rule to determine the required post length. The ideal post length is equal to the compressed fabric thickness plus the manufacturer’s specified locking clearance. This clearance is the exact amount of post that must extend beyond the fabric to deform and lock securely inside the cap, typically ranging from 1.5 mm to 2.5 mm. For example, if your compressed fabric layers measure 2.0 mm and your button requires a 2.0 mm locking clearance, you will need a post length of exactly 4.0 mm.
During your project, you can identify an incorrect post length selection through clear visual and tactile signs. A post that is too long will manifest as a loose cap that spins freely, puckered fabric around the button base, or a visibly bent post that failed to seat straight. Conversely, a post that is too short will result in an incomplete lock, where the cap easily pops off the backing when pulled, or crushed fabric fibers that begin to tear and fray around the installation site due to excessive compression.
Selecting Cap Diameter and Style for Your Application
While post length ensures structural security, the cap diameter and style dictate how the button performs under daily wear and how it complements your overall design. The cap is the primary point of contact when fastening and unfastening a garment, meaning it bears the brunt of the physical force applied during use.
Cap diameter plays a vital role in weight distribution and preventing material damage. Larger caps, typically ranging from 17 mm to 20 mm, distribute pulling forces over a wider surface area. This is essential for heavy-duty fabrics like thick denim, canvas, or heavy wool, where a smaller cap might pull straight through the weave under tension. Smaller caps, measuring between 10 mm and 14 mm, are better suited for lightweight or stretchy fabrics. A large, heavy metal cap on a delicate fabric will droop, causing the material to sag and eventually tear under the button’s own weight.
You must also match the cap style and finish to the specific demands of your project category. Rugged denim garments pair naturally with classic copper, brass, or antique silver finishes, often featuring textured rims or embossed designs that hide scratches. Leather goods, such as bags or jackets, benefit from smooth, high-shine, or matte black caps that match other hardware like zippers and buckles. For lightweight children’s garments, smooth, low-profile, or painted caps are preferred to ensure there are no sharp edges that could scratch sensitive skin or catch on play equipment.
Finally, evaluate the visual proportion of the cap relative to the garment or accessory design. A button that is physically secure can still look out of place if its scale is wrong. A massive 20 mm button on a slim-fit linen shirt looks bulky and unbalanced, while a tiny 10 mm button on a heavy winter parka appears lost and is difficult to grasp with gloved hands. Lay different cap sizes onto your pattern pieces before installation to ensure the visual scale matches your design intent.
Step-by-Step Selection and Pre-Installation Testing
To guarantee a flawless finish on your final project, you should follow a systematic selection and testing workflow. Never install a rivet button directly onto your finished garment without verifying the physical compatibility of your materials and tools first.
Begin by creating a shortlist of candidate rivet buttons. Based on your compressed fabric measurements and style requirements, select two or three button options that fall within your calculated post-length range. Keep these candidates organized alongside their matching backing tacks and setting tools.
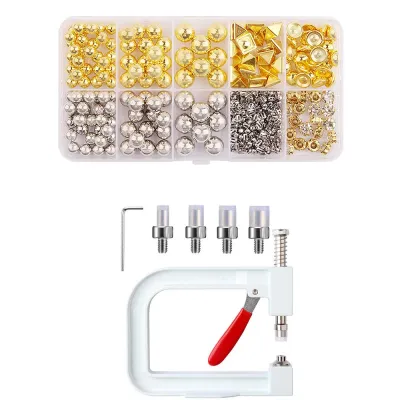
Next, conduct a mandatory test installation on fabric scraps. Cut scraps from the exact same fabric rolls used in your project, and layer them to replicate the precise thickness of the final installation site, including any interfacing or seam allowances. Use the exact tools—whether a hand press, setting pliers, or an anvil and mallet—that you plan to use on the final piece.
Once installed, thoroughly evaluate the test results using the following criteria:
- Grip Strength: Attempt to spin the cap with your fingers. It should feel firm and stationary. Pull the fabric layers apart with moderate force to ensure the button does not wobble or separate.
- Fabric Distortion: Inspect the fabric surrounding the cap. The material should lie flat without puckering, wrinkling, or showing signs of strain or tearing.
- Visual Alignment: Look at the button from the side. The cap must sit perfectly parallel to the fabric surface, with no visible tilting or uneven gaps.
- Ease of Operation: Snap and unsnap the button several times. The mechanism should operate smoothly without requiring so much force that it stretches or distorts the surrounding fabric.
If your test reveals any structural weakness or aesthetic mismatches, stop immediately and adjust your selection. If the button spins or the fabric puckers, switch to a shorter post or add a hidden layer of firm interfacing to increase the compressed thickness. If the button fails to lock or bends during installation, switch to a longer post or a different backing style. Only proceed to your final garment once a test installation yields a perfectly secure, flat, and functional result.
Frequently Asked Questions (FAQ)
Can I use the same rivet button for both lightweight cotton and heavy denim?
No, you should not use the same rivet button for both materials. Lightweight cotton and heavy denim have vastly different compressed thicknesses and structural densities. A rivet button designed for heavy denim will have a long post that will wobble and spin on thin cotton, eventually tearing the delicate fibers. Conversely, a button sized for cotton will have a post too short to penetrate and lock securely through multiple layers of denim. You must maintain an inventory of different post lengths and cap weights to match each specific fabric type.
What tools are required to install prong-style rivet buttons securely?
To install prong-style rivet buttons securely, you need a solid, non-yielding work surface, such as a steel anvil or a heavy wooden block, to absorb the impact. You will also require a specialized setting tool or setter that matches the exact curvature of your button cap to prevent flattening or scratching the metal during installation. Finally, use a soft-faced mallet made of polyurethane, rawhide, or wood rather than a metal hammer, as a metal hammer can easily slip, dent your tools, or deform the rivet button components.
Community discussion
Share your experience or ask a question. Comments are reviewed before publication.