
Choosing the right magnetic button requires matching the button’s physical diameter and magnetic pull strength to the weight, weave, and drape of your specific fabric, then reinforcing the attachment point to prevent tearing. By balancing these specifications, you can achieve a secure, professional closure that functions flawlessly without compromising your textile’s structure.
Understanding Magnetic Button Sizes and Pull Strengths
When browsing haberdashery options in online marketplaces or local craft shops, you will primarily encounter two key specifications: diameter and pull strength. The physical size of a magnetic button is measured across its widest point in millimeters (mm), typically ranging from a compact 10mm to a heavy-duty 22mm. This diameter directly dictates the visual footprint of the button on your project, its physical weight, and how much fabric surface area it will occupy. A wider button naturally distributes the stress of opening and closing over a larger area, but it also adds physical weight that can alter the natural drape of lightweight textiles.
Pull strength, on the other hand, refers to the amount of force required to separate the two magnetic halves. This is sometimes quantified in kilograms or pounds of holding force by manufacturers, though it is more commonly labeled with general descriptors such as “light,” “medium,” or “heavy” hold. Pull strength is determined by the type of magnetic material used—typically standard ferrite or high-performance neodymium (rare-earth) magnets—and the thickness of the magnetic core. This force is what keeps your bag flap secure or your coat front closed against wind and movement.
Products mentioned in this guide
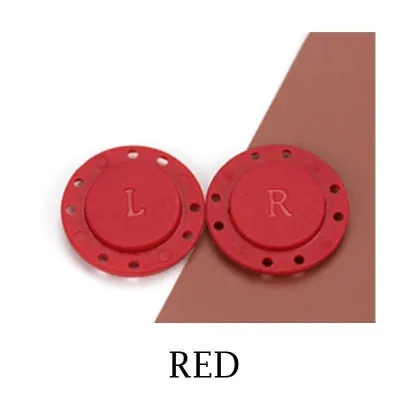
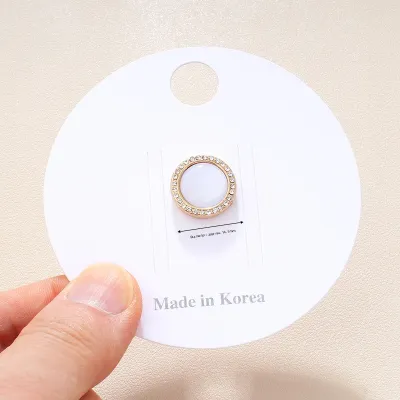
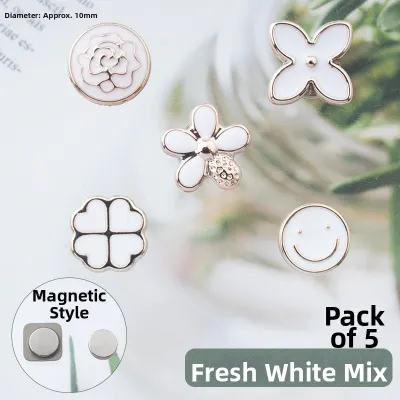
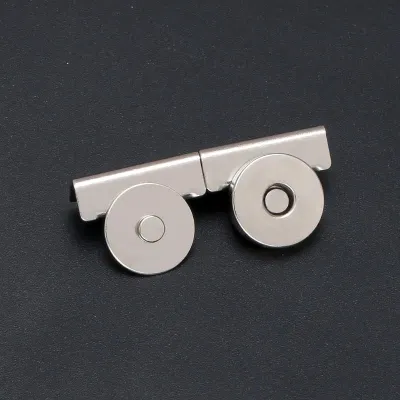
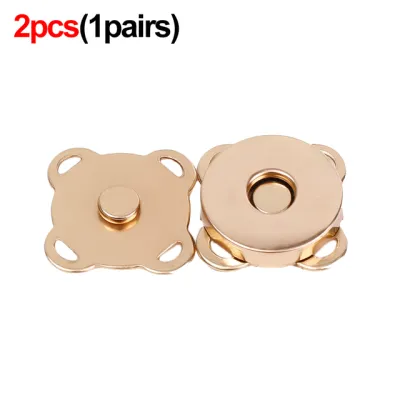
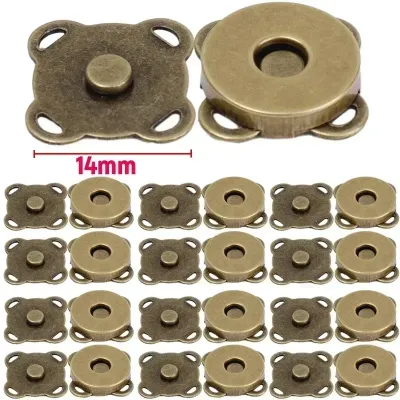
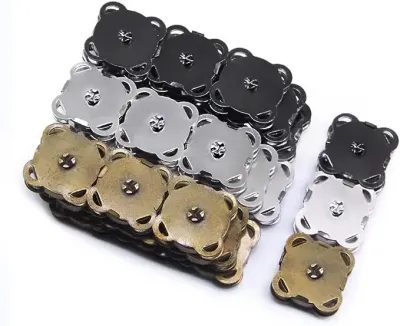
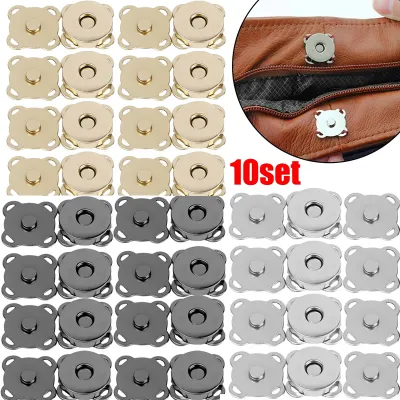
Prices are valid at publication and may change. Please refer to the product page for the latest price.
It is a common misconception that a larger physical diameter automatically translates to a stronger magnetic pull. In reality, a small 12mm neodymium button can possess a significantly stronger pull than an 18mm standard ferrite button. Because these two specifications operate independently, you must evaluate them separately. A large, weak button might be perfect for a decorative flap on a medium-weight linen jacket, while a small, incredibly strong button is ideal for a hidden closure on a heavy canvas pouch.
Matching Button Diameter to Fabric Weight and Drape
To maintain the structural integrity and aesthetic appeal of your project, the physical size of the magnetic button must match the weight of the fabric. Fabric weight is generally categorized into lightweight, medium-weight, and heavyweight, each interacting differently with the physical mass of a metal fastener.

For lightweight fabrics such as silk, chiffon, organza, and light cotton lawn, physical weight is your primary enemy. On these delicate materials, you should restrict your choices to small diameters, ideally between 10mm and 12mm. A larger, heavier metal button will immediately cause the fabric to sag, creating unsightly folds, dragging down the hem, or distorting the clean lines of a collar or cuff. The goal is to keep the fastener as unobtrusive and lightweight as possible.
Medium-weight fabrics—including standard quilting cotton, linen, chambray, and lightweight denim—offer more structural stability, allowing for a wider range of options. For these materials, medium diameters between 14mm and 18mm are generally the most appropriate. These sizes provide a balanced, proportional look and offer a stable physical base that sits comfortably within standard seam allowances. They provide enough surface area to support the fabric without causing the surrounding material to stiffen or warp.
Heavyweight fabrics like thick canvas, denim, wool coating, leather, and upholstery materials require larger button diameters, typically 18mm to 22mm or larger. Dense, heavy fibers possess natural stiffness and weight that can easily overpower small fasteners. A larger diameter is necessary here to distribute the mechanical pressure of opening the closure across a wider expanse of fabric. This prevents the button from acting as a concentrated stress point that could eventually pull through or warp the heavy fibers.
Beyond diameter, you must also consider the button’s profile, or thickness. Thicker buttons project further from the fabric surface, requiring deeper hems, facings, or specialized linings to remain hidden. If you are working on a sleek garment where a flat appearance is paramount, seek out ultra-thin magnetic buttons. However, keep in mind that ultra-thin buttons often require high-performance magnetic materials to maintain adequate pull strength, which can influence your overall project budget.
Choosing the Right Magnetic Holding Strength for Your Fabric
While matching the physical size prevents fabric distortion, matching the magnetic holding strength ensures the closure functions reliably without damaging the textile fibers over time. The force required to separate the magnets must be carefully calibrated to the stress the closure will experience and the durability of the fabric.
Low to medium holding strength is the correct choice for lightweight garments, delicate blouses, decorative pockets, and fabrics with high stretch or loose weaves. When a magnet is too strong for a delicate or stretchy fabric, the physical effort required to pull the halves apart puts immense strain on the fibers. Over time, this repeated tension leads to fiber fatigue, stretching, distortion, and eventually tearing around the attachment site. A gentle, smooth release is essential for preserving the life of delicate garments.
High holding strength is reserved for heavy outerwear, activewear, bags, and projects where the closure must withstand significant physical tension. It is also necessary when there are multiple layers of thick fabric, interfacing, or lining separating the two magnetic halves. Because magnetic force decreases exponentially as the distance between the magnets increases, even a thin layer of canvas or leather acts as a barrier that dramatically reduces the effective pull. In these scenarios, a high-strength magnet is required simply to penetrate the material barrier and provide a secure hold.
Mismatching these strengths carries distinct risks. If your magnet is too strong for the material, the “snap” action can be incredibly violent. This sudden, aggressive impact can bruise delicate leather, crush velvet pile, or break fine silk threads over repeated uses. Conversely, if the magnet is too weak, the closure will fail to stay shut under the natural weight of the fabric or during normal body movements. A coat that pops open with every step or a bag that spills its contents when carried defeats the purpose of installing a closure.
Selecting the Best Attachment Type for Your Material
The method you use to attach the magnetic button to your fabric is just as important as its size and strength. The three primary attachment types—sew-in, prong, and adhesive—each offer distinct advantages depending on the stability, thickness, and washability of your material.
Sew-in (or stitch-through) magnetic buttons are the most versatile and gentle option. These buttons either feature small sewing holes around their metal rims or are completely encased in a soft, square plastic sheath that can be stitched directly through. This style is highly recommended for delicate, loosely woven, or highly frayed fabrics. Because the button is secured with multiple stitches of thread, the physical stress of opening and closing the magnet is distributed evenly across a wide network of fibers rather than being concentrated on a single puncture point.
Prong (or claw) magnetic buttons are the traditional choice for bags, straps, and heavy garments. These fasteners feature sharp metal prongs on the back of each half that pierce through the fabric and bend flat over a metal backing washer. This method is incredibly fast, durable, and secure, making it ideal for medium to heavyweight, tightly woven fabrics like canvas, denim, and heavy twill. However, prong buttons should be avoided on delicate or loosely woven materials. Without a dense fiber structure to grip, the metal prongs will easily slice through or slip between the threads when the closure is pulled open, causing catastrophic damage to the fabric.
Glue-in or no-sew (adhesive) magnetic buttons are designed for specialized materials where needles and prongs are impractical or destructive. This includes genuine leather, heavy vinyl, faux fur, and certain technical waterproof fabrics. Puncturing these materials with needles or prongs can leave permanent, unsightly holes, weaken the material’s structural integrity, or compromise its water resistance. Adhesive-backed magnets or those designed to be glued into pre-formed recessed hardware provide a clean, puncture-free alternative.
When working with adhesives, always prioritize safety by working in a well-ventilated area and checking the glue manufacturer’s safety instructions regarding skin contact. Be extremely cautious when applying liquid glues to porous, sheer, or dry-clean-only fabrics. Low-viscosity adhesives can easily bleed through the fibers to the visible side of the project, leaving permanent dark stains, altering the fabric’s color, or creating hard, uncomfortable spots that ruin the drape.
Step-by-Step Guide to Reinforcing, Installing, and Testing
Proper installation is the secret to a professional-looking, long-lasting magnetic closure. No matter which button style you choose, following a structured process ensures the fabric is stabilized and the closure is perfectly aligned.
Preparation
Before you begin, gather all necessary tools and materials. You will need your magnetic buttons (including backing washers if using prong-style), a suitable stabilizer (such as fusible interfacing, twill tape, or heavy fabric scraps), a fabric marker, a sewing kit with heavy-duty polyester thread, and a pair of flat-nose pliers or a specialized press tool if you are installing prong-style fasteners.
Step 1: The Scrap Test
Never perform your first installation directly on your finished project. Cut a small scrap of your fashion fabric and your lining material, replicating the exact layers and interfacing you plan to use. Install the magnetic button on this scrap first. This crucial trial allows you to observe how the fabric behaves under the weight of the magnet, verify that the holding strength is appropriate, and ensure that the installation process does not warp or pucker the material.
Step 2: Reinforcement
A magnetic button should never be attached to a single layer of unsupported fashion fabric. The constant pulling force of opening the closure will quickly tear the material. Always apply a reinforcement patch to the wrong side of the fabric at the installation site. For lightweight to medium fabrics, iron on a square of medium-weight fusible interfacing that is slightly larger than the button itself. For heavy fabrics or bags, use a sturdy piece of twill tape, heavy canvas, or plastic canvas sandwiched between the fabric and the backing washer to distribute the load.
Step 3: Installation
- For Sew-In Buttons: Position the button on the reinforced area. Using double-stranded, heavy-duty polyester thread, sew through the attachment loops or plastic sheath multiple times, securing the stitches with tight, neat knots on the underside.
- For Prong Buttons: Mark the prong positions on your reinforced fabric using your button's backing washer as a template. Carefully make tiny slits using a seam ripper or sharp embroidery scissors. Push the prongs through from the right side to the wrong side, slide the backing washer over the prongs, and use flat-nose pliers to bend the prongs firmly outward and flat against the washer. Ensure the prongs are pressed completely flat to prevent them from wearing a hole through your lining fabric over time.
Step 4: Verification
Once installed, align the two halves of the closure and let them snap together. Perform a gentle pull test to verify that the magnets hold securely under light tension but release smoothly without distorting or straining the surrounding fabric. Inspect the exterior of the project to ensure the fabric lies perfectly flat, with no puckering, gaping, or dragging. If the fabric puckers, it is a sign that the interfacing is too weak or the magnetic pull is too strong for the material.
Frequently Asked Questions (FAQ)
Will magnetic buttons rust in the wash?
In highly humid climates like Singapore, moisture exposure is constant, making rust prevention a critical consideration for any washable garment or bag. Standard iron-core magnets will rust quickly if exposed to water. Nickel-plated and stainless steel buttons offer moderate rust resistance, but over time, repeated machine washing can wear away the plating. For items that require frequent laundering, choose plastic-coated (sew-in) magnetic buttons, which are completely sealed and waterproof. Always check the manufacturer’s care labels, and when in doubt, hand-wash the garment or remove the magnets before washing to prevent unsightly rust stains from ruining your fabric.
How can I reinforce thin fabric for a heavy magnetic button?
To use a heavier or stronger magnetic button on thin fabric without ruining its natural drape, you must create a hidden, localized anchor point. Apply a small, precise square of heavy-duty fusible interfacing or a dense sew-in stabilizer patch (like silk organza or lightweight cotton batting) strictly behind the button on the wrong side of the fabric. By keeping this reinforcement patch small and matching the exact footprint of the button, you provide the necessary structural support to prevent tearing while allowing the rest of the garment to retain its soft, natural drape.
Community discussion
Share your experience or ask a question. Comments are reviewed before publication.