
Selecting the correct shoe repair needle depends entirely on the specific part of the shoe you are repairing, the thickness of the material, and how accessible the stitching area is. For heavy-duty structural work like attaching a sole, you will need a thick, curved needle or a specialized stitching awl needle to navigate tight angles. For flexible upper repairs on leather or canvas, a straight needle with a point tailored to the material—such as a cutting point for leather or a round point for fabric—ensures a clean, durable stitch without damaging the shoe.
Identify Your Shoe Repair Task and Material
Before purchasing any repair tools, evaluate the structural role of the area that needs fixing. Shoe repairs generally fall into two categories: heavy-duty structural work and flexible surface repairs. Structural work, such as reattaching a rubber sole or stitching a welt, requires a needle capable of penetrating multiple dense layers of material. These layers often include thick leather, rubber, and mid-sole components that offer high resistance to manual stitching.
Flexible surface repairs involve the upper portion of the shoe, such as repairing tears in leather uppers, patching canvas sneakers, or reinforcing mesh panels. These materials are thinner and more pliable than soles, but they still require careful handling to prevent tearing. Count the number of layers you need to stitch through and note the total thickness, as this determines the needle length and strength required to complete the task.
Products mentioned in this guide
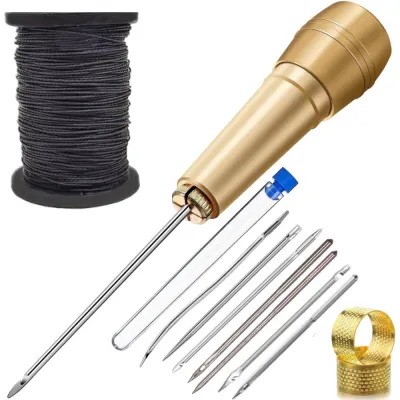
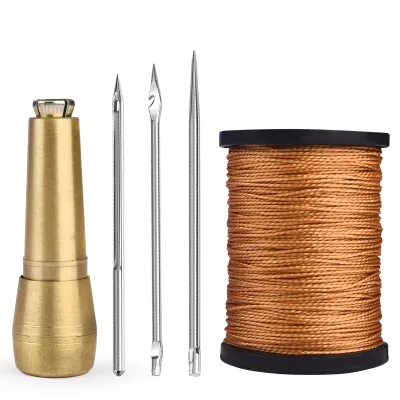
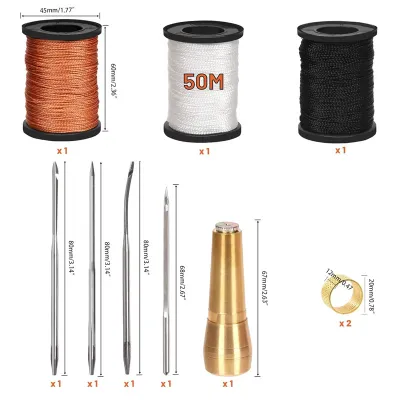
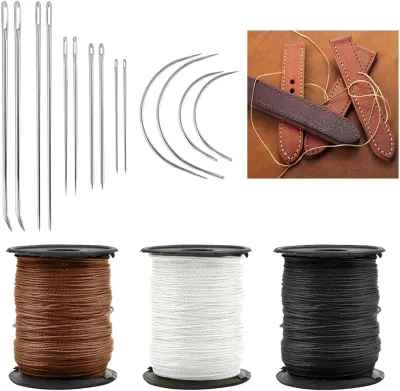
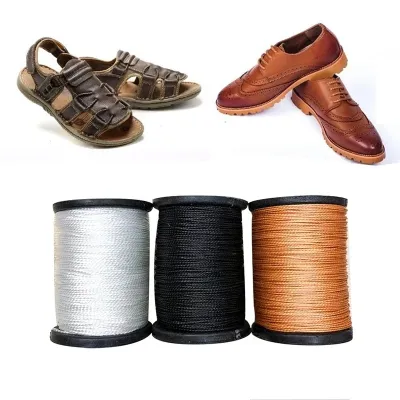
Prices are valid at publication and may change. Please refer to the product page for the latest price.
Physical accessibility is another critical factor. Stitching a patch onto the side of a canvas shoe is straightforward because you can easily reach both sides of the fabric. However, repairing a seam deep inside the toe box or stitching a sole from the outside requires specialized needle shapes. Assessing how much clearance you have inside the shoe will help you decide whether a standard straight needle is sufficient or if a curved needle is necessary to complete the stitches.
Choose Between Curved and Straight Needles for Access
The shape of your shoe repair needle determines how easily you can navigate the tight, awkward spaces characteristic of footwear construction. Curved needles, often shaped in a semi-circle or arc, are highly effective for blind stitching and working in confined spaces. When you cannot easily reach the inside of a shoe to push a needle back out, a curved needle allows you to insert and exit the material from the same outer surface. This makes them a primary choice for attaching soles, repairing heel linings, and closing seams where the interior is inaccessible.

Straight needles are a practical choice for open, highly accessible areas of a shoe. They are suitable for stitching patches onto uppers, repairing tongues, or working on straps and buckles. Straight needles are also much easier to push through pre-punched holes, which are common in welted shoes or heavy leather boots. If you are using a manual stitching awl—a tool that houses a needle and thread spool in its handle—you will typically use a specialized straight needle designed to lock into the awl’s chuck.
Some specialized cobbling techniques require half-curved needles, which feature a straight shaft that curves only near the tip. These provide a balance of straight-line control and angled exit capability, making them useful for stitching along the welt line where a fully curved needle might bend too sharply. Matching the needle shape to the physical constraints of the repair area prevents hand strain and reduces the risk of bending or breaking your tools.
Match Needle Points and Thickness to Leather or Fabric
Using the wrong needle point can ruin your shoe materials. For leather and synthetic uppers, always use a needle with a cutting point, such as a triangular glover’s point or a diamond point. Leather does not have a woven structure; instead, it consists of dense, interlocking fibers. A standard round needle will struggle to pierce leather, causing friction that can stretch or tear the material. A cutting point cleanly slices a tiny path through the leather fibers, allowing the needle and thread to pass through with minimal resistance.
For canvas, woven fabric, or mesh uppers, avoid cutting points entirely. A cutting point will sever the yarns of the fabric, leading to fraying and premature failure of the repair. Instead, choose a round point or a ballpoint needle. These tips are designed to slide between the woven threads of the fabric rather than cutting through them, preserving the structural integrity of the textile.
Needle thickness, or gauge, must match both the density of the material and the weight of your repair thread. Heavy-duty sole stitching requires thick needles to withstand the force of penetrating rubber and leather. Fine leather uppers require thinner needles to keep the puncture holes as small as possible, preventing moisture from entering the shoe and ensuring a neat, professional finish.
Check Thread and Tool Compatibility Before Purchasing
A common mistake in DIY shoe repair is purchasing a needle that does not match the repair thread or existing tools. The eye of the shoe repair needle must be large enough to accommodate heavy-duty threads, such as waxed polyester, linen, or braided nylon, without causing them to fray. If the eye is too small, the thread will jam during stitching, making the process frustrating and potentially damaging the thread’s protective wax coating. Conversely, an excessively large eye will create unnecessarily large holes in your shoe material.
If you plan to use a stitching awl, verify the needle’s shank compatibility before buying. Stitching awl needles have a specific shank design, often with a flat side or a groove, that fits into the locking chuck of the awl handle. Standard hand-sewing needles cannot be secured in a stitching awl. Always check the manufacturer’s specifications for your awl to ensure you purchase the correct replacement needles.
Finally, consider the physical demands of hand-stitching thick materials. Heavy-duty cobbling tasks require significant hand pressure. If you are not using an awl, look for hand-stitching needles that can be paired with a leather thimble, a palm protector, or a small pair of pliers to help pull the needle through dense layers. Ensuring your needles, thread, and hand protection work together will make your shoe repair project safer and more efficient.
Frequently Asked Questions (FAQ)
Can I use a standard sewing machine needle for hand-stitching shoes?
No, standard sewing machine needles are not suitable for hand-stitching shoes. Machine needles are designed with a specific shank that mounts into a machine’s needle bar, and their eye is located near the point rather than the top. They lack the length, grip area, and structural strength required for manual manipulation through tough shoe materials. Attempting to use them by hand is highly inefficient and increases the risk of the needle snapping, which can cause hand injuries.
How do I safely store and dispose of heavy-duty cobbling needles?
Heavy-duty cobbling needles are exceptionally sharp and thick, making safe storage essential. Store them in a dedicated hard-plastic case, a wooden needle case, or on a secure magnetic tool holder out of reach of children. Never leave them loose in a drawer or sewing basket. When a needle becomes dull, bent, or broken, wrap it securely in several layers of heavy tape or place it inside a puncture-proof container, such as an empty plastic bottle, before disposing of it in the household trash.
Community discussion
Share your experience or ask a question. Comments are reviewed before publication.