
Choosing the correct shoe repair needle is the single most important decision when restoring worn footwear. Using the wrong needle can permanently tear delicate leather, snap threads, or cause painful hand fatigue. By matching the needle’s point geometry, overall shape, and eye size to your specific shoe material, you ensure a clean, durable stitch that preserves the structural integrity of your footwear.
Identify Your Shoe Material and Repair Task
Before reaching for any tool, inspect the shoe upper to determine its exact material composition. Genuine leather feels supple and has irregular pore patterns, whereas synthetic leather often has a highly uniform texture and a fabric backing. Canvas is a heavy, tightly woven cotton fabric, while athletic shoes frequently feature lightweight, breathable nylon mesh. Suede has a distinct napped surface that requires careful handling to avoid flattening the fibers.
Next, assess the scope of the repair task. A simple split seam along the upper requires a different approach than reattaching a thick rubber sole. Decorative stitching on the side of a shoe is purely aesthetic and uses lighter tension, whereas structural seams must withstand constant flexing and pressure.
Products mentioned in this guide
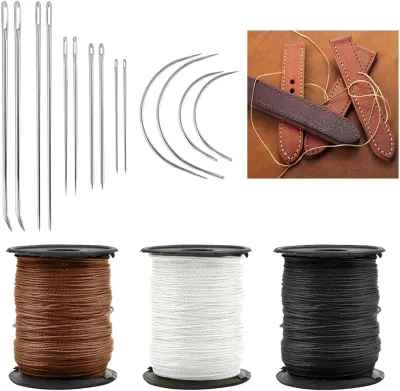
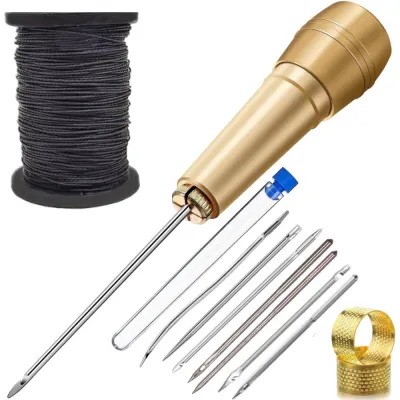
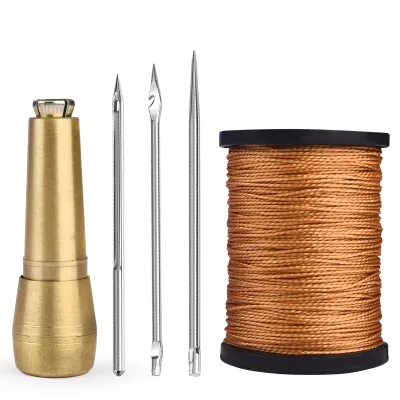
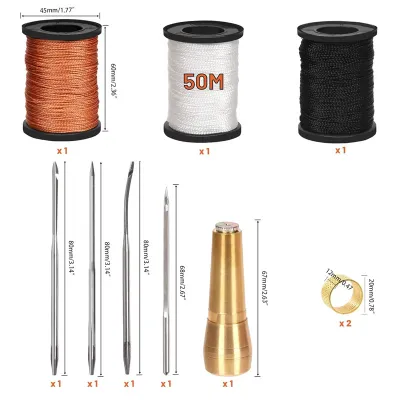
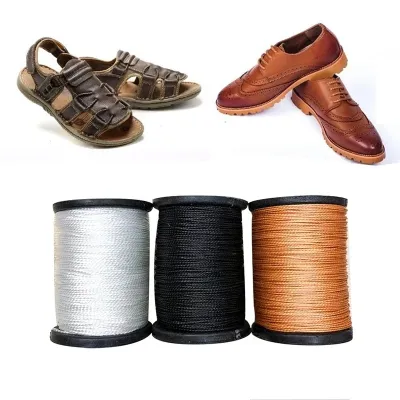
Prices are valid at publication and may change. Please refer to the product page for the latest price.
Count the layers of material you need to penetrate. A repair that goes through an outer leather layer, an inner lining, and a structural counter requires a much stronger needle than a single-layer canvas patch. Measure the total thickness visually; if the combined layers exceed two millimeters, you will need a heavy-duty needle capable of withstanding significant bending force.
Match Needle Point Types to Shoe Materials
The geometry of the needle point determines how it interacts with the shoe material. For genuine leather, suede, and dense synthetic leather, you must use a cutting point needle, often referred to as a glover’s needle or leather needle. These needles feature triangular or diamond-shaped tips that slice tiny, clean slits through the dense fibers. Pushing a standard round-point needle through leather requires immense force and often results in jagged, torn holes that weaken the material.

For woven fabrics like canvas and heavy denim, a sharp or slightly rounded point is the correct choice. These needles are designed to slide between the woven threads, pushing them aside rather than cutting them. Using a cutting-point needle on canvas is a mistake, as it will slice the structural threads of the fabric, causing the material to fray and the seam to unravel under tension.
Delicate materials, such as the fine nylon mesh found on running shoes, require thin, rounded ballpoint needles. These points gently navigate the open weave of the mesh without snagging the delicate synthetic fibers. A sharp needle can easily pierce and split the thin filaments, leading to a rapidly expanding hole that is difficult to patch.
Once you select a needle point, you must verify its compatibility with your repair thread. Shoe repairs typically require heavy-duty threads like waxed polyester or bonded nylon to withstand outdoor elements and friction. Pull a short length of your chosen thread through the needle eye; it should slide through smoothly with minimal friction. If the thread bunches up or requires force to pull through, the eye is too small, which will shred the thread during sewing.
Select Needle Shape and Size for Repair Access
The physical shape of the needle dictates how easily you can access the damaged area. Straight needles are ideal for flat, open surfaces where you can easily reach both sides of the material, such as patching a tongue or stitching an external overlay. They allow for rapid, straight stitching lines when there are no spatial constraints.
When working inside the tight confines of a shoe toe box or along the curved edge of a sole, a curved needle is indispensable. Often shaped like a half-moon or a gentle arc, these needles allow you to scoop in and out of the material from a single side. This is particularly useful for sole reattachment, where you cannot easily reach the interior of the shoe to push a straight needle back through.
Consider the balance between needle length and leverage. Longer needles provide excellent leverage when pushing through thick, stubborn midsoles, but they are highly prone to bending or snapping if used in tight, confined spaces. Shorter needles offer superior control and rigidity, making them safer for detailed work inside the shoe, though they require more finger strength to push through dense layers.
The size of the needle eye must be carefully matched to the thread thickness. Heavy-duty upholstery or harness needles feature elongated eyes designed to accommodate thick, waxed threads without pinching. Ensure the needle shank is slightly wider than the threaded eye; this design ensures the needle clears a wide enough path through the material for the thread to follow easily, reducing friction and wear on the thread.
Safe Sewing Practices and When to Stop
Hand-sewing shoes requires significant physical force, making proper safety tools essential. Always wear a sturdy metal or leather thimble on your pushing finger to prevent the blunt end of the needle from puncturing your skin. For extremely dense soles or multi-layered leather, use a pair of small, clean pliers to grip and pull the needle through the material rather than forcing it with your fingers.
Before starting any repair, inspect your needles carefully under good lighting. Check for any signs of rust, rough burrs around the eye, or blunted tips. A damaged needle will snag fabric threads, scratch leather surfaces, and require significantly more force to penetrate the material, increasing the risk of slippage and hand injury.
Recognize the limits of DIY shoe repair and know when to stop. If you cannot push the needle through the material even when using pliers, do not force it, as the needle may snap and cause injury. Stop immediately if you notice the material tearing or stretching excessively around the needle holes. Furthermore, repairs involving structural load-bearing components, such as a completely detached heel or a severely cracked midsole, should be referred to a professional cobbler to ensure the shoe remains safe to wear.
Frequently Asked Questions (FAQ)
Can I use a standard sewing machine needle for hand shoe repair?
No, standard sewing machine needles are entirely unsuitable for hand shoe repair. Machine needles are designed with a groove along the shank and a specific shank shape meant to be clamped into a machine needle bar. They lack the grip area and structural balance required for manual hand-sewing. Attempting to push a machine needle by hand is highly difficult, offers poor leverage, and carries a high risk of the needle slipping or breaking under manual pressure.
How do I thread thick waxed thread through a small needle eye?
Threading thick, waxed shoe repair thread through a needle eye can be challenging due to the thread’s stiffness and diameter. To make the process easier, cut the end of the thread at a sharp angle with sharp scissors to create a clean point. If the thread is heavily waxed, gently flatten the tip between your fingers or use a heavy-duty wire needle threader designed for upholstery work. If the thread still will not pass through, you must switch to a needle with a larger eye, such as a harness or heavy-duty leather needle, to prevent damaging the thread fibers.
Community discussion
Share your experience or ask a question. Comments are reviewed before publication.