
Embroidery is a deeply satisfying craft, but standing in front of a wall of colorful spools and skeins for the first time can feel overwhelming. Selecting the correct thread is the single most important decision you will make before making your first stitch. The right choice ensures your stitches lie flat, your fabric remains smooth, and your design stands out with the exact texture you envisioned. While standard sewing thread is highly versatile, understanding how it differs from dedicated embroidery thread is the key to a successful first project.
Sewing Thread vs. Embroidery Thread: What Beginners Need to Know
Standard sewing thread and embroidery thread are engineered for entirely different purposes. Standard sewing thread is designed primarily for structural integrity. It is spun tightly to hold seams together, withstand the high-speed friction of a sewing machine, and endure constant wear and tear. Typically made of polyester, mercerized cotton, or a poly-cotton blend, it is thin, strong, and relatively matte. Because it is designed to blend into the fabric rather than stand out, it lacks the decorative loft and luster of specialized needlework threads.
In contrast, embroidery thread—often referred to as embroidery floss—is manufactured specifically for visual appeal, surface coverage, and texture. The most common type is stranded cotton, which consists of six individual, loosely twisted plies that you can easily separate depending on the thickness your design requires. Another popular option is pearl cotton, a non-divisible, highly twisted thread with a distinct rope-like texture and a high-sheen finish. These threads are designed to sit on top of the fabric, catching the light and creating dimensional depth.
Products mentioned in this guide
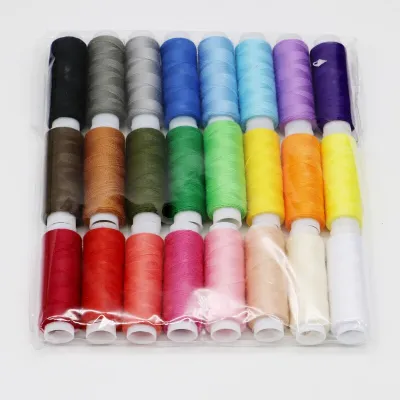
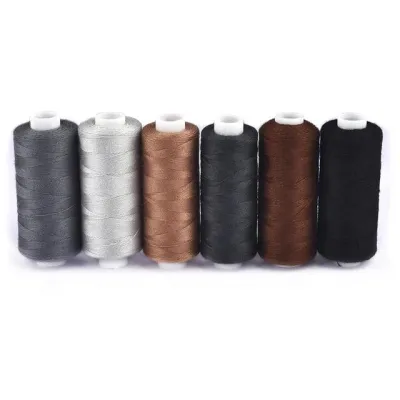
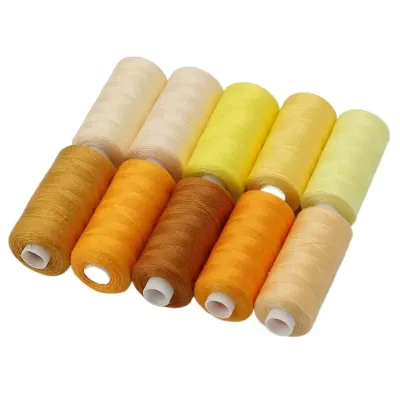
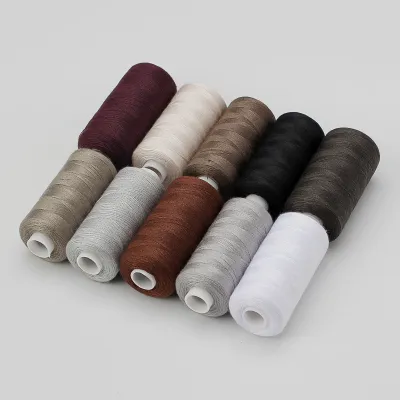
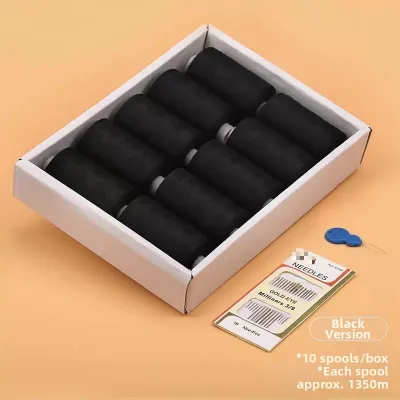
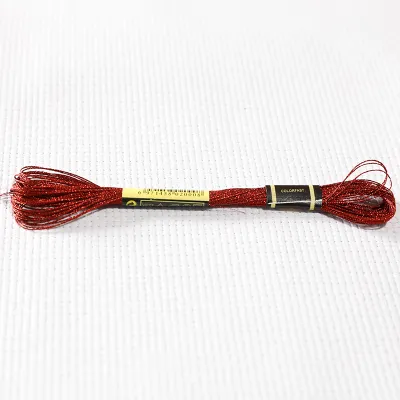
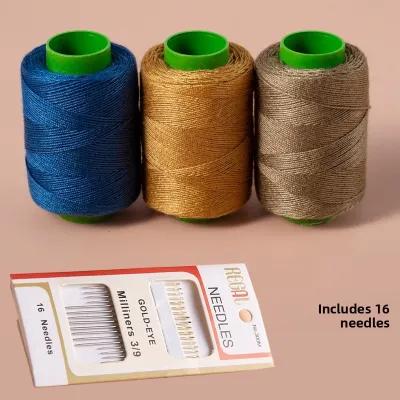
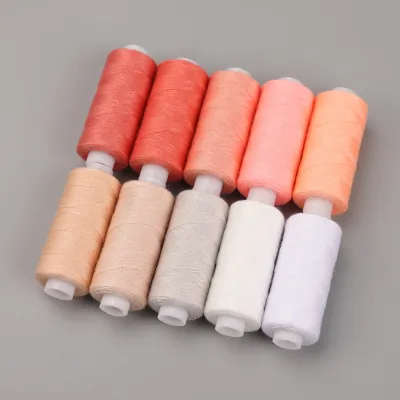
Prices are valid at publication and may change. Please refer to the product page for the latest price.
While embroidery thread is the standard choice for decorative needlework, high-quality sewing thread has a valuable place in your embroidery kit. Beginners can successfully use standard sewing thread for ultra-fine details, miniature micro-embroidery, or delicate outline stitching on exceptionally thin fabrics. Because sewing thread is much thinner than even a single strand of standard embroidery floss, it allows for hair-thin precision. However, for filling in large shapes or creating bold, textured patterns, relying solely on regular sewing thread will result in thin, sparse coverage that requires an exhausting number of stitches to fill.
How to Match Thread to Your Fabric Type
The relationship between your thread and your backing fabric determines whether your finished piece lies perfectly flat or puckers under tension. When embroidering, the thread must pass through the fabric weave without distorting the warp and weft threads. If your thread is too thick for the fabric, it will force the fabric fibers apart, leaving permanent holes and causing the surface to bunch up. Conversely, if the thread is too thin, it will sink into the fabric weave and disappear from view.

For lightweight and delicate fabrics, such as cotton lawn, silk, fine linen, or voile, you must use exceptionally fine threads. These fabrics have a delicate structure that cannot support heavy stitches. A single strand of cotton embroidery floss or a high-quality 50-weight (50wt) polyester sewing thread is ideal for these materials. These fine options glide through the delicate weave easily, preventing puckering and keeping the fabric’s drape intact.
Medium-weight fabrics, including standard quilting cotton, linen blends, canvas, and denim, are highly recommended for beginners because they are forgiving and structurally stable. These fabrics easily support standard stranded cotton—usually separated into two or three strands—as well as medium-weight pearl cotton (such as size 8 or 12). The weave of quilting cotton is tight enough to hold the stitches securely but loose enough to allow multiple passes of the needle without structural damage.
Heavyweight or highly textured fabrics, such as wool felt, thick canvas, upholstery fabric, or corduroy, require thicker threads to ensure the design remains visible. Fine threads will simply be swallowed by the deep pile or heavy texture of these materials. For these projects, you can use all six strands of standard embroidery floss, thick pearl cotton (size 3 or 5), or even specialized crewel wool yarn. These robust threads sit proudly on top of heavy fabrics, providing excellent contrast and definition.
To verify that your thread and fabric are compatible before you begin stitching your actual design, always perform a “pull-through” test on a scrap piece of your fabric. Thread your chosen needle and pull it, along with the thread, through the fabric. If you have to tug hard or if the fabric distorts as the needle passes through, your thread is too thick or your needle is too small. If the thread slides through smoothly but leaves a visible, permanent hole behind that does not close when you gently rub the fabric, your thread is too heavy for that specific weave.
Choosing Thread Based on Stitch Technique and Desired Effect
Different embroidery stitches require different thread characteristics to look their best. Flat and smooth stitches, such as the satin stitch or the long and short stitch, are designed to create a solid, paint-like block of color. To achieve this seamless effect, you need a thread that can lie perfectly flat and merge with the adjacent stitches. Divisible stranded cotton is the premier choice for flat fills because the separated strands relax and spread out slightly, covering the fabric surface without creating ridges. High-quality, smooth sewing thread can also be used for miniature satin stitching to achieve an incredibly fine, glossy finish.
Textured and raised stitches, such as French knots, bullion knots, woven wheel stitches, or cast-on stitches, rely on the thread’s ability to hold its shape and dimension. For these techniques, non-divisible threads like pearl cotton are highly recommended. Because pearl cotton is tightly twisted and cannot be split, it retains its round, rope-like structure when knotted or wrapped. This inherent structural integrity gives your textured stitches a crisp, three-dimensional quality that stands out sharply from the background fabric.
Outline and line work, including the backstitch, stem stitch, split stitch, or running stitch, requires clean, consistent lines. When stitching outlines, any variation in thread thickness will make the line look uneven or shaky. Using one or two strands of separated embroidery floss, or a dedicated 40-weight sewing thread, provides the necessary precision. These thinner options ensure your outlines remain sharp, crisp, and perfectly defined, serving as a beautiful frame for your filled areas.
The visual effect and sheen of your thread also play a massive role in the final appearance of your project. Mercerized cotton threads have been chemically treated to swell the fibers, resulting in a smooth surface that reflects light with a subtle, elegant sheen. If you prefer a rustic, vintage, or modern matte aesthetic, look for unmercerized cotton or specialized matte flower threads. For high-impact, glossy designs, polyester or rayon embroidery threads offer a brilliant, reflective shine, though they can be more slippery to handle during stitching.
Understanding Thread Materials, Weights, and Ply
Reading the labels on thread spools and skeins can feel like learning a new language, but demystifying these terms is essential for building your embroidery kit. The most common thread materials you will encounter are cotton, polyester, silk, and rayon. Cotton is the traditional choice for hand embroidery, loved for its soft feel, ease of handling, and excellent color absorption. Polyester is incredibly strong, resistant to fraying, and highly durable, making it the standard for machine sewing and projects that will undergo frequent washing. Silk offers an unparalleled, luxurious natural luster and strength, though it requires careful handling to prevent snagging. Rayon provides a brilliant, high-gloss finish but is notoriously slippery and prone to unraveling.
Understanding “ply” and divisibility is particularly important when working with standard six-strand embroidery floss. This thread is constructed from six individual plies or strands twisted together loosely. It is designed to be separated. By stripping the strands and recombining only the number you need—such as two strands for delicate detail or four strands for bolder lines—you control the physical thickness of your stitches. Separating the strands before threading your needle is a crucial step; even if you plan to use all six strands, pulling them apart and then laying them back together relaxes the manufacturing twist, resulting in a much smoother, flatter stitch lay on your fabric.
Thread weight numbering systems can be confusing because different thread types use different scales. For standard sewing thread, the weight is typically measured using the “Wt” system, where a higher number indicates a finer thread. For example, a 50wt thread is significantly thinner and finer than a 30wt thread. In contrast, embroidery floss thickness is determined simply by the number of strands you choose to use. For pearl cotton, the numbering system is also inverse, but uses different standards: a size 12 pearl cotton is very fine, while a size 3 is thick and heavy.
When examining a thread label, always look for key indicators of quality and care. Check if the thread is labeled “colorfast,” which ensures the dyes will not bleed when the finished piece is washed or exposed to moisture. This is especially important in humid tropical climates, like Singapore’s, where ambient moisture can sometimes affect stored textiles. Additionally, look for terms like “mercerized” (for added strength and sheen) or “gas-singed” (which means the thread has been passed over an open flame quickly to burn off excess fuzz, resulting in an exceptionally smooth finish).
Step-by-Step: Testing and Preparing Your Thread
Before you begin stitching your masterpiece, taking a few minutes to prepare your thread and run a quick test will save you hours of frustration and prevent damage to your materials.
Step 1: Cut the right length Pull a length of thread from your skein or spool and cut it. A good rule of thumb is to measure from your fingertips to your elbow, which is approximately 18 inches or 45 centimeters. Cutting your thread too long is a common beginner mistake; as a long thread passes repeatedly through the fabric, the friction wears down the fibers, causing the thread to fray, lose its sheen, and tangle into stubborn knots.
Step 2: Separate strands correctly If you are using stranded embroidery floss, separate the strands one by one. Hold the cut length of floss gently in one hand, pinch a single strand with your other hand, and pull it straight up and out. The remaining strands will clump together, but they will slide out smoothly without knotting. Repeat this process for each strand you need, then recombine them. Never try to pull multiple strands apart at once, as this immediately creates a tangled mess.
Step 3: Check the needle eye Thread your needle and observe how the thread sits in the eye. The thread should slide through the eye smoothly with a tiny amount of wiggle room. If you have to force the thread through, or if the eye of the needle is so small that it pinches and scrapes the thread as you pull it, the needle eye will shred the delicate fibers as you stitch. Conversely, a needle eye that is too large will leave gaping holes in your fabric.
Step 4: Stitch a test swatch Mount a scrap piece of your project fabric into an embroidery hoop and stitch a small sample of your planned design. Practice a few satin stitches, some line work, and a couple of knots. Observe how the thread behaves. Check if the fabric remains flat, if the thread coverage is sufficient, and if the colors blend harmoniously against the fabric background.
Stop Condition If you observe the fabric puckering, the thread shredding, or the needle leaving permanent, visible holes in your test swatch, stop immediately. Do not proceed to your main project fabric. You must adjust your setup by using a fabric stabilizer, switching to a thinner thread, choosing a different needle size, or selecting a more appropriate fabric weave. Always handle sharp embroidery needles and embroidery scissors with care, storing them safely in a needle book or secure container when not in use.
Frequently Asked Questions (FAQ)
Can I use regular sewing thread for hand embroidery?
Yes, you can absolutely use regular sewing thread for hand embroidery, but it comes with specific limitations. Regular sewing thread is highly effective for micro-embroidery, miniature designs, or adding ultra-fine details and sharp outlines to delicate fabrics. However, because standard sewing thread is much thinner than embroidery floss, it lacks the loft, thickness, and surface coverage needed to fill larger areas efficiently. If you attempt to fill a large shape with sewing thread, you will need to stitch many more rows, which can make the fabric stiff and dense. Additionally, regular sewing thread generally has a matte finish, so it will not provide the rich sheen and dimensional texture characteristic of dedicated embroidery floss.
How do I stop my embroidery thread from tangling and knotting?
Preventing tangles starts with proper thread handling. First, always cut your thread to a manageable length of about 18 inches (45 cm) to minimize friction. Second, ensure you separate your strands one by one before recombining them, which relaxes the thread’s natural twist. As you stitch, the thread will naturally accumulate twist from your fingers turning the needle; every few stitches, let your needle hang freely below your hoop for a few seconds to allow the thread to untwist itself. For stubborn threads or metallic fibers, you can run the thread through a thread conditioner like natural beeswax or a synthetic thread gloss, though keep in mind that conditioners can slightly alter the thread’s finish and may not be suitable for delicate, dry-clean-only fabrics.
Does the thread color look different on the fabric than on the spool?
Yes, thread colors can look surprisingly different once they are stitched onto fabric. When thread is wound tightly on a spool or skein, the concentrated mass of color appears deeper and more saturated. Once stitched onto a backing material, the individual strands are spread thin, allowing the background fabric color to subtly influence how the thread color is perceived. Furthermore, the thread’s sheen and the texture of the stitches will catch light differently than a flat spool. To avoid color mismatches, always stitch a small test swatch and view it under natural daylight, as artificial indoor lighting can distort colors and lead to unexpected results in your finished piece.
Community discussion
Share your experience or ask a question. Comments are reviewed before publication.