
Embarking on your very first embroidery project is an exciting creative milestone, but standing in front of a craft store display can quickly become overwhelming. The key to a successful first stitch lies in selecting the correct thread, as the wrong choice can lead to puckered fabric, shredded fibers, or a design that looks sparse and flat. While standard sewing thread is a household staple, it is rarely the best option for traditional hand embroidery. For most beginners, a dedicated six-strand cotton embroidery floss is the ideal starting point because it offers the perfect balance of coverage, ease of use, and versatility.
Sewing Thread vs. Embroidery Thread: What Beginners Need to Know
To understand why standard sewing thread is not ideal for most embroidery, it helps to look at how different threads are manufactured. Standard sewing thread is engineered primarily for structural integrity, seam strength, and durability. It is designed to hold two pieces of fabric together under tension while remaining as thin and unobtrusive as possible within the seams of a garment. Because of this, it is tightly spun, relatively thin, and lacks the volume needed to fill decorative shapes.
If you attempt to use standard garment sewing thread for hand embroidery, you will likely find the finished design looks flat, thin, and weak. Because the thread lacks loft, it takes a massive number of stitches to fill even a small shape, which can easily warp your fabric. Furthermore, standard sewing thread lacks the lustrous sheen that makes hand embroidery visually striking.
Products mentioned in this guide
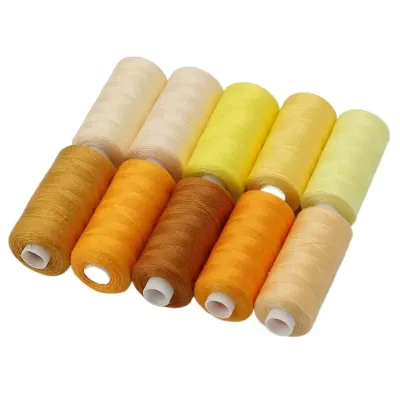
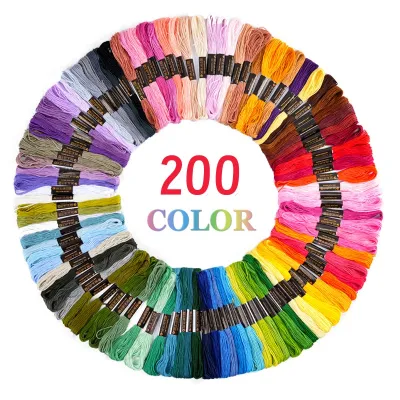
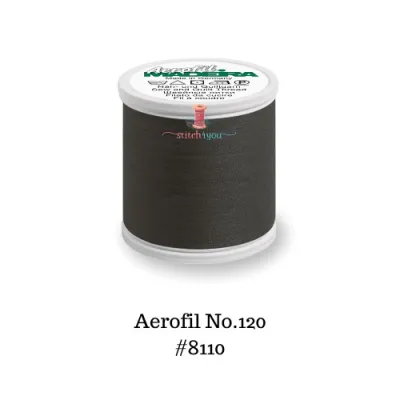
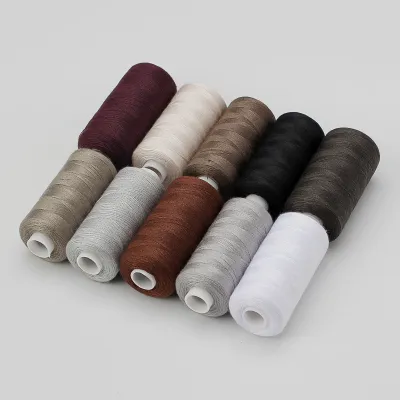
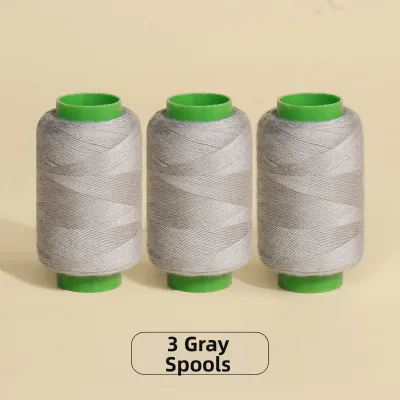
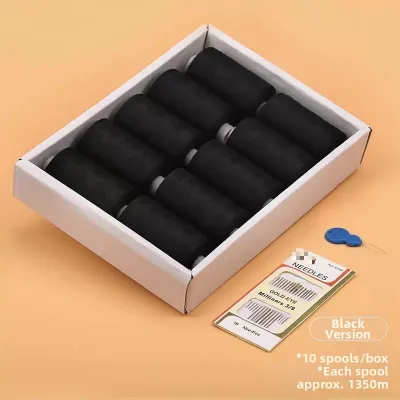
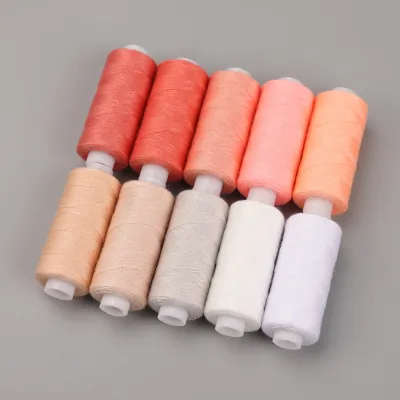
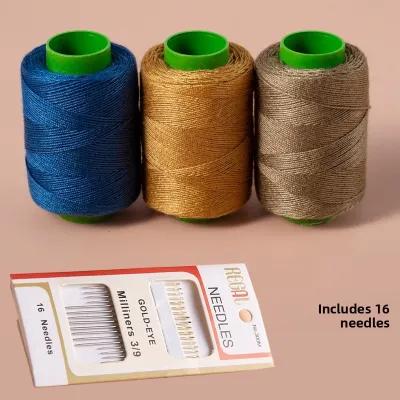
Prices are valid at publication and may change. Please refer to the product page for the latest price.
However, standard sewing thread does have a place in specialized needlework. For highly detailed micro-embroidery, intricate thread painting, or subtle outline work on exceptionally fine or sheer fabrics, the thin profile of sewing thread is highly advantageous. It allows for incredibly precise, microscopic stitches that mimic fine pencil lines.
Despite these niche applications, the baseline recommendation for any beginner starting their first traditional hand embroidery project is to use dedicated embroidery floss. This material is specifically designed for surface decoration, offering the necessary thickness, pliability, and light-reflecting properties to make your stitches stand out beautifully.
Matching Thread Fiber to Your Embroidery Style
The fiber content of your thread dictates not only the final appearance of your project but also how the thread behaves under your needle. Different fibers react differently to tension, friction, and washing, making fiber selection a crucial step in your planning process.

Cotton Thread and Floss
Cotton is the undisputed standard for hand embroidery, particularly for beginners. It features a classic matte or semi-matte finish that provides a traditional, hand-crafted look. One of the greatest advantages of cotton thread is its natural grip; the fibers cling slightly to one another and to the fabric, which helps maintain consistent tension even if your stitching technique is still developing.
This fiber is highly recommended for cross-stitch, surface embroidery, and utility items like hand towels or tote bags that will be handled and washed frequently. When shopping, look for high-quality mercerized cotton. Mercerization is a treatment that strengthens the cotton fibers, reduces lint, and imparts a subtle, elegant sheen that elevates the overall quality of your work.
Polyester and Synthetic Threads
Polyester and other synthetic threads are celebrated for their exceptional tensile strength, resistance to abrasion, and superior colorfastness. Unlike natural fibers, polyester does not degrade easily when exposed to moisture or sunlight, making it highly durable.
If you are embroidering items that will undergo frequent, rigorous laundering—such as children’s clothing, outdoor gear, or kitchen linens—polyester is an excellent choice. It will not bleed or fade, even when washed in warm water. Another synthetic option is rayon, which is prized for its high-gloss, silk-like sheen. However, rayon can be notoriously slippery and difficult for beginners to control, and it loses a significant portion of its strength when wet, requiring delicate care.
Silk and Specialty Fibers
Silk threads represent the pinnacle of luxury in needlework, offering an unmatched natural luster, a smooth glide through the fabric, and incredibly rich color depth. Silk fibers are exceptionally strong yet delicate, allowing for incredibly fine detail work.
While tempting, silk is best saved for advanced projects once you have mastered basic tension control. It is highly prone to catching on rough skin or split needles, and its high cost makes it less practical for early experimentation. Save silk for heirloom pieces, delicate formal wear, or specialized silk ribbon embroidery once you feel confident in your foundational skills.
Understanding Thread Weight, Ply, and Thickness
Navigating the numbering systems for thread thickness can be confusing because different thread types use entirely different scales. Understanding how thread structure and thickness interact will help you achieve the exact texture and coverage your design requires.
Stranded Cotton vs. Pearl Cotton
The most common type of embroidery thread is stranded cotton, which consists of six individual plies loosely twisted together. The beauty of stranded cotton lies in its versatility: you can easily separate these plies to customize the thickness of your thread for different parts of your design.
In contrast, pearl cotton (sometimes labeled as perle cotton) is a non-divisible, tightly twisted thread with a distinct rope-like texture. Pearl cotton does not separate; instead, it is purchased in specific pre-determined weights. It is excellent for creating highly textured stitches, bold outlines, and structured styles like Hardanger embroidery.
When reading thread weight numbers, keep in mind that standard sewing thread uses a system where higher numbers indicate thinner threads (for example, a 50-weight thread is much thinner than a 30-weight thread). Embroidery thread, however, relies on different standards. For pearl cotton, the sizes typically range from #3 (thickest) to #5, #8, #12, and #16 (thinnest). For stranded cotton, thickness is controlled simply by the number of plies you choose to pull from the main six-strand thread.
Adjusting Ply for Different Visual Effects
To customize your stitches using stranded cotton, you must learn to adjust the number of plies you use. Using all six strands at once is rarely necessary and can result in clunky, difficult-to-pull stitches on standard fabrics.
- 1 to 2 Plies: Best for delicate details, fine lettering, whiskers, eyelashes, and lightweight fabrics like batiste or handkerchief linen. This thickness allows for high precision and prevents the fabric from puckering under heavy thread weight.
- 3 to 4 Plies: The sweet spot for standard surface embroidery stitches, such as satin stitch, stem stitch, and French knots on medium-weight cotton or linen. It provides excellent coverage and a pleasing dimensional texture without overwhelming the fabric.
- 5 to 6 Plies: Ideal for bold, highly textured outlines, chunky decorative borders, or filling large areas on heavy, sturdy fabrics like denim, canvas, or wool felt.
Choosing Colors, Textures, and Finishes
Building your first thread collection is one of the most enjoyable parts of starting embroidery, but a strategic approach will save you money and storage space. Instead of buying massive, pre-packaged assortments of hundreds of colors—many of which you may never use—it is wiser to build a functional starter palette.
Begin by selecting a high-quality set of primary colors (red, blue, yellow), essential neutrals (black, white, cream, grey), and a few versatile accent shades like warm browns, botanical greens, and soft pastels. This focused selection allows you to complete a wide variety of beginner patterns, such as simple floral designs or modern line art, without cluttering your workspace.
When selecting threads, you will encounter both solid dyed threads and variegated threads, which feature multiple colors or shades blended along a single strand. While variegated threads look beautiful on the skein, they can easily obscure complex stitch textures. If you are practicing intricate stitches, stick to solid colors so your handiwork remains clearly visible.
Specialty threads, particularly metallic threads, are wonderful for adding holiday sparkle or eye-catching accents. However, metallics are notoriously difficult to work with because the synthetic metal foil wrapped around the core fiber tends to fray, catch, and shred. If you choose to use metallics for your first project, use much shorter lengths than usual, select a needle with a slightly larger eye to reduce friction, and work slowly.
Before committing to any thread, always perform a simple colorfastness test, especially if your finished piece will eventually be washed. Dampen a clean white paper towel, wrap it around a small section of the thread, and press it firmly. If any dye transfers to the paper towel, the thread is not colorfast and may bleed into your background fabric during washing.
Pairing Thread with Fabric and Needles
A beautiful embroidery project relies on a harmonious relationship between your thread, fabric, and needle. If these three elements are mismatched, you will struggle with tension issues, fabric damage, and uneven stitches.
The fundamental rule of embroidery is proportion: your thread thickness must match the weight and weave of your fabric. Heavy pearl cotton or all six strands of cotton floss require a sturdy, tightly woven fabric like heavy canvas, denim, or thick linen. Conversely, fine one- or two-ply stranded cotton is best suited for delicate, lightweight fabrics like fine linen, cotton lawn, or cambric.
If you ignore this rule, the consequences are immediately apparent. Using a thick thread on a fine fabric forces the needle and thread to tear through the delicate weave, causing unsightly puckering and leaving permanent holes. On the other hand, using a thin, single-ply thread on heavy canvas will make your stitches look lost, sparse, and entirely lacking in visual impact.
Your choice of needle is the final piece of the puzzle. For hand embroidery, you should use a crewel needle (often simply called an embroidery needle). Crewel needles feature a sharp tip to pierce fabric cleanly and a long, elongated eye designed to accommodate multiple strands of thread. The size of the needle is designated by a number; counterintuitively, larger numbers represent smaller, finer needles.
The needle eye must be large enough for your chosen thread thickness to slide through with minimal friction, which prevents the thread from wearing down and fraying as you stitch. However, the shaft of the needle must not be so thick that it leaves visible, permanent holes in your fabric that the thread cannot fill.
Step-by-Step: Preparing and Testing Your Thread for the First Stitch
Before you make your first permanent stitch on your project fabric, taking a few minutes to prepare your materials and run a quick test will save you hours of potential frustration.
Cutting and Conditioning the Thread
Start by cutting your thread to a manageable length. A common beginner mistake is cutting an excessively long piece of thread to avoid re-threading the needle. However, long threads are highly prone to tangling, knotting, and wearing thin from repeatedly passing through the fabric. Limit your thread length to approximately 18 inches (45 cm), which is roughly the distance from your fingertips to your elbow.
If you are using stranded cotton, do not peel the plies apart in a bundle, as this will cause immediate knots. Instead, hold the cut piece of floss, pinch the tip of a single strand, and gently pull it straight up and out of the bundle. The remaining strands will gather slightly but will easily smooth out once the single strand is free. Repeat this process for each strand you need, then realign them before threading.
While optional, running your thread through a small amount of beeswax or a synthetic thread conditioner can help smooth down wild fibers and reduce static electricity. This step is highly beneficial for metallic or synthetic threads, though it is generally unnecessary for high-quality cotton floss.
Threading and Needle Selection
Once your strands are separated and realigned, fold the end of the thread tightly over the needle eye and pinch it firmly between your thumb and forefinger. Slowly slide the needle out while maintaining your pinch, then push the tiny, folded loop of thread directly through the needle eye. This technique is much easier than trying to push frayed thread ends through the eye.
To secure your thread, leave a tail of about 3 to 4 inches (7 to 10 cm) hanging through the eye. This prevents the thread from slipping out as you stitch. For your first project, you can use a simple waste knot on the backside of your fabric, or weave the tail into the back of your first few stitches to keep the reverse side of your work clean and secure. Double-check that the thread glides smoothly through the eye without catching on any rough metal edges inside the needle.
Running a Fabric Scrap Test
Never start stitching directly on your final project without running a scrap test first. Secure a small scrap of your project fabric in an embroidery hoop. Using the exact needle and thread ply combination you plan to use, stitch a few basic lines of running stitch, backstitch, and a small satin stitch circle.
Observe the results closely against these verification criteria:
- Fabric Flatness: The fabric should remain perfectly flat and taut within the hoop, with no puckering or pulling around the stitches.
- Coverage: In the satin stitch circle, the thread should fully cover the background fabric without leaving gaps, and the stitches should sit smoothly side-by-side.
- Thread Integrity: The thread should glide through the fabric easily without squeaking, catching, fraying, or shredding near the needle eye.
If the fabric puckers, try reducing your thread ply count or switching to a slightly larger needle that clears a wider path through the fabric. If you see gaps in your satin stitch, increase your ply count.
Frequently Asked Questions (FAQ)
Should I pre-wash my thread before starting an embroidery project?
High-quality, mercerized cotton embroidery floss from reputable brands generally does not require pre-washing because it is manufactured to be highly colorfast. However, if you are working with vibrant, dark colors like deep reds, forest greens, or navy blues, or if you are using unbranded or hand-dyed threads, performing a quick colorfastness test is highly recommended. If your base fabric is prone to shrinkage—such as unwashed cotton or linen—it is critical to wash, dry, and iron the fabric before you begin hooping and stitching. Washing the finished piece later when only the fabric shrinks can warp and ruin your beautiful handiwork.
How do I store leftover thread to prevent tangling and fading?
Proper storage is essential for preserving the quality of your thread over time, especially in warm, humid climates like Singapore where moisture can degrade fibers. Store your leftover threads in a cool, dry place away from direct sunlight, which can cause severe UV fading and weaken the fibers. To keep your cut lengths and skeins organized, wind them onto plastic or cardboard embroidery bobbins, or store them in small, labeled, resealable plastic bags. Always write the brand name and specific color code number on the bobbin or bag; this ensures you can easily purchase an exact match if you run out of thread during a future project or need to make repairs.
Community discussion
Share your experience or ask a question. Comments are reviewed before publication.