
Embarking on your first embroidery project is an exciting creative milestone, but standing in front of a craft store display can feel overwhelming. To choose the right thread, you must first decide whether you are looking for standard sewing thread to create delicate, structural outlines or traditional stranded embroidery floss to build rich, textured fills. The ideal choice depends entirely on your fabric weight, your design details, and how the finished piece will be used and washed. By understanding how thread materials, weights, and colors interact with your base fabric, you can avoid common beginner pitfalls like puckering, fraying, and color bleeding.
Understanding Sewing Thread vs. Embroidery Floss for Beginners
Standard sewing thread is engineered primarily for joining pieces of fabric together. It is typically made from polyester, cotton, or cotton-wrapped polyester. Manufacturers twist these fibers tightly during production to maximize tensile strength, ensuring the thread can withstand the high-speed tension of a sewing machine and hold structural seams together over years of wear. Because of this tight twist and structural purpose, standard sewing thread has a relatively thin, uniform diameter and a matte or low-sheen finish.
In contrast, dedicated embroidery thread—often referred to as embroidery floss—is designed specifically for decorative surface work. The most common variety is stranded cotton, which consists of six individual, loosely twisted strands that you can easily separate to customize your line thickness. Other varieties include rayon, silk, and metallic threads. These are manufactured with a much looser twist to allow the fibers to spread slightly across the fabric surface, creating a smoother, highly reflective finish with a soft drape and vibrant sheen.
Products mentioned in this guide
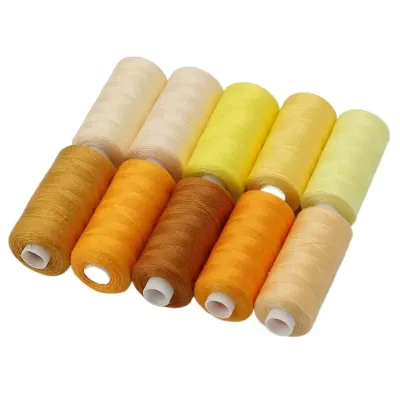
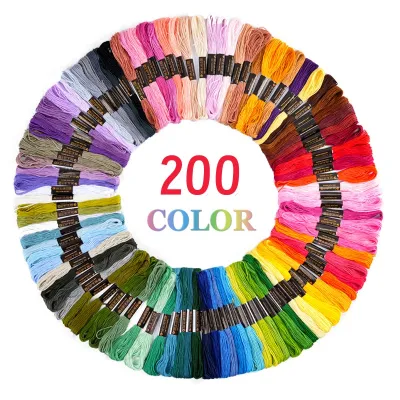
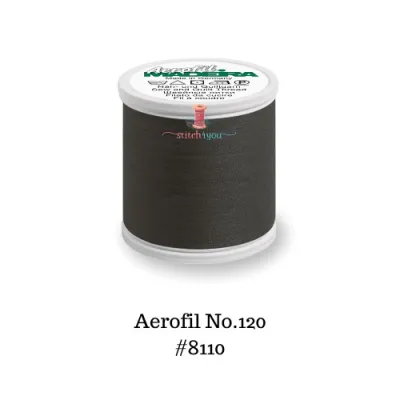
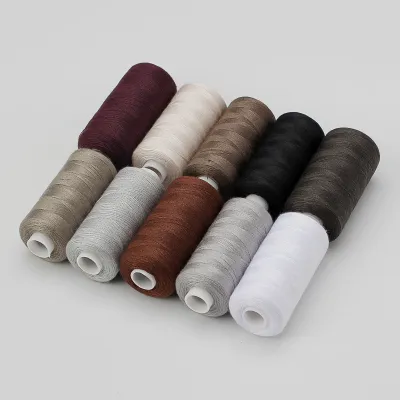
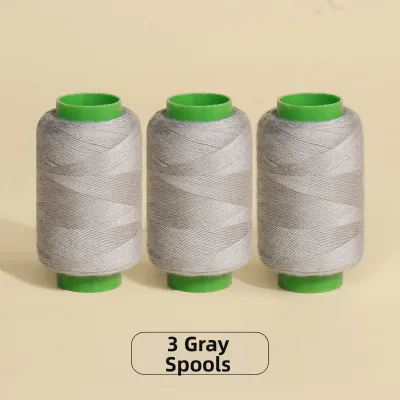
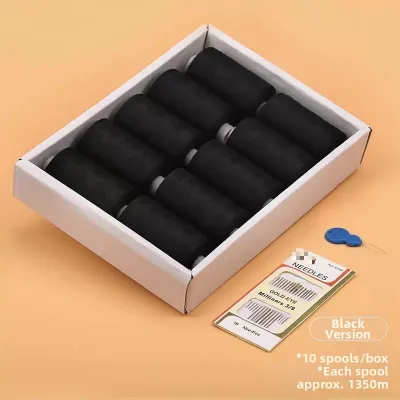
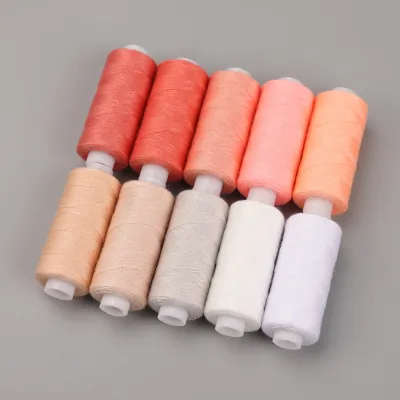
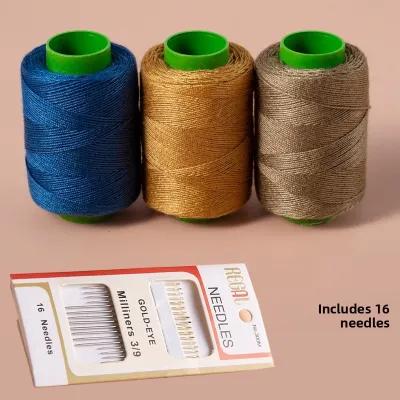
Prices are valid at publication and may change. Please refer to the product page for the latest price.
While embroidery floss is the standard choice for hand stitching, there are specific scenarios where regular sewing thread is highly appropriate. If your design features ultra-fine outlines, delicate monogramming, or microscopic details, the thin profile of sewing thread offers exceptional precision. It is also the default choice for machine embroidery, where the high speed of the needle requires a strong, continuous thread that will not snap. If you are practicing basic utility stitches, sashiko-style patterns, or mending garments, sewing thread serves as a highly functional medium.
However, you must establish realistic expectations before substituting one for the other. Using standard sewing thread for a full hand embroidery pattern will yield a flat, matte, and highly utilitarian appearance. It requires significantly more stitches to fill a solid shape, which can distort your fabric. Dedicated embroidery floss, with its customizable strand count and light-catching sheen, provides the lush, raised texture and rich coverage that defines traditional decorative needlework.
Step 1: Match the Thread Material to Your Fabric and Project
Selecting the right fiber is the foundation of a successful embroidery project, as the thread and fabric must behave as a cohesive unit.

Cotton thread/floss: Cotton is the gold standard for natural fabrics such as cotton muslin, linen, and canvas. It delivers a classic, soft, matte-to-semi-matte finish that blends seamlessly with the texture of woven natural fibers. Because cotton fibers do not stretch, cotton thread is incredibly stable, making it ideal for non-stretch, woven textiles. It behaves predictably under tension, ensuring your stitches remain crisp and uniform.
Rayon and Silk: If your project demands a high-gloss, luxurious finish, rayon and silk are the premier choices. Silk thread offers an unmatched natural luster and a fluid glide through delicate fabrics, while rayon provides a highly reflective, vibrant sheen at a more accessible price point. However, both materials present unique challenges for beginners. They are slippery to handle, prone to untwisting during stitching, and require careful tension control. Furthermore, they are less durable than synthetics and can degrade or lose their luster under frequent, harsh washing, making them best suited for framed wall art or decorative items.
Polyester: Polyester thread is the ultimate workhorse for durability, elasticity, and colorfastness. It is highly resistant to abrasion, chemical detergents, and UV exposure. This makes polyester the perfect selection for embroidered items that will undergo frequent laundering, such as children’s clothing, tea towels, tote bags, or outdoor gear. Additionally, because polyester has a slight natural elasticity, it matches the stretch profile of synthetic and knit fabrics, preventing the stitches from snapping when the garment moves.
Fiber Matching and Strength Rules: As a general rule of thumb, you should aim to match your thread fiber to your fabric fiber—use cotton thread on cotton fabric, and polyester thread on synthetic blends. When mixing fibers, ensure that your thread is slightly weaker than your fabric. If a finished item experiences sudden tension or stress, you want the thread to snap rather than having the stronger thread tear a permanent hole in your precious fabric.
Checking Care Labels: Before you begin stitching, always cross-reference the care instructions of both your fabric and your thread. If you plan to iron your finished embroidery on a high heat setting, a low-tolerance synthetic thread could melt or warp. Conversely, washing a shrink-prone natural fabric with a pre-shrunk synthetic thread can cause severe puckering around your design after the first wash. Ensure both components share compatible washing, drying, and ironing tolerances to preserve your hard work.
Step 2: Select the Thread Weight and Strand Count for Design Details
Understanding how thread thickness is measured and structured allows you to control the level of detail and texture in your embroidery.
Understanding Thread Weight: Standard sewing thread and single-strand embroidery threads use a numbering system that can be highly confusing to beginners because of its inverse relationship. A higher weight number (often written as “wt”) indicates a thinner, finer thread, whereas a lower weight number indicates a thicker, heavier thread. For example, a 50wt thread is very fine and commonly used for piecing and delicate applique, while a 30wt thread is noticeably thicker and stands out prominently on the fabric.
The Structure of 6-Strand Floss: Traditional hand embroidery floss simplifies this by packaging six individual strands together. Instead of buying different thread weights, you adjust your line thickness by pulling apart the strands. To separate them without creating a tangled knot, pinch the floss, isolate a single strand, and pull it straight up and out while holding the remaining strands loosely. Repeat this process for each individual strand you need, then recombine them.
Strand Count Framework:
- 1 to 2 strands: Best for ultra-fine details, delicate lettering, realistic pet portraits, and intricate facial features. This thickness mimics a fine-line pen.
- 3 to 4 strands: The standard choice for general filling, satin stitch areas, and moderate outlines. It offers excellent coverage without looking overly bulky.
- All 6 strands: Ideal for bold outlines, highly textured stitches like French knots or bullion knots, and high-impact accents. This creates a chunky, three-dimensional effect.
Matching Thickness to Fabric Weight: Your chosen thread thickness must harmonize with your fabric’s structural weight. Heavyweight fabrics like denim, canvas, or thick wool can easily support all six strands of embroidery floss or thick 30wt sewing threads without warping. However, if you attempt to pull a thick thread through delicate fabrics like cotton voile, silk chiffon, or lightweight linen, the needle and thread will leave permanent, unsightly holes and cause the fabric to pucker severely. Fine fabrics demand fine 1-to-2 strand floss or 50wt sewing threads.
Needle Eye Selection: To prevent your thread from fraying as you work, you must pair it with the correct needle size. The needle’s eye must be large enough for the thread or multiple strands to pass through easily without being squeezed. If the eye is too small, it will shave and abrade the thread fibers every time you pull the needle through the fabric, leading to premature shredding, thinning, and snapping.
Step 3: Choose and Verify Colors for Visual Impact
Selecting the perfect color palette involves more than just picking shades that look pretty together in the skein; they must perform well on your background fabric.
Value Contrast vs. Hue Contrast: When planning your design, beginners often focus solely on hue contrast—such as putting a bright green thread on a red fabric. However, the success of an embroidery design relies heavily on value contrast, which is the difference in lightness and darkness between the thread and the fabric. To verify this, use the “black-and-white photo trick.” Place your thread options directly on top of your project fabric, take a digital photo with your phone, and apply a grayscale filter. If the thread and fabric blend into the same shade of gray, your design will lack visibility and definition, regardless of how different the colors seemed in full color.
Color Strategies: You can use color theory to establish the mood of your project. An analogous color scheme—using colors that sit next to each other on the color wheel, such as blues, teal, and greens—creates a soft, harmonious, and blended appearance. This is excellent for natural motifs like foliage or water. If you want a striking, high-impact design where every element pops, utilize complementary colors—those directly opposite each other on the color wheel, such as orange and blue, or yellow and purple.
Evaluating Under Natural Light: Always evaluate your thread and fabric combinations under natural daylight. Indoor retail spaces and home sewing rooms often rely on warm incandescent or cool fluorescent bulbs, which emit uneven light spectrums. These artificial light sources can drastically distort color perception, causing a thread that looks like a perfect match in the store to appear mismatched, muddy, or clashing once you bring it home. Take your materials to a window to confirm their true colors.
Managing Variegated Threads: Variegated threads, which transition through multiple colors along a single strand, are incredibly tempting for beginners. However, they require careful planning. In small, dense stitch areas like satin stitching, the rapid color shifts can create a chaotic, messy pattern that obscures your design’s shape. These threads perform best when used for long, flowing line stitches, such as stem stitch or backstitch, where the gradual color transitions can mimic natural vines, water currents, or hair.
Step 4: Test Your Thread and Fabric Combination Before Stitching
Before committing your time and materials to your final piece, always create a test swatch. Cut a small scrap of the exact fabric you plan to use for your project, secure it in a hoop, and stitch a small sample. Make sure to include the most complex or dense stitch featured in your pattern, using the exact needle and thread combination you have selected. This quick step acts as a dry run for your materials.
Tension and Puckering: Examine the fabric surrounding your test stitches. If the fabric pulls, puckers, or distorts, your tension is too tight, your needle is too large, or your thread is too heavy for the fabric weight.
Thread Fraying: Observe the thread as you complete your sample. If the fibers begin to shred, fuzz, or lose their sheen after passing through the fabric a few times, your needle eye may be too small or rough, or the fabric weave may be too abrasive for that specific thread type.
Color Bleeding: This is a critical check for highly saturated colors like deep reds, purples, and navy blues stitched onto light-colored fabrics. In humid climates like Singapore, atmospheric moisture can sometimes exacerbate dye instability over time. Lightly mist your completed test swatch with water, or damp-press it with an iron. If you see dye bleeding into the surrounding fabric, you must address this before starting your main project.
Corrective Actions: If your test swatch reveals issues, apply targeted adjustments. If the thread is shredding, switch to a needle with a larger eye or a specialized embroidery needle with a polished eye. If the fabric is puckering, reduce the number of strands you are using or loosen your hand tension. If you experience color bleeding, pre-wash the thread skein in cool water with a dye-trapping sheet until the water runs completely clear, then let it dry thoroughly before stitching.
Frequently Asked Questions (FAQ)
Can I use regular sewing thread for hand embroidery?
Yes, you can use regular sewing thread for hand embroidery, especially for fine outlines, delicate lettering, or utility stitching. However, keep in mind that it will produce a flatter, more matte appearance than embroidery floss. It also lacks the coverage of stranded floss, meaning you will need more stitches to fill a solid shape.
How do I keep embroidery thread from tangling or fraying?
To prevent tangles, avoid using overly long pieces of thread; cutting your strands to a manageable length of 18 to 24 inches (about the distance from your fingertips to your elbow) is ideal. For stubborn or slippery threads, you can run them through a thread conditioner or natural beeswax. Always ensure your needle eye is smooth and appropriately sized.
What is the best thread type for a beginner's first embroidery kit?
The absolute best thread type for a beginner is 100% cotton stranded embroidery floss. It is highly forgiving, widely available in an endless array of colors, and easy to separate into different strand counts. It behaves predictably on common starter fabrics like cotton and linen, providing a classic, beautiful finish.
Community discussion
Share your experience or ask a question. Comments are reviewed before publication.