
To choose the right thread for your first embroidery project, you must match the thread’s fiber, weight, and structure to your base fabric and design goals. For almost all beginners, the ideal starting choice is six-strand cotton embroidery floss. While standard sewing thread can technically be used, its thin, structural design often leads to flat, underwhelming results on decorative pieces. Understanding how thread characteristics interact with your fabric ensures your first project is a rewarding success.
Evaluating your materials before you begin saves time and prevents common beginner mistakes. By learning to distinguish between sewing and embroidery threads, matching your fibers to your fabric, and testing your setup on a scrap swatch, you will build a reliable foundation for beautiful, lasting stitches.
Sewing Thread vs. Embroidery Thread: Clearing Up the Confusion
Standard sewing thread is engineered to hold seams together under tension. It is typically made of polyester or cotton, spun tightly to minimize friction in sewing machines, and finished with a matte or semi-matte appearance. Because it must pass through high-speed machine needles and withstand structural wear, it is thin, strong, and highly resistant to fraying.
Products mentioned in this guide
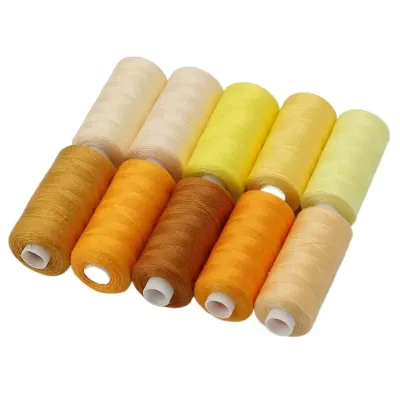
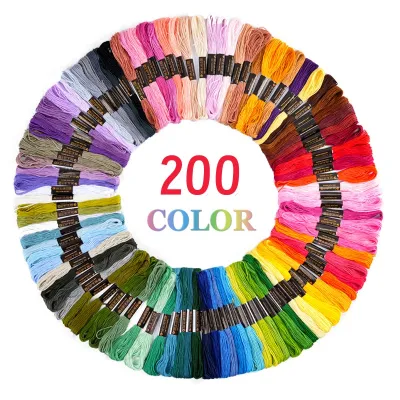
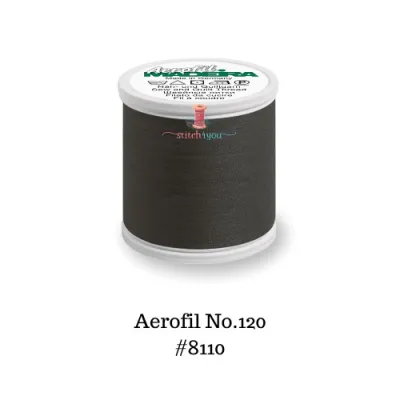
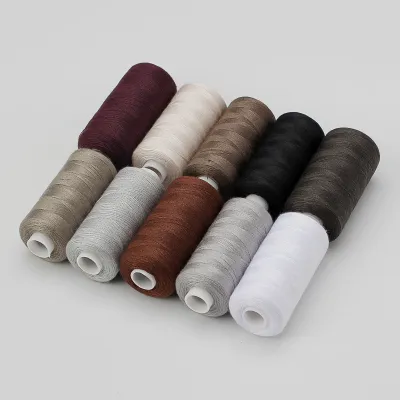
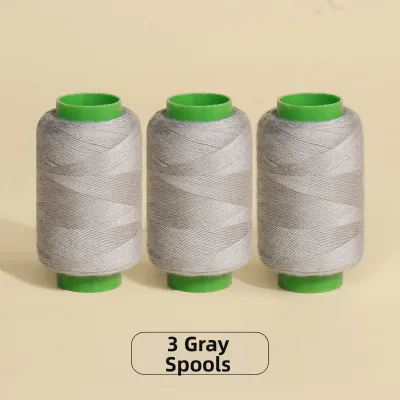
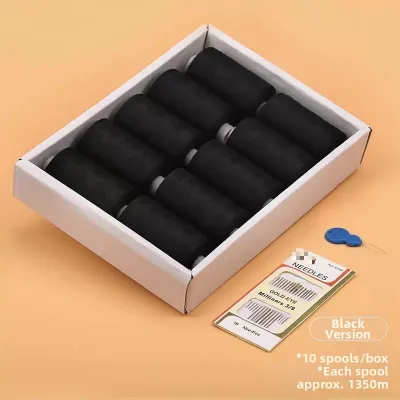
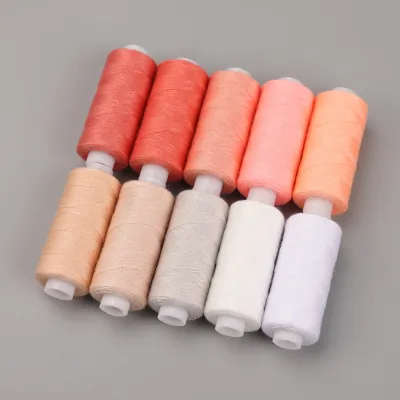
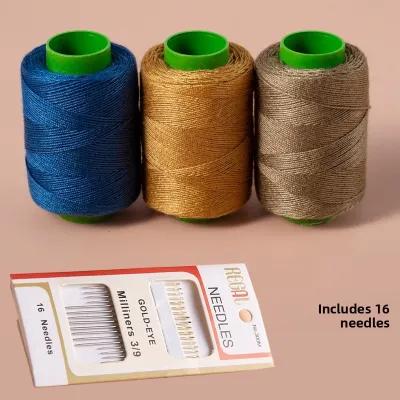
Prices are valid at publication and may change. Please refer to the product page for the latest price.
Embroidery thread, by contrast, is designed purely for surface decoration. It is loosely twisted to allow the individual fibers to spread out and catch the light, creating a lustrous, satin-like sheen. It is most commonly sold as a divisible six-strand skein, meaning you can peel apart individual plies to customize your thread thickness for different parts of your design.
While you can use standard sewing thread for hand embroidery, it is generally best reserved for ultra-fine details, micro-embroidery, or specific textured effects. If you try to use it for standard surface coverage, such as filling in a leaf or a flower petal, the thread will look flat and sink into the fabric weave. You would need to stitch over the same area multiple times, which often causes the fabric to pucker and distort.
To identify what type of thread you currently hold, use this quick visual and tactile checklist:
- Skein vs. Spool: Embroidery floss is almost always sold in loose, paper-banded skeins or small pearl cotton balls. Sewing thread is wound tightly around plastic, cardboard, or wooden spools.
- Strand Divisibility: Gently untwist the end of the thread. If it easily separates into six distinct, parallel plies, it is embroidery floss. If it remains a single, tightly bound cord that resists splitting, it is standard sewing thread.
- Sheen and Texture: Run the thread between your fingers. Embroidery floss feels soft, smooth, and has a noticeable luster. Sewing thread feels slightly stiffer, rounder, and has a utilitarian, matte finish.
Comparing Thread Materials for Different Embroidery Effects
Cotton is the gold standard for hand embroidery and the top recommendation for beginner projects. It has a soft, semi-matte finish that offers excellent stitch definition, making it easy to see where your needle enters and exits the fabric. Cotton floss is incredibly forgiving for beginners because it does not slip out of the needle eye easily and holds knots securely on the back of your work.

Polyester thread is exceptionally strong, highly resistant to fading, and completely colorfast. It has a slight synthetic sheen and is ideal for items that will face frequent washing or outdoor exposure. If you are embroidering a garment, tote bag, or household item that will be laundered regularly, polyester is a highly practical choice that resists mold and mildew.
Rayon and silk are high-sheen, delicate fibers used for advanced decorative effects. Rayon offers an intense, brilliant luster at an affordable price, while silk provides a luxurious, soft glow. However, both fibers are notoriously slippery, prone to untwisting, and easily snagged. Beginners should generally avoid them until they have mastered basic tension control, as they can easily slip out of the needle eye and frustrate a novice.
When shopping for thread in local craft stores or online specialty shops, always read the fiber content tags and labels on the packaging. High-quality threads will state the exact material (such as “100% Cotton” or “100% Polyester”) and indicate if the thread has been mercerized. Mercerization is a chemical treatment that increases the thread’s strength, luster, and ability to hold dye, ensuring your colors remain vibrant over time.
Decoding Thread Weight and Ply for Better Stitch Control
Thread weight is designated by a numbering system where a higher weight number indicates a thinner thread. For example, a 50-weight (50 wt) thread is much thinner than a 30-weight (30 wt) thread. Standard sewing thread is typically around 40 wt or 50 wt, whereas heavy-duty buttonhole thread might be 20 wt. Understanding this inverse relationship helps you select the correct thickness for your design.
Traditional embroidery floss consists of six individual plies lightly twisted together. You rarely use all six strands at once unless you are working on very thick fabric or want a chunky, heavily textured line. Instead, you cut a length of floss and pull out the exact number of strands you need for your specific stitch.
Matching your strand count to your stitch type is essential for clean results:
- Delicate Outlines: Use 1 or 2 strands for backstitch, stem stitch, or split stitch to create clean, sharp lines that define shapes without looking bulky.
- Satin Stitch Filling: Use 1 or 2 strands. While filling a shape with fewer strands takes longer, it creates a smooth, flat, paint-like finish. Using 4 to 6 strands for filling often results in a bumpy, uneven surface.
- Textured Accents: Use 3 to 4 strands for French knots, chain stitches, or lazy daisies to give the stitches physical dimension and prominence on the fabric.
Using the wrong thread thickness can ruin the scale and readability of your pattern. Thick threads can obscure small details and make intricate designs look muddy. Conversely, thin threads on a large, bold design will require an exhausting number of stitches to fill, often leading to tension issues and fabric distortion.
Matching Your Thread to the Base Fabric
Woven cottons and linens, such as medium-weight calico, linen blends, or quilting cotton, are the ideal base fabrics for beginner embroidery. Their even, stable weave supports the weight of cotton embroidery floss beautifully without warping. The fibers naturally separate to let the needle pass through and then close back around the thread, holding your stitches securely in place.
Stretchy or knit fabrics, like t-shirts and jersey knits, present a unique challenge. Because the fabric stretches, your stitches can easily sag or distort the garment once it is removed from the embroidery hoop. To prevent this, you must use a stabilizer—a backing material that temporarily hardens the fabric—and pair it with a flexible polyester thread that can accommodate minor fabric movement without snapping.
To avoid puckering, tearing, or thread sinking, always follow the “rule of balance.” This rule dictates that heavier, denser fabrics require heavier threads and larger needles, while delicate fabrics require finer threads and smaller needles. If you use a thick, heavy thread on a delicate silk fabric, the needle will leave permanent holes and the thread will cause the fabric to pucker. Conversely, using a single strand of fine thread on heavy canvas will make the stitches virtually invisible.
Before you begin stitching, check your fabric’s weave density by holding it up to the light. If the weave is incredibly tight, a thick needle and thread will struggle to pass through, causing finger fatigue and thread fraying. If the weave is very loose, the stitches will slip through the gaps and lose their shape. Aim for a medium, visible weave where a standard embroidery needle can glide through with minimal resistance.
Building a Beginner-Friendly Color Palette
It is tempting to buy a massive rainbow pack of threads for your first project, but managing dozens of colors can quickly become overwhelming. Start with a limited, manageable color palette of 3 to 5 colors. This constraint forces you to focus on stitch quality, line neatness, and texture rather than getting lost in complex color transitions.
To find a harmonious color scheme, apply basic color theory using a simple color wheel:
- Complementary Colors: Choose colors opposite each other on the wheel (such as blue and orange) to create high contrast and vibrant energy.
- Analogous Colors: Choose colors next to each other on the wheel (such as forest green, olive, and soft yellow) for a soothing, cohesive look.
- Monochromatic Colors: Use different shades of a single color (such as light pink, medium pink, and deep rose) to practice basic shading and depth.
Checking colorfastness is critical, especially for embroidered garments or household items that will require regular laundering. In Singapore’s warm, humid climate, moisture can cause unstable dyes to bleed, potentially ruining hours of handiwork. To verify if a thread is colorfast, wet a small snippet with warm water and press it firmly between two layers of clean white paper towel. If any dye transfers to the paper, the thread is not colorfast and should not be used on items that will be washed.
Additionally, always evaluate your thread colors under natural daylight as well as the artificial lighting of your workspace. Fluorescent or warm LED bulbs can dramatically alter how colors look together. A combination that looks perfectly balanced under your desk lamp might look mismatched or washed out when viewed in natural light.
Preparing and Testing Your Thread Before You Stitch
To minimize friction, tangling, and fraying, always cut your thread into manageable lengths. A good rule of thumb is to cut pieces no longer than your forearm, which is approximately 45 to 50 cm. While longer threads mean fewer knots to tie, the constant friction of pulling a long thread through the fabric wears down the fibers, causing them to thin, split, and tangle midway through your project.
To separate strands from a 6-strand floss without tangling, tap the end of the cut piece to fluff the fibers. Pinch one individual strand and gently pull it straight up and out while holding the remaining bundle in your other hand. Pulling strands one by one, rather than trying to split multiple strands at once, keeps the thread smooth and knot-free. For a neat back, avoid bulky knots; instead, use a temporary “waste knot” placed a few centimeters away, which you can later cut off after weaving the tail end through the back of your completed stitches.
Never start your final project without stitching a small test swatch on a scrap piece of your project fabric. This is your opportunity to verify that your needle size matches your thread weight, that your chosen colors look harmonious together, and that the thread does not snag or split on the fabric fibers.
If your test swatch shows puckering or loose loops, use this brief troubleshooting guide to adjust your tension:
- Puckered Fabric: If the fabric gathers or wrinkles around your stitches, your tension is too tight. Relax your pulling hand, make sure your fabric is drum-tight in your embroidery hoop, and avoid pulling the thread too sharply at the end of each stitch.
- Loose, Sagging Loops: If the thread sits loosely on the fabric surface, your tension is too loose. Ensure you are pulling the thread completely through to the back of the fabric, and check that your embroidery hoop has not lost its grip on the fabric.
Frequently Asked Questions (FAQ)
Can I use regular sewing thread for hand embroidery?
Yes, but with limitations. Regular sewing thread is much thinner than embroidery floss and has a matte, utilitarian finish. It works well for extremely fine details, micro-embroidery, or adding delicate outlines. However, for filling shapes or creating textured stitches like French knots, it lacks the necessary thickness and sheen. You would need to use multiple strands or stitch repeatedly, which can distort your fabric. For general hand embroidery, standard divisible floss remains the superior choice.
How do I keep my embroidery thread from tangling?
Tangling is usually caused by static, twist buildup, or using thread lengths that are too long. Keep your cuts to a manageable forearm length. Every few stitches, let your needle hang freely beneath your hoop for a few seconds; this allows the thread to untwist naturally. If you are working with stubborn or metallic threads, you can run the strand lightly over a block of natural beeswax or a synthetic thread conditioner to smooth down wild fibers, though keep in mind this can slightly reduce the thread’s natural sheen.
Do I need to pre-wash my embroidery thread?
If you are using modern, high-quality threads from established brands, pre-washing is unnecessary as they are manufactured to be highly colorfast. However, if you are working with vintage threads, hand-dyed fibers, or unbranded bargain packs, pre-washing or testing is highly recommended. To test, soak a small snippet in warm water and press it against a white paper towel. If dye bleeds onto the towel, wash the skeins gently in cool water with a mild detergent until the water runs clear before starting your project.
Community discussion
Share your experience or ask a question. Comments are reviewed before publication.